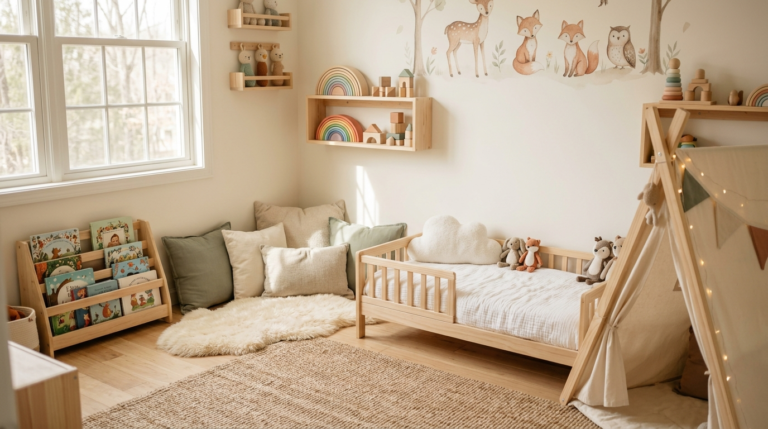
Creating a magical, whimsical nursery is one of the most exciting parts of preparing for a new arrival or transitioning a toddler into their own special room. The environment in which a child grows up can significantly influence their imagination, sense of security, and cognitive development. Instead of settling for standard, store-bought furniture and decor, injecting a bit of do-it-yourself magic can elevate the space into something truly extraordinary. In this comprehensive guide, we will explore seven incredibly detailed, whimsical DIY projects designed to turn any standard nursery into an imaginative wonderland. These projects are crafted to be approachable for parents of all skill levels, ensuring that you can infuse your child’s room with love, creativity, and unique charm without needing professional carpentry skills. From soft, ambient lighting solutions to interactive play features, every element is designed to foster a sense of wonder.The beauty of a whimsical aesthetic lies in its flexibility. It allows you to blend soft pastels with vibrant pops of color, mix vintage finds with modern crafts, and prioritize texture and light to create a multi-sensory experience. As you embark on this DIY journey, remember that perfection is not the goal; rather, the objective is to create a space filled with character and warmth. Let us dive deep into the first project, which focuses on utilizing the often-overlooked ceiling space to create a dreamy canopy that will capture your little one’s imagination from the moment they wake up.
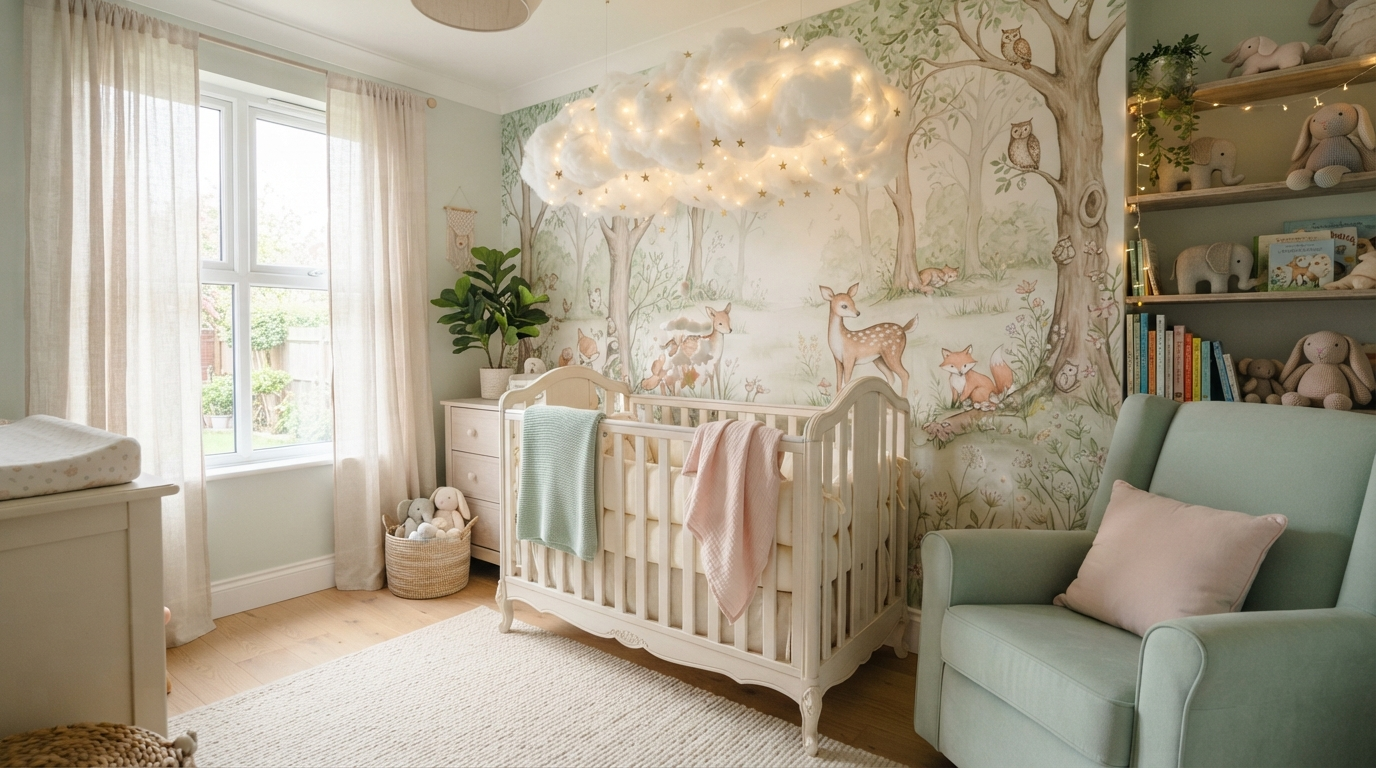
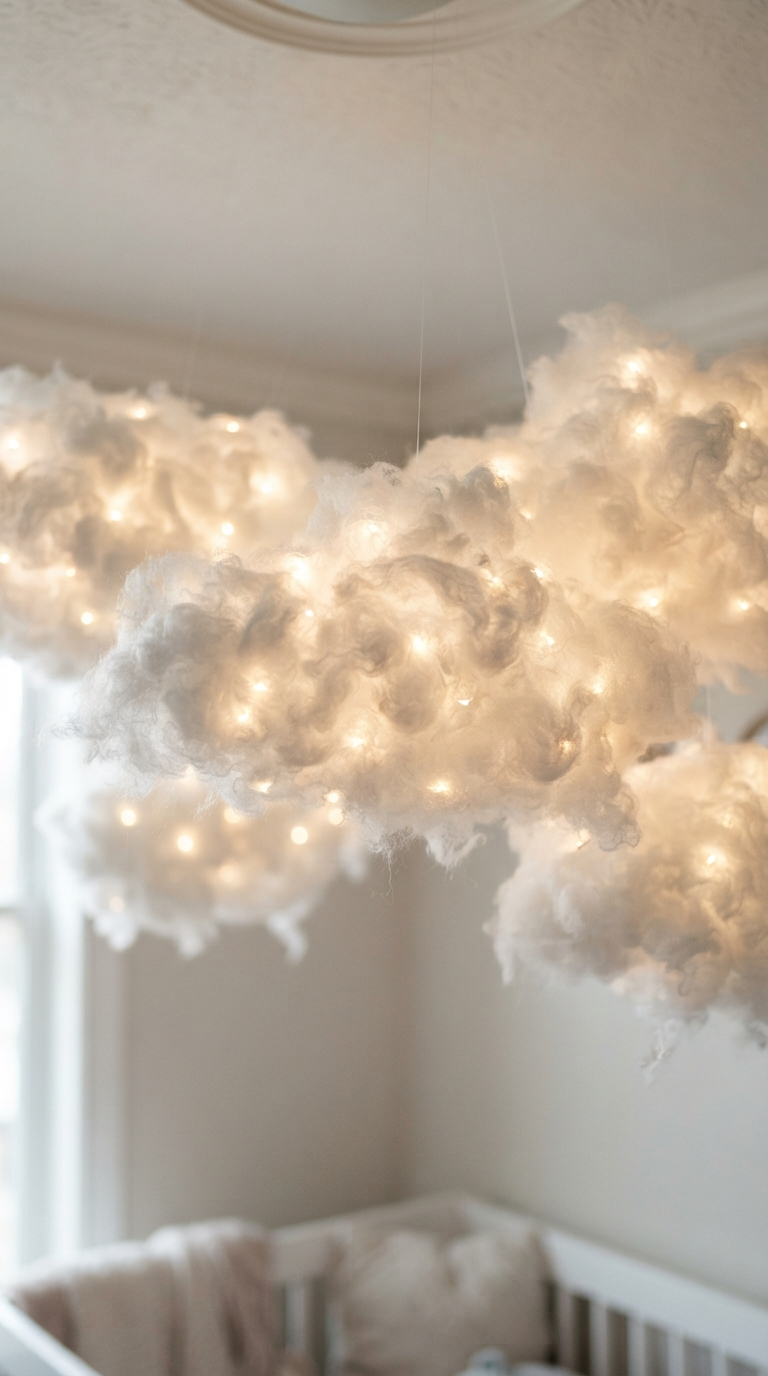
Project 1: The Illuminated Fairy Light Cloud CanopyOne of the most enchanting additions you can make to a nursery is a ceiling feature that mimics a starry night or a magical sky. The Illuminated Fairy Light Cloud Canopy is a stunning, whimsical DIY project that serves as both a gentle nightlight and a captivating visual centerpiece. To begin this project, you will need several paper lanterns in varying sizes, a copious amount of high-quality polyester fiberfill (the kind used for stuffing pillows), a hot glue gun with plenty of extra sticks, strong fishing line, ceiling hooks, and battery-operated LED fairy lights (ensure they are cool to the touch for safety).Start by expanding your paper lanterns. Using your hot glue gun, carefully attach large handfuls of the polyester fiberfill to the outside of the lanterns. You want to create irregular, fluffy shapes to mimic the organic look of cumulus clouds. It is essential to fluff the fiberfill as you glue it down, avoiding a flat or overly uniform appearance. Once the lanterns are completely covered and resemble fluffy clouds, gently weave the LED fairy lights through the fiberfill and into the core of the lanterns. Secure the battery packs discreetly at the top where they will not be visible from below. Next, attach the fishing line to the wire frames of the lanterns and suspend them from the ceiling hooks at varying heights over the crib or reading nook. The result is a breathtaking, glowing cloudscape that casts a soft, ethereal light across the nursery, providing immense comfort during late-night feedings and sparking endless imagination.
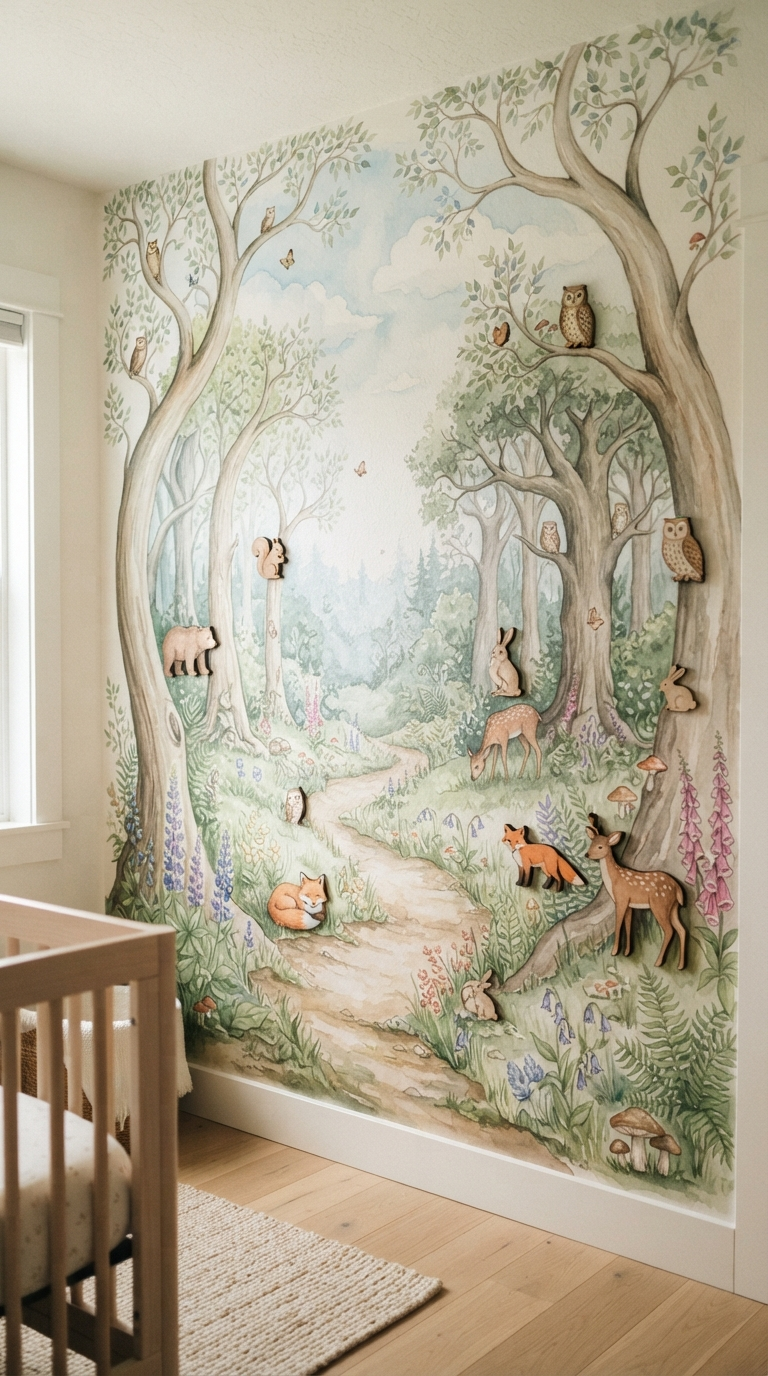
Project 2: The Interactive Storybook Forest MuralBlank walls are a canvas for creativity, and a hand-painted mural can completely define the whimsical theme of a nursery. However, this is not just any mural; it is an Interactive Storybook Forest Mural designed to evolve as your child grows. The concept involves painting a sprawling, enchanted forest scene that features magnetic or removable elements, allowing the child to eventually interact with the art. You will need non-toxic, zero-VOC interior paints in various shades of green, brown, and soft twilight blues, painter’s tape, a variety of brush sizes, and magnetic primer paint.Begin by mapping out your forest on the designated feature wall. Use a pencil to lightly sketch towering, whimsical tree trunks that bend and curve gracefully, rather than standing perfectly straight. Apply the magnetic primer to specific areas of the wall where you plan to have interactive elements—perhaps low down on the tree trunks or near the roots. This primer usually requires multiple coats, so follow the manufacturer’s instructions carefully. Once dry, paint over the primer with your chosen wall colors. Add delicate leaves, woodland creatures peeking out from behind the trees, and perhaps a winding cobblestone path. The interactive element comes in later: you can create or purchase flat, wooden cutouts of birds, fairies, or woodland animals, attach strong magnets to their backs, and allow your child to move them around the magnetic zones of the mural, creating their own stories within the enchanted forest.
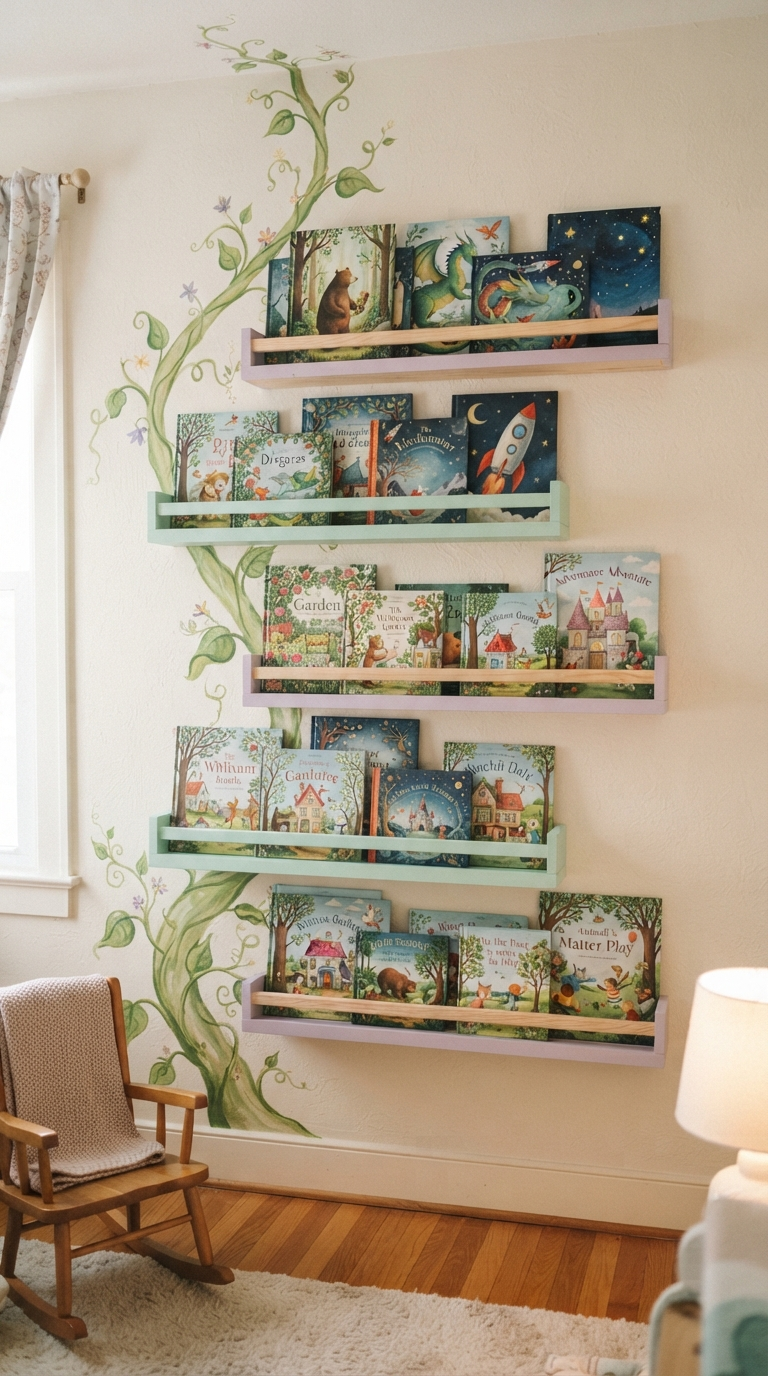
Project 3: Floating Storybook Display ShelvesEncouraging a love of reading starts early, and displaying children’s books with their beautiful, colorful covers facing outward is a fantastic way to draw a child’s attention. Traditional bookshelves only show the spines, which can be uninspiring. Floating Storybook Display Shelves offer a whimsical, practical solution that doubles as wall art. For this DIY, you can repurpose wooden spice racks or build simple ledge shelves using pine boards and a nail gun. The key is in the finish and the placement.If you are building them from scratch, cut a 1×4 pine board for the base, a 1×2 for the front lip (to keep books from falling), and a 1×3 for the back. Assemble them into a simple ‘U’ shape using wood glue and finish nails. To make them truly whimsical, sand them down until perfectly smooth and paint them in soft, complementary nursery colors—think mint green, lavender, or a soft buttery yellow. Instead of mounting them in a rigid, vertical line, stagger them across a wall in a sweeping, staircase-like pattern. You can even paint a subtle, winding beanstalk or a trail of stardust on the wall behind the shelves, making it appear as though the books are resting on a magical pathway. Fill the shelves with richly illustrated fairy tales and board books, ensuring the beautiful artwork on the covers contributes to the room’s overall aesthetic.
Project 4: The Enchanted Sensory Play WallSensory development is a critical aspect of early childhood, and integrating sensory experiences directly into the nursery decor is both functional and whimsical. The Enchanted Sensory Play Wall is a designated area where different textures, sounds, and visual stimuli are safely mounted for your baby to explore during tummy time or as they learn to stand. You will need a large, sturdy wooden board (sanded completely smooth), non-toxic paint, and a variety of sensory items: faux fur fabrics, smooth wooden rings, small metal bells, ridged ribbons, and a shatterproof acrylic mirror.Paint the wooden board in a calming, solid color that matches your nursery palette. Then, securely attach the sensory items to the board. Use heavy-duty industrial glue and secure screws (ensure no sharp points are exposed) to attach patches of faux fur that mimic an animal’s coat. Mount the acrylic mirror at the bottom so the baby can discover their reflection. Attach strings of wooden beads and firmly secured bells that jingle softly when batted. You can design the layout to look like a giant flower, a caterpillar, or simply an abstract piece of modern, tactile art. Mount the entire board securely to the wall, flush against the studs, just above the baseboard. This creates a dedicated, enchanting space that engages your child’s senses while acting as a unique, custom-made piece of decor.
Project 5: Upcycled Whimsical Toy ChestStorage is a necessity in any nursery, but it does not have to be boring. Transforming an old, forgotten trunk or a basic wooden crate into an Upcycled Whimsical Toy Chest is a wonderful way to add character and history to the room. Search local thrift stores, flea markets, or your own attic for a sturdy wooden chest. The goal is to strip away its dreary past and give it a magical, storybook makeover. You will need sandpaper, wood filler, chalk paint, stencils, and clear furniture wax for protection.Start by thoroughly cleaning the chest and sanding away any rough edges or peeling varnish. Fill any dangerous splinters or holes with wood filler. Once prepped, apply two coats of high-quality chalk paint. Chalk paint is ideal for this project because it provides a beautiful, matte finish that feels wonderfully vintage and soft. Choose a color like dusty rose, sage green, or robin’s egg blue. After the base coats dry, use stencils to add whimsical details. You could stencil delicate vines climbing up the sides, a crescent moon on the lid, or your child’s name in an elegant, sweeping script. Once the stenciling is dry, lightly distress the edges with fine sandpaper to give it a cherished, heirloom feel. Finally, seal the entire chest with clear furniture wax to protect the paint from the inevitable wear and tear of a child’s enthusiastic play. Ensure the lid has a high-quality, slow-close safety hinge installed to protect tiny fingers.
Project 6 & 7: The Canopy Reading Nook and Custom Felt MobileOur final two projects focus on creating ultimate cozy spots and mesmerizing visual anchors. Project 6 is the Canopy Reading Nook. Find a quiet corner of the nursery and hang a large, flowing hoop canopy from the ceiling. Let the sheer, breathable fabric pool gracefully on the floor. Inside this tented space, layer a thick, plush circular rug, several oversized floor cushions, and soft, knitted throw blankets. String a small set of fairy lights inside the top of the canopy for reading in the evening. This creates a safe, enclosed, and deeply magical space for you and your child to snuggle and read stories, fostering a sense of security and imagination.Finally, Project 7 is the Custom Felt Mobile. Store-bought mobiles often lack the specific whimsical charm a truly custom nursery demands. Making your own is surprisingly simple and incredibly rewarding. You will need an embroidery hoop, craft felt in various colors, embroidery floss, and a needle. Cut the felt into whimsical shapes—think hot air balloons, shooting stars, tiny dragons, or woodland mushrooms. Sew the pieces together, stuffing them lightly with fiberfill to make them three-dimensional. Attach them to the embroidery hoop using clear fishing line or matching embroidery floss, hanging them at different lengths so they catch the slightest breeze. The gentle movement of these handcrafted shapes will mesmerize your baby, providing visual stimulation and a touch of handmade love that crowns the entire whimsical nursery.
Discover 15 whimsical and creative kids room ideas to create a space for play, sleep, and imagination. From sensory corners to theme decor, get inspired now!
Discover the hottest bedroom design trends of the year. From calming color palettes to smart layout solutions, learn how to elevate your sleeping space.
Learn how to curate a home office that boosts productivity and creativity. Follow our comprehensive guide to warm, classic, and ergonomic workspace design.
Are you making these common bedroom design mistakes? Learn how to fix your sleeping space, optimize flow, and create a truly minimalist, serene retreat.
Is your bedroom keeping you awake? Learn the critical layout, lighting, and decor mistakes to avoid if you want to optimize your space for perfect sleep.