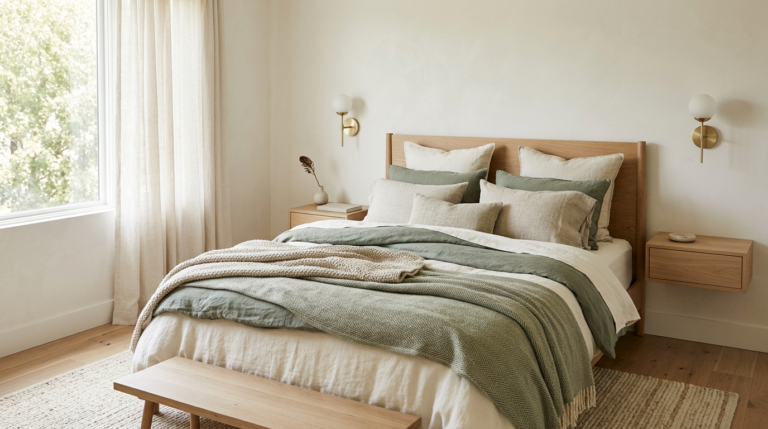
Designing a nursery for your new arrival is one of the most exciting and heartwarming nesting activities a parent can undertake. It is a blank canvas where imagination can run wild and dreams can take physical form. Moving away from the sterile, ultra-modern nurseries that have dominated recent trends, there is a beautiful resurgence in creating spaces that feel truly magical, storytelling, and deeply personal. Enter the whimsical and imaginative nursery—a space that feels less like a catalog showroom and more like the pages of a beloved vintage fairytale book. Crafting a room with this level of wonder doesn’t require a celebrity interior designer budget; in fact, the most enchanting details are often the ones you make yourself with a little bit of creativity and a lot of love.In this expansive DIY showcase, we are going to explore a series of breathtaking, imaginative projects that will turn a standard bedroom into an enchanted forest wonderland for your little one. These whimsical DIY ideas focus on soft textures, magical lighting, custom art, and upcycled charm. By putting your own hands to work, you infuse the room with a unique soul and character that store-bought items simply cannot replicate. From floating cloud lights that glow softly in the night to a hand-painted mural that sparks a lifetime of imagination, let’s dive into these step-by-step whimsical projects that will make your baby’s nursery the most magical room in the house.
Project 1: The Hand-Painted Enchanted Forest MuralThe foundation of any truly whimsical nursery is a feature wall that transports you to another world. Wallpaper can be incredibly expensive and sometimes tricky to install, but a hand-painted mural offers complete creative control and a beautiful, bespoke, slightly imperfect charm that perfectly suits a magical theme. You do not need to be a professional artist to pull this off; in fact, a loose, impressionistic style works best for a dreamy, fairytale aesthetic.How to Create the Magic: Start by choosing a soft, muted color palette. Think sage greens, dusty blush pinks, warm taupes, and soft creams. Using a sponge or a wide brush, wash the background wall in a gentle gradient, fading from a slightly deeper green at the bottom to a hazy cream at the ceiling to mimic a misty forest morning. Once the background is dry, sketch out the silhouettes of slender birch trees or winding oak branches using chalk. Paint the trunks using sweeping, organic strokes. Add delicate leaves by simply dabbing a round brush loaded with varying shades of green and gold. To up the whimsical factor, paint tiny, subtle details near the baseboards—perhaps a sleeping fawn, a cluster of magical mushrooms, or a family of woodland bunnies. The key is subtlety; you want the mural to feel like a gentle backdrop rather than a loud distraction.
Project 2: Floating Cloud Lighting FixturesLighting in a nursery should be adaptable, transitioning from bright enough for playtime to soft enough for a 2 AM feeding. Standard ceiling flush mounts are rarely magical. Instead, imagine your baby gazing up at soft, glowing clouds suspended gracefully from the ceiling. DIY floating cloud lights are astonishingly easy to make, highly budget-friendly, and deliver an enormous “wow” factor that instantly solidifies the whimsical theme of the room.How to Create the Magic: You will need white paper lanterns (varying sizes), polyester fiberfill (the stuffing used for pillows), a hot glue gun, and battery-operated or plug-in warm white LED fairy lights. Expand the paper lanterns and gently pull apart the fiberfill so it looks fluffy and organic, not tightly clumped. Using the hot glue gun on a low-heat setting, attach handfuls of the fiberfill to the outside of the lantern, covering it completely in uneven, cloud-like shapes. Once the glue sets, thread the LED fairy lights inside the lantern. Suspend these magical glowing clouds from the ceiling using clear fishing line at different heights over the crib or a rocking chair. When turned on, the light diffuses beautifully through the fluff, creating a breathtaking, soft, ethereal glow.
Project 3: A Cozy, Draped Reading Nook CanopyEvery enchanted nursery needs a secret hideaway—a cozy, dedicated space for bedtime stories, cuddles, and quiet play as your baby grows into a toddler. A reading nook creates a room-within-a-room, offering a sense of security and a touch of royal fairytale elegance. A DIY canopy is the perfect way to anchor this space, utilizing flowing fabrics and magical lighting to draw the eye and invite relaxation.How to Create the Magic: You can create a stunning canopy using a simple wooden embroidery hoop and several yards of sheer, lightweight fabric like chiffon or tulle in a soft pastel shade. Open the embroidery hoop, thread the top hem of your fabric panels onto the inner ring, and secure the outer ring tightly. Attach strings to the top of the hoop and hang it from a secure ceiling hook in a corner of the room. Let the fabric cascade down to the floor, creating a tent-like enclosure. Inside the canopy, layer a thick, plush faux-fur rug, an assortment of soft velvet floor cushions, and perhaps a small, low bookshelf. For the final whimsical touch, weave delicate, battery-operated star-shaped string lights through the sheer fabric at the top of the canopy so they twinkle overhead as you read “Goodnight Moon.”
Project 4: Upcycled Whimsical Dresser with Sculptural KnobsInstead of purchasing a brand-new, mass-produced changing table or dresser, visiting a local thrift store or flea market offers the opportunity to create a one-of-a-kind heirloom piece. Older furniture often features beautiful, sturdy wood construction and charming details like curved legs or scalloped edges that lend themselves perfectly to a fairytale aesthetic. With a little paint and some creative hardware, an old dresser can become the enchanting focal point of the room.How to Create the Magic: Sand down your thrifted dresser to remove the old finish. Choose a high-quality chalk paint in a whimsical color—perhaps a dusty lavender, a muted robin’s egg blue, or a soft mint green. Chalk paint provides a beautiful, velvety matte finish that feels vintage and soft. Apply two coats, and if you desire an aged look, gently distress the edges with fine sandpaper before sealing it with a clear furniture wax. The true magic, however, lies in the hardware. Discard the original drawer pulls and replace them with mismatched, whimsical knobs. Look online or in boutique hardware stores for knobs shaped like brass acorns, ceramic woodland animals, crystal flowers, or hand-painted porcelain mushrooms. This playful mixing and matching of hardware adds a delightful, bespoke quirkiness to the piece.
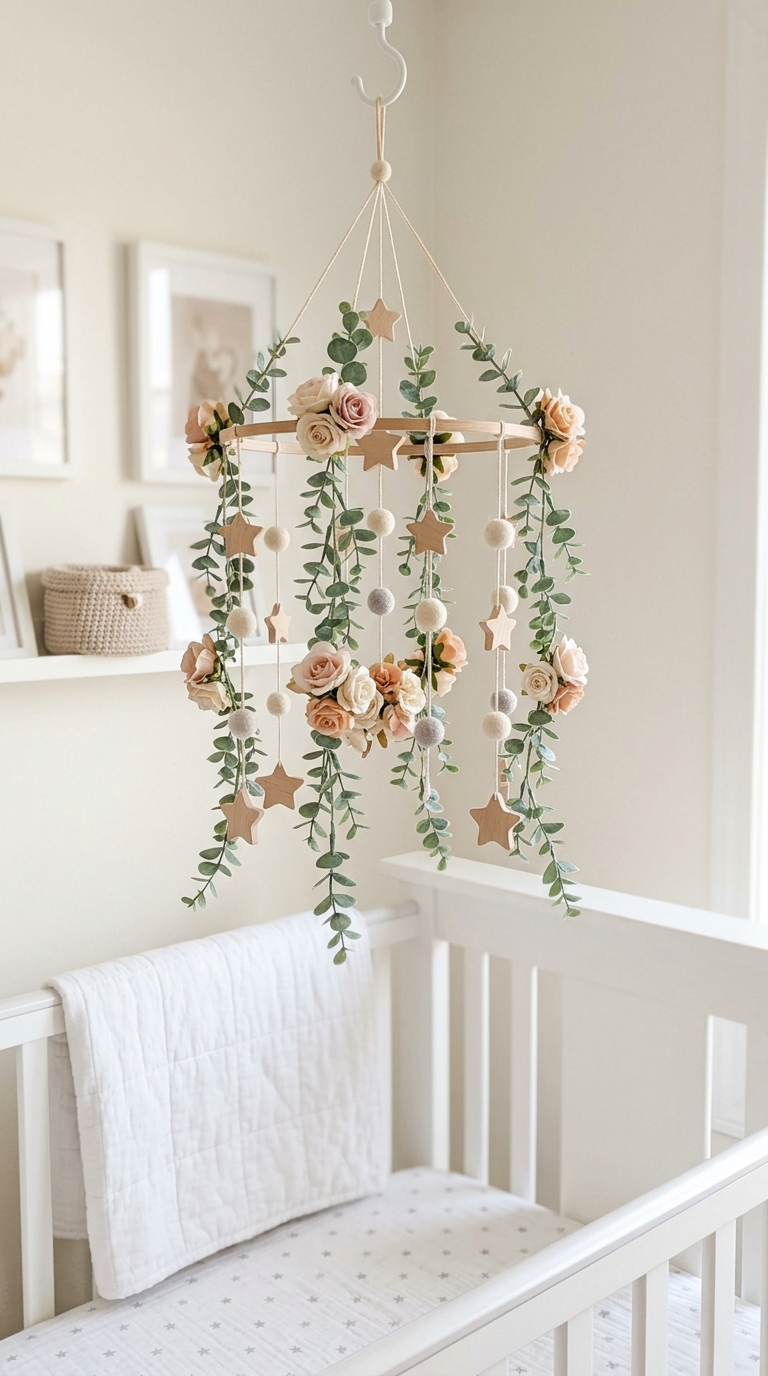
Project 5: Suspended Floral and Greenery MobileA baby mobile is a nursery staple, providing visual stimulation for the infant while lying in the crib. While plastic, battery-operated mobiles play a role, a handmade, nature-inspired mobile fits seamlessly into an enchanted forest theme. By utilizing high-quality faux botanicals, you can create a piece of kinetic art that slowly spins in the room’s natural air currents, bringing a touch of the outdoors inside.How to Create the Magic: Start with a natural wood craft ring or even a clean, curved branch found in your yard for a truly rustic look. Gather high-quality faux greenery—trailing ivy, silver dollar eucalyptus, and delicate ferns work beautifully. Use floral wire to tightly wrap and secure the greenery around the base ring or branch until it is lush and covered. Next, using clear fishing line, suspend delicate whimsical elements from the greenery base so they dangle at varying lengths. You could hang small wooden stars, delicate silk butterflies, soft felted wool balls, or even origami birds. Secure the entire structure to the ceiling using strong hooks. Ensure it is hung high enough to be completely out of reach of the baby, serving as a mesmerizing, floating garden above the crib.
Project 6: Interactive Sensory Play WallAs your baby grows, the nursery will transition from a place of just sleeping to a place of playing and learning. Incorporating an interactive element into the room’s design encourages cognitive development and tactile exploration. Instead of hiding toys away in bins, build a beautiful, whimsical sensory wall that doubles as an art installation.How to Create the Magic: Designate a lower section of one wall for this project. Start by mounting a large, sturdy wooden backer board, painted to match the room’s trim. Onto this board, attach various tactile and interactive elements that fit the fairytale theme. You could securely mount a small, unbreakable acrylic mirror framed in faux vines. Attach soft, plush velvet pockets that can hold soft toys or wooden blocks. Securely fasten wooden gears painted in pastel colors that the child can spin, or an abacus with large, smooth wooden beads. Add patches of different textures: a square of soft faux fur, a patch of smooth faux leather, and a piece of ribbed corduroy. Ensure every single element is bolted securely and features no small, detachable parts. It becomes a magical station of discovery right at their fingertips, beautifully integrated into the whimsical decor.
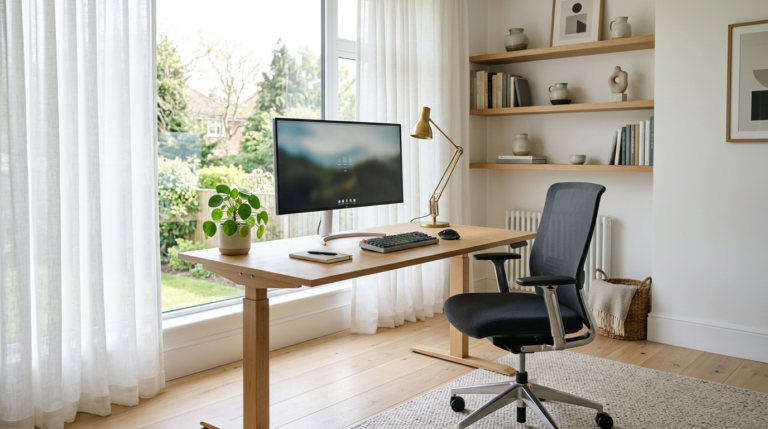
Stop letting poor design ruin your focus. Avoid these critical home office mistakes to create a productive, ergonomic, and beautiful workspace that inspires.
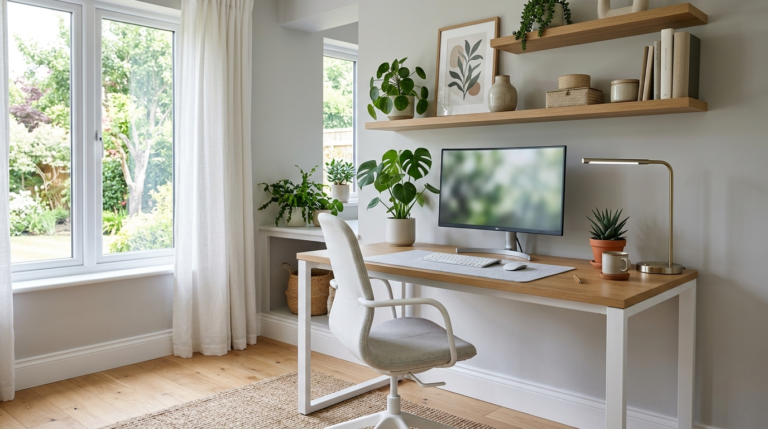
Discover how to transform your home office into a cozy productivity oasis. Explore layout tips, ergonomic solutions, and decor ideas to inspire your best work.
Transform your personal space into a serene sanctuary. Discover the most common bedroom decor mistakes to avoid and how to fix them for ultimate relaxation.
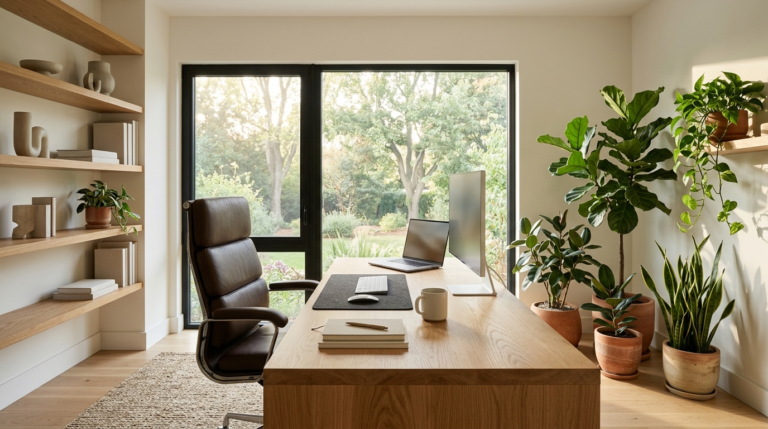
Transform your workspace with this complete step-by-step guide on home office design, ergonomics, lighting, and smart layout solutions for peak productivity.
Learn how to master the art of layering textures and fabrics to build a deeply comforting, visually stunning bedroom sanctuary that invites perfect sleep.
Transform your sleeping space into a peaceful oasis. Uncover elegant styling secrets, calming color palettes, and luxurious textures for ultimate rest.