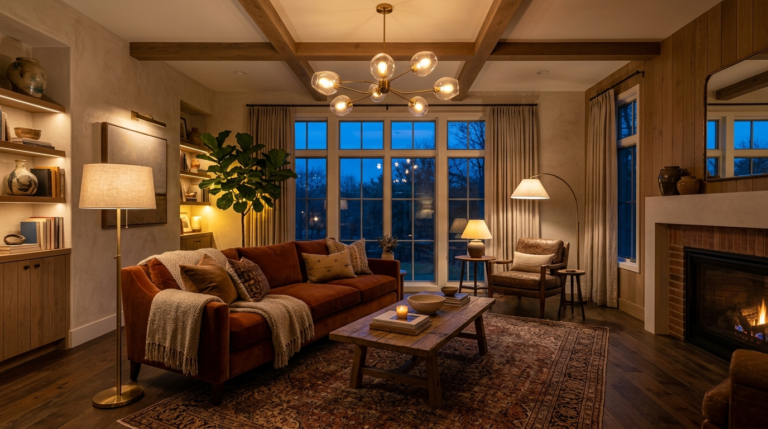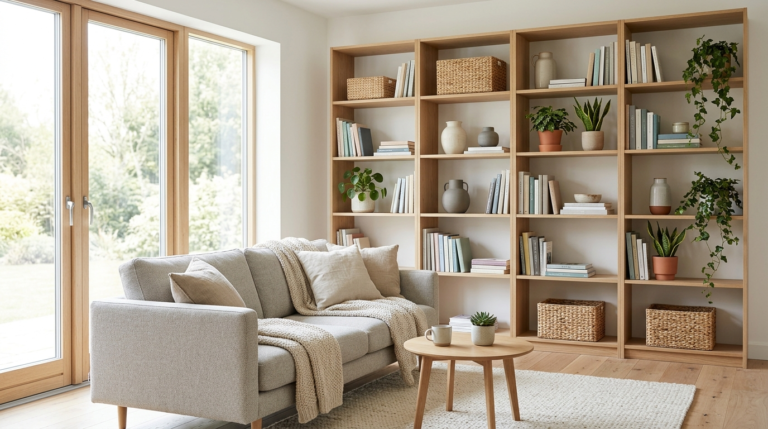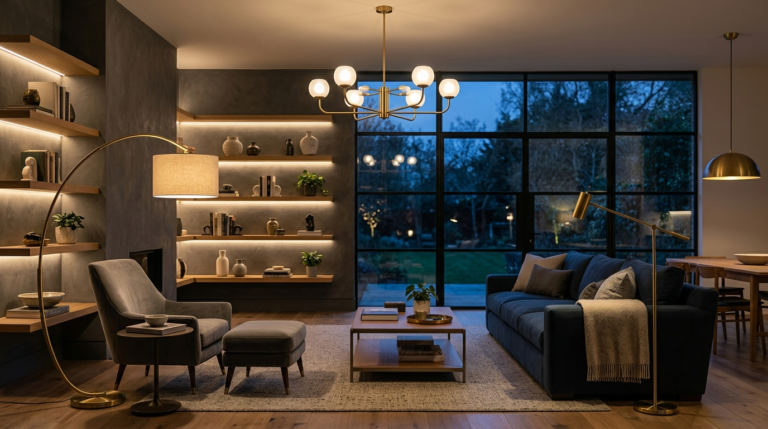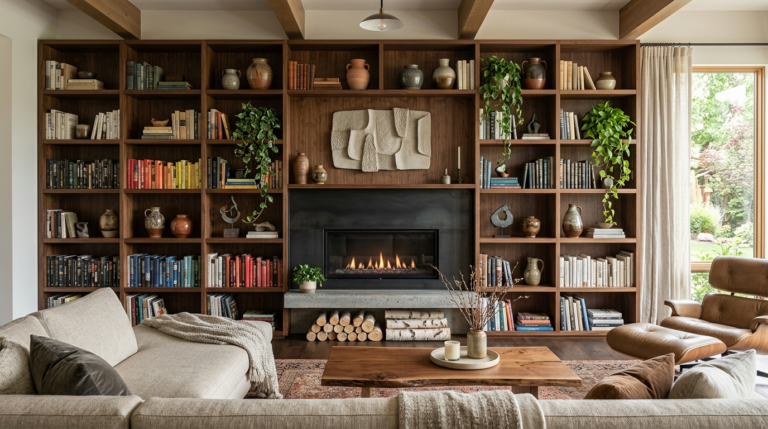

Open shelving has taken the interior design world by storm, and it’s easy to see why. It makes spaces feel airier, creates opportunities for personal display, and provides easy access to frequently used items. But mastering the ‘shelfie’ is an art. Too often, open shelves become cluttered, dusty, or just a jumble of random objects. The secret is finding the perfect balance between beautiful styling and functional organization. In this comprehensive guide, we will walk you through exactly how to master open shelving styling and functional storage, transforming your shelves from cluttered zones into curated showcases that are both practical and aesthetically pleasing.

Step 1: Start with a Complete De-Clutter and Clean
The first and arguably most crucial step is to start with a blank canvas. Remove absolutely everything from your shelves. This might seem daunting, but it’s essential for achieving a curated look. Once the shelves are clear, give them a deep clean, wiping away all dust and grime. This is also the perfect time to assess the quality of your shelves—do they need a fresh coat of paint or reinforcement?
With all your items off the shelves, now comes the important work of sorting. Create categories: things to keep and display, things to store elsewhere, things to donate, and things to recycle/discard. Be ruthless! The primary enemy of beautiful open shelving is clutter. Only items that are useful, beautiful, or personally meaningful should make it back onto the shelves. This initial step is fundamental to creating a space that feels intentional and organized.

Step 2: Define a Cohesive Color Palette and Aesthetic
For open shelves to look curated rather than random, you need a unifying theme. Defining a cohesive color palette and aesthetic is key. This doesn’t mean everything has to be the same color. Instead, choose a foundational color (perhaps white, wood, or a neutral) and then 1-2 accent colors. For instance, you might have shelves filled with white pottery, natural wood elements, and pops of navy blue.
Aesthetic matters too. Are you aiming for a minimalist look, a rustic farmhouse feel, or a bohemian style? Your desired aesthetic will guide your choice of items. A minimalist shelf will focus on a few select, sculptural pieces, while a farmhouse shelf might feature rustic wood and cream pottery. Consistently adhering to your chosen palette and style will immediately make your shelves feel more harmonious and professionally styled.
Step 3: Master the Rule of Thirds and Composition
A well-styled shelf uses design principles to create a balanced composition. One of the most effective principles is the rule of thirds. Divide your shelf (visually) into thirds, both vertically and horizontally. Aim to place key objects at the intersection of these lines. This creates more dynamic interest than placing objects dead center.
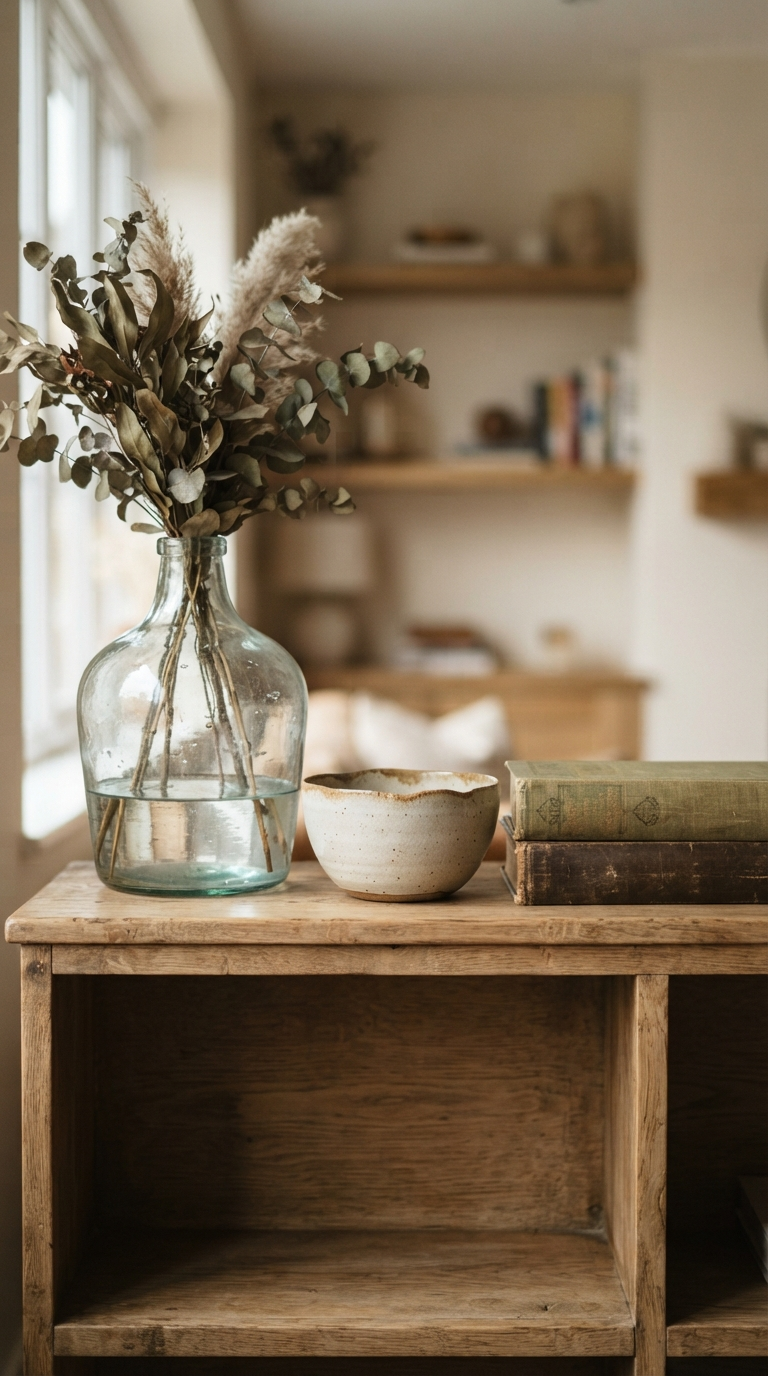
Another key to composition is varied grouping. Don’t simply line items up. Create small clusters or vignettes of 3 or 5 objects (odd numbers are more pleasing to the eye). Group items that have varying heights, textures, and shapes. For example, pair a tall, slender vase with a stack of horizontal books and a small, round bowl. This interplay creates depth and prevents the shelves from looking flat and uninspired.

Step 4: Layer Books and Decorative Objects
Books are a fundamental element of most open shelving, but how you style them matters. Instead of just lining them up vertically, mix it up. Create horizontal stacks of books. These stacks can act as pedestals to elevate smaller decorative items, making them feel more substantial. Place a unique object, like a small sculpture, a candle, or a beautiful shell, on top of a book stack.
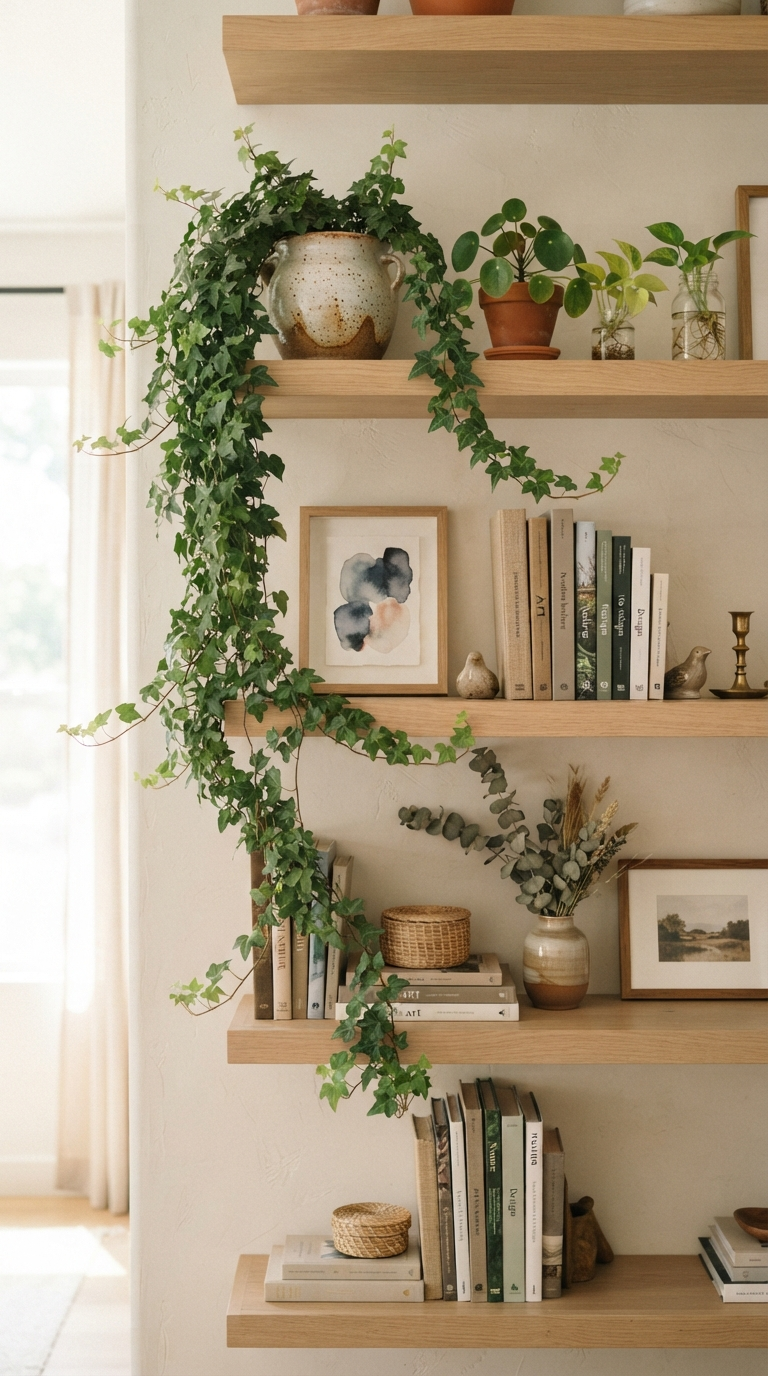
When styling books, pay attention to the colors of the spines. If the spines are too busy, you can group them by color for a ‘rainbow’ effect, or even turn them around so the pages face out for a more neutral, textural look. Introduce a variety of decorative objects: vases, baskets, sculptures, candles, and framed photos. Layering these objects in front of and next to each other creates depth and makes the shelves feel lived-in and rich.
Step 5: Integrate Smart and Hidden Storage Solutions
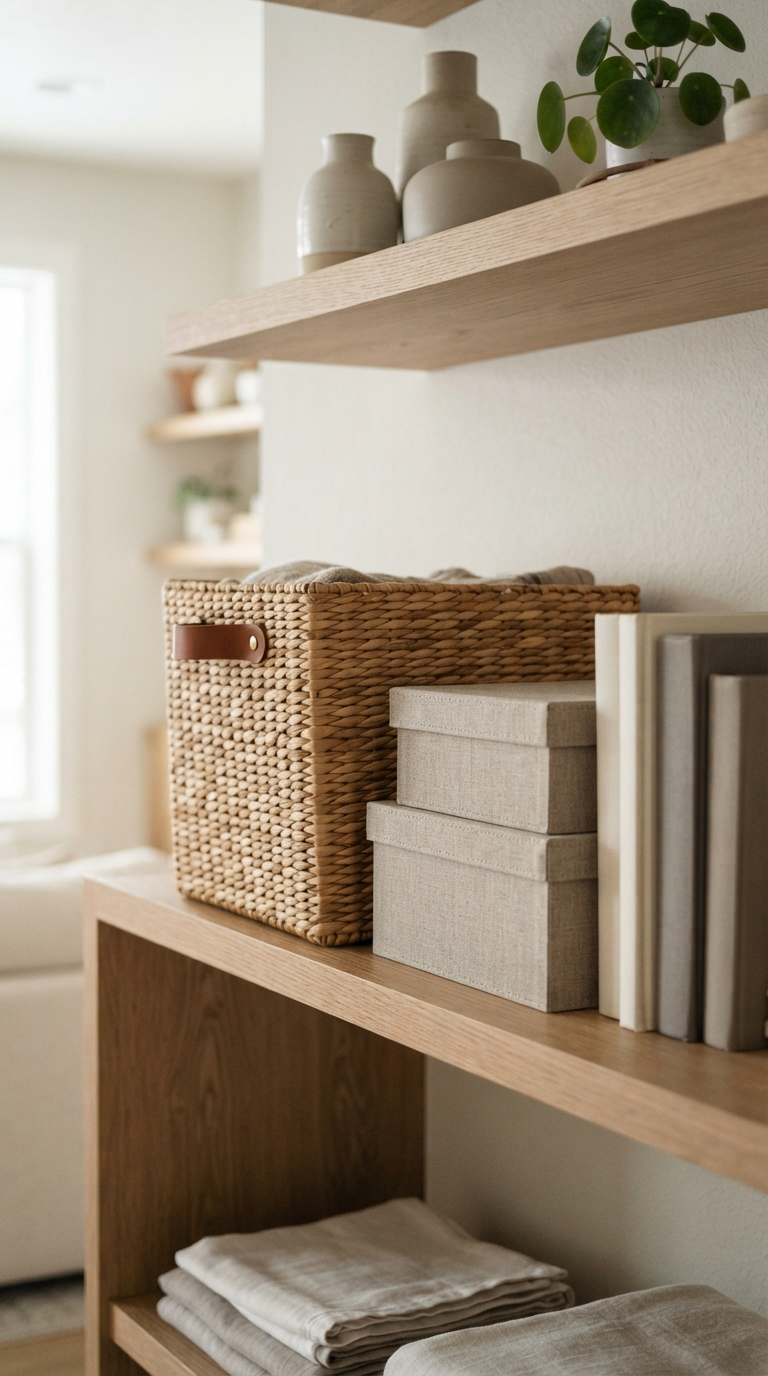
While the focus is often on display, open shelves must also be practical. The secret to maintaining a beautifully styled shelf is smart hidden storage. Utilize beautiful storage vessels that integrate with your aesthetic. Wicker or woven baskets are perfect for hiding less-attractive items like remotes, cables, or loose papers. Ceramic lidded jars can hold small craft supplies or office essentials.
Don’t be afraid to dedicate the lower shelves to pure function, using matching storage boxes that align with your overall color scheme. Book-style storage boxes can seamlessly blend with your actual books while holding papers or small items. The key is to make the storage solutions look intentional and beautiful themselves, so they contribute to the aesthetic rather than detracting from it. Hidden storage is your powerful ally in keeping the rest of the shelf curated and beautiful.
Step 6: Add Greenery and Personal finishing Touches
The final step is to breathe life into your shelves. Greenery is the ultimate ‘shelfie’ essential. A potted plant, whether it’s a small succulent, a trailing ivy, or a lush fern, adds color, texture, and a sense of life. Trailing plants are particularly effective on higher shelves, as they spill over the edge, softening the lines of the shelving. Real plants are best, but high-quality faux plants are a good alternative for low-light areas.
Finally, sprinkle in personal finishing touches. This is your space, so it should reflect you. Incorporate items from your travels, a piece of unique art, a framed family photo, or a treasured antique. Above all, don’t rush the process. Let your shelves evolve. Step back frequently to view the composition from a distance. If a section feels ‘off’, don’t be afraid to rearrange. The most beautifully styled shelves are those that feel curated and personal, reflecting your unique style and story.