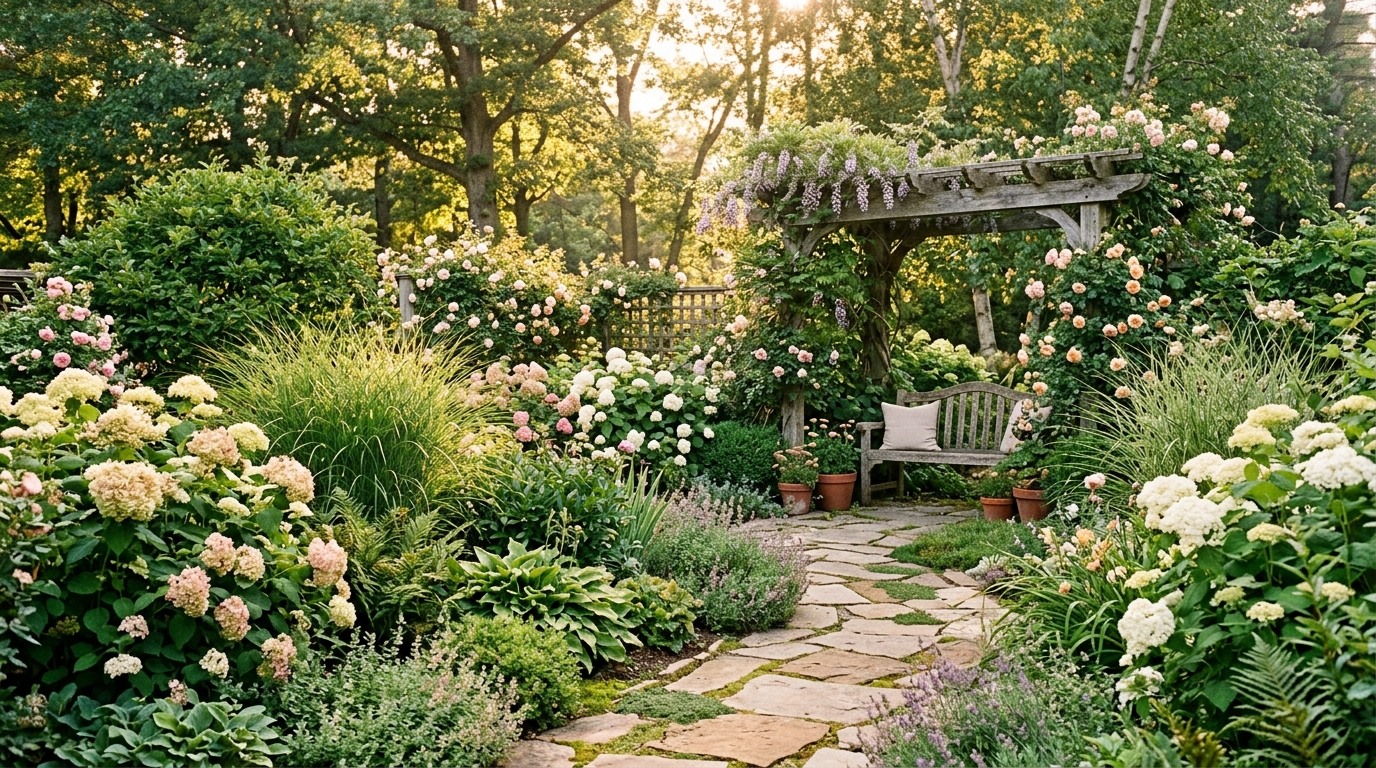
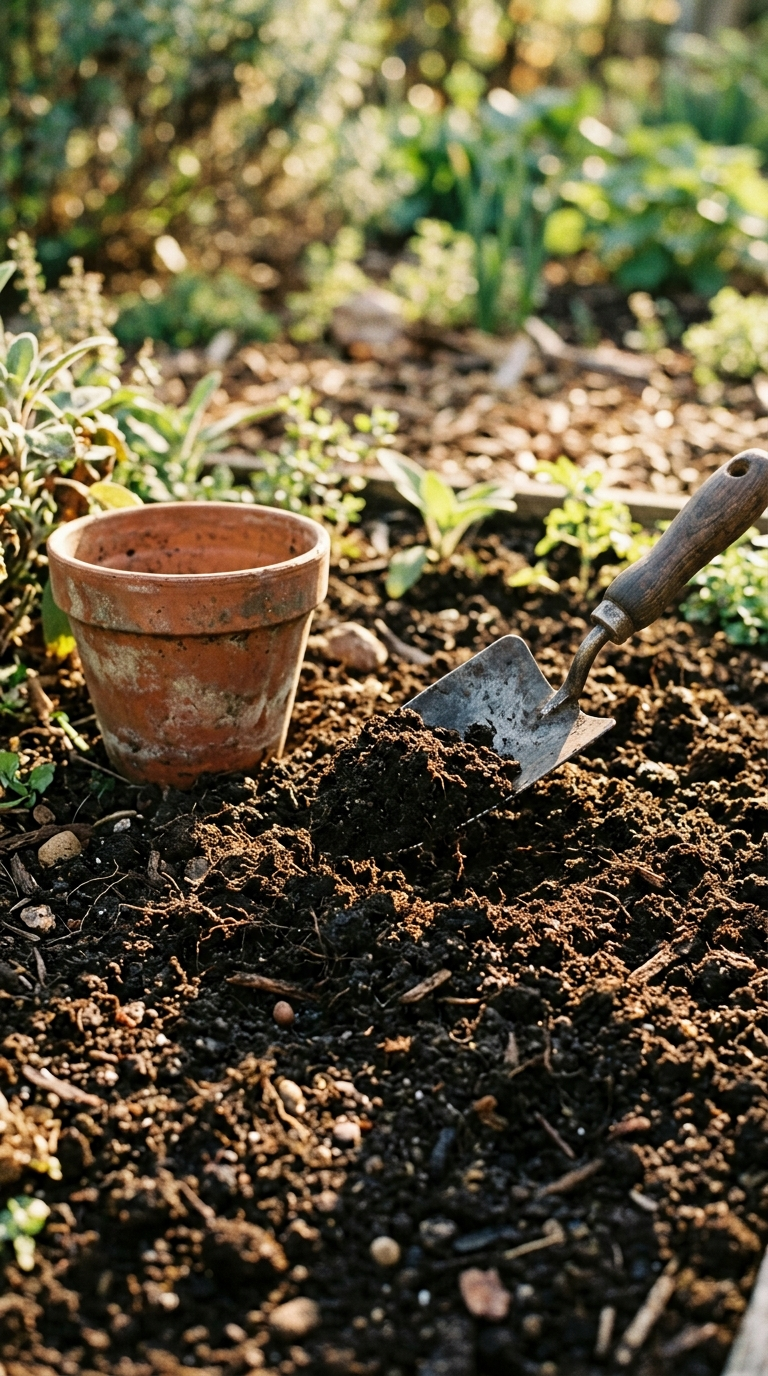
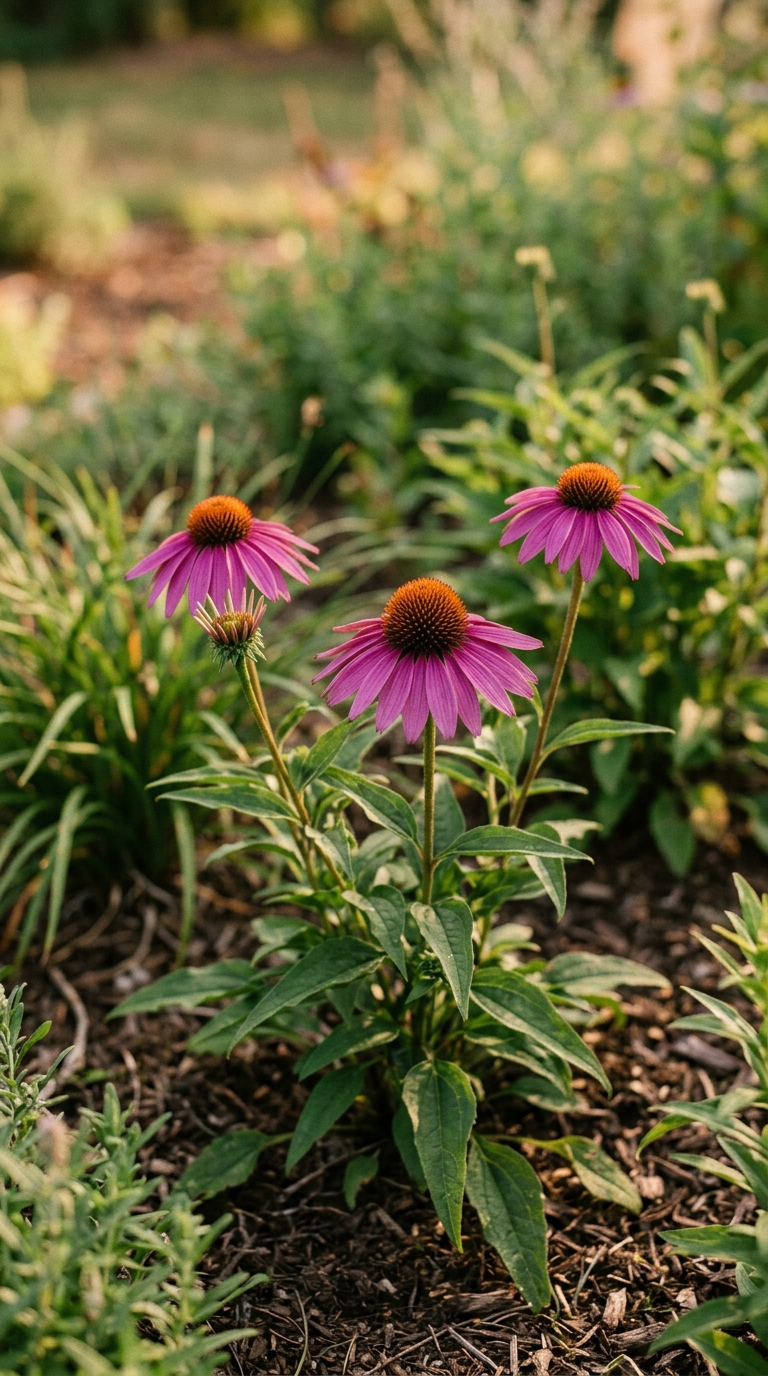
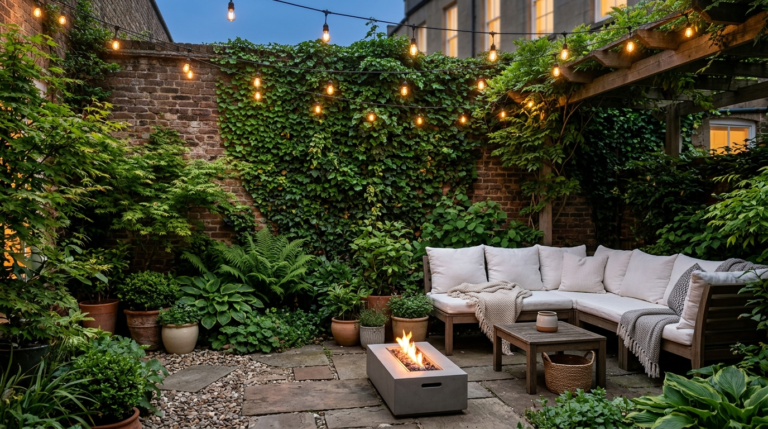
Transforming a standard, grassy backyard into a breathtaking, thriving garden sanctuary is one of the most rewarding endeavors a homeowner can undertake. A well-designed garden is more than just a collection of plants; it is a living, breathing ecosystem that offers a tranquil escape from the fast-paced modern world, supports local wildlife, and profoundly enhances the beauty and value of your property. However, staring at a blank canvas of lawn can be incredibly intimidating. Where do you start? What plants will survive? How do you create a cohesive layout? This extensive, step-by-step guide is designed to demystify the process of garden creation. We will walk you through every crucial stage, from the initial site assessment to the final touches of mulch, ensuring you have the knowledge and confidence to cultivate a spectacular outdoor sanctuary rooted in classic, warm editorial style.Step 1: Comprehensive Site Assessment and ObservationBefore a single shovel pierces the earth, you must intimately understand the unique characteristics of your outdoor space. A successful garden works in harmony with its environment, rather than fighting against it. Spend time observing your yard at different times of the day and across different seasons. Map out the sunlight patterns: Which areas receive full, scorching afternoon sun? Where are the pockets of deep shade cast by existing trees or buildings? Which zones offer dappled, filtered light? Next, investigate your topography and drainage. Notice where water pools after a heavy rain and which areas dry out quickest. Finally, consider the microclimates—areas near brick walls may retain more heat, while exposed corners might bear the brunt of harsh winter winds. Documenting all these factors creates the critical foundation upon which your entire garden design will be built.Step 2: Testing and Amending Your SoilThe secret to a thriving, low-maintenance garden lies hidden beneath the surface: the soil. Attempting to grow a vibrant garden in poor, compacted, or nutrient-deficient soil is an uphill battle you will likely lose. Purchase a comprehensive soil test kit from a local nursery or agricultural extension office. This test will reveal your soil’s pH level (whether it is acidic, neutral, or alkaline) and its nutrient profile (nitrogen, phosphorus, potassium). It will also help you determine the soil texture—whether you have heavy, slow-draining clay, loose, fast-draining sand, or the ideal loamy balance. Armed with this knowledge, you can amend the soil specifically for the plants you intend to grow. Generally, incorporating generous amounts of organic matter, such as high-quality compost, aged manure, or leaf mold, is the universal remedy. Organic matter improves drainage in clay soils, increases water retention in sandy soils, and introduces a vibrant web of beneficial microbes that feed your plants naturally.
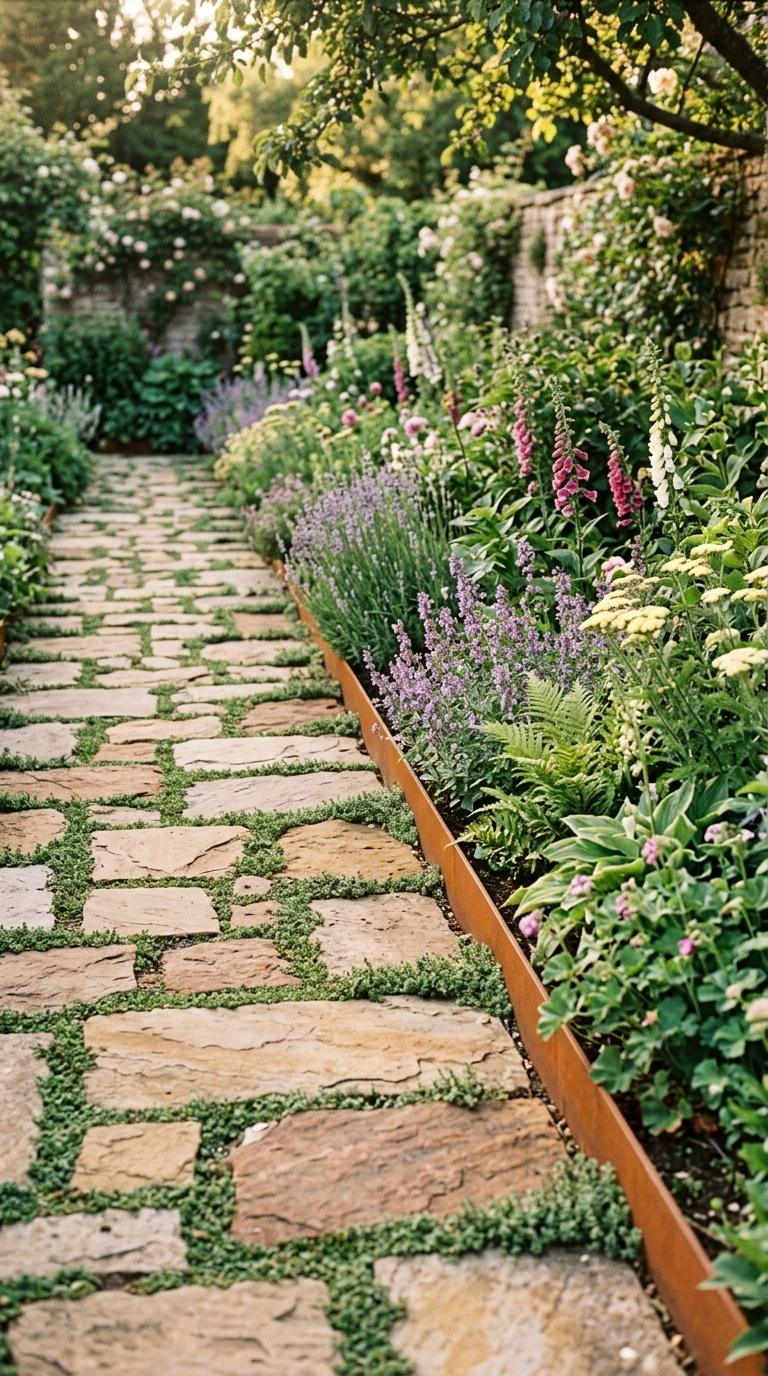
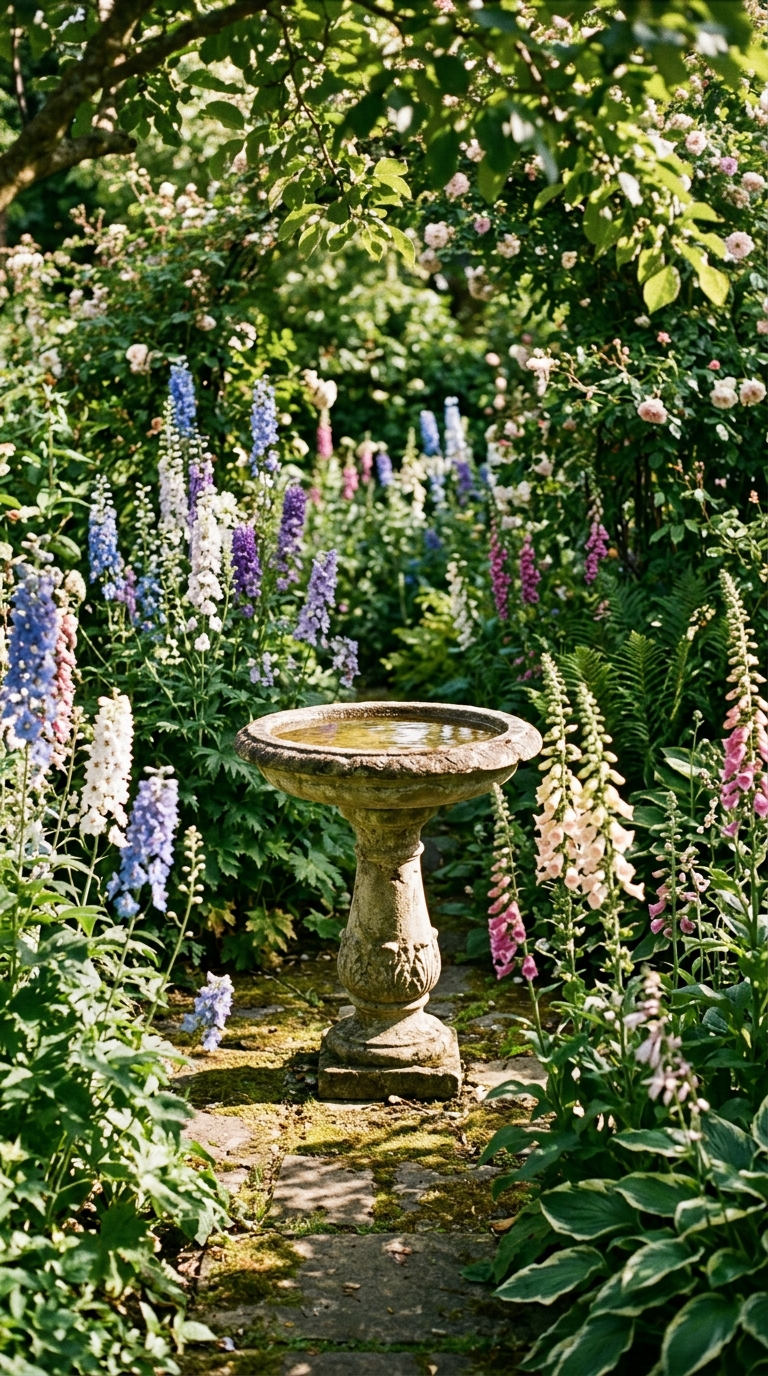
Step 3: Defining the Layout and HardscapingWith a solid understanding of your site and healthy soil underway, it is time to establish the “bones” of your garden. Hardscaping refers to the non-living, structural elements of the landscape. These features dictate the flow and division of the space. Decide where you want pathways to meander, guiding visitors through different garden “rooms.” Will you use classic red brick, warm flagstone, or crunchy pea gravel? Determine the location for a central focal point, perhaps a rustic wooden pergola to offer shade, a classic stone birdbath, or a comfortable seating area paved with natural stone. Establish the borders of your planting beds, favoring gentle, sweeping curves over rigid, straight lines for a more natural, organic feel. Installing edging—whether it is buried stone, corten steel, or neatly trenched earth—will keep your lawn from creeping into your beds and give the garden a polished, editorial look.Step 4: Designing the Planting Scheme (The Rule of Three)A common mistake novice gardeners make is buying one of everything that catches their eye at the nursery, resulting in a chaotic, disjointed display. A classic, harmonious garden relies on structure, repetition, and a restrained color palette. When planning your beds, think in terms of layers. Start with the tallest structural elements at the back (or center, if the bed is viewed from all sides): ornamental trees, large evergreen shrubs, or climbing vines on trellises. Move down to the middle layer with medium-sized perennials and ornamental grasses. Finally, line the front borders with low-growing ground covers or creeping blooms. To achieve a professional aesthetic, employ the “Rule of Three” (or planting in odd numbers like fives and sevens). Grouping multiple plants of the same variety together creates substantial, impactful drifts of color and texture that draw the eye smoothly across the landscape, rather than forcing it to dart from one solitary plant to another.
Step 5: Selecting the Right Flora for the Right PlacePlant selection is where your initial site assessment becomes invaluable. The golden rule of successful gardening is “Right Plant, Right Place.” Do not try to force a sun-loving lavender into a damp, shady corner, and do not subject delicate ferns to baking afternoon heat. Select plants that naturally thrive in your specific soil type, hardiness zone, and sunlight conditions. For a warm, classic editorial look, prioritize a mix of robust perennials that return year after year, structural evergreens for winter interest, and flowering shrubs like hydrangeas or classic roses. Incorporate native plants wherever possible; they have evolved to thrive in your local climate, require significantly less water and fertilizer, and are essential for supporting local pollinators like bees, butterflies, and hummingbirds.Step 6: The Art of Proper Planting TechniquesHow you place a plant in the ground dramatically affects its long-term health and survival. Begin by thoroughly watering the plant while it is still in its nursery pot. Dig a hole that is twice as wide as the root ball, but no deeper. The top of the root ball should sit level with, or slightly above, the surrounding soil grade to prevent the crown from rotting. Gently remove the plant from its container. If the roots are tightly bound in a circle, use your fingers or a hori-hori knife to gently loosen and tease them apart; this encourages them to grow outward into the surrounding soil rather than continuing to circle and eventually strangling the plant. Place the plant in the hole, backfill with your amended native soil, and press down firmly—but do not compact it—to eliminate air pockets. Water deeply immediately after planting to settle the soil around the roots.
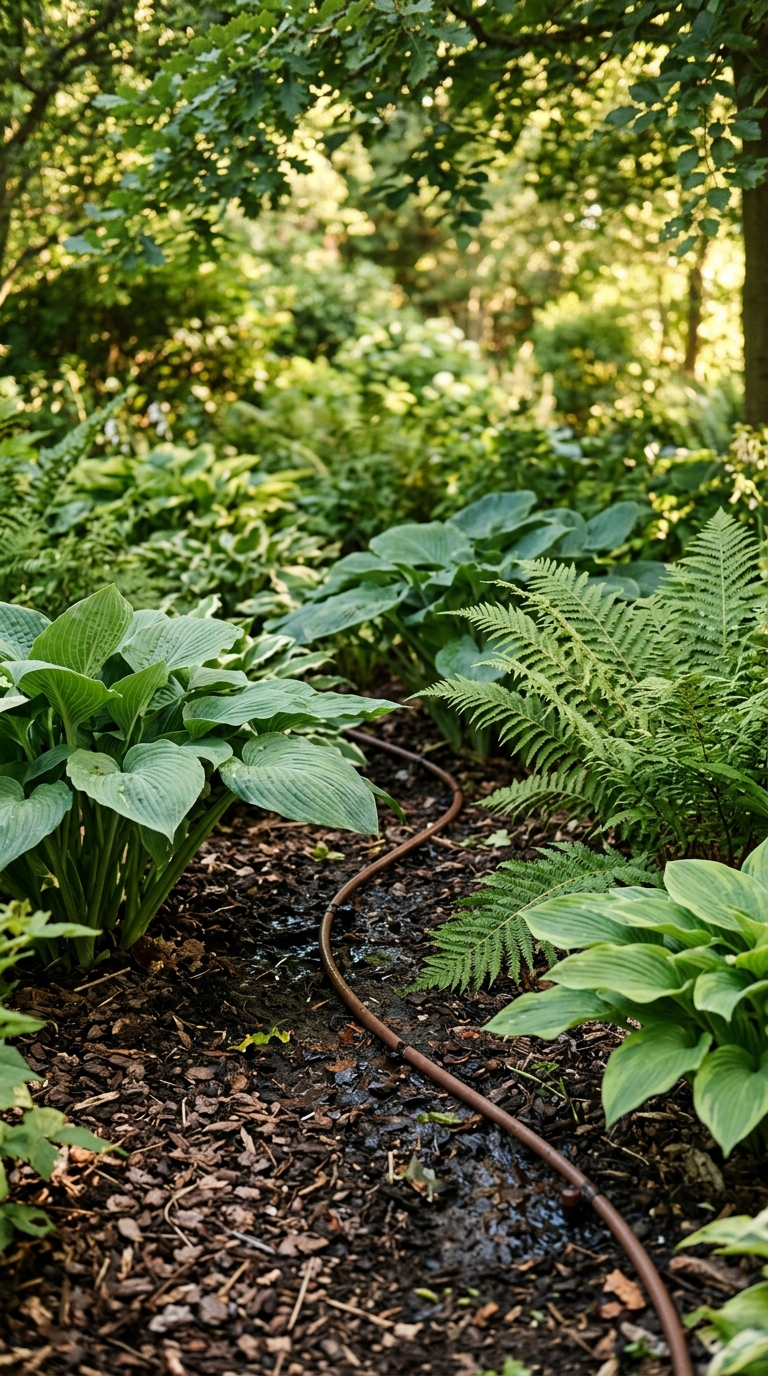
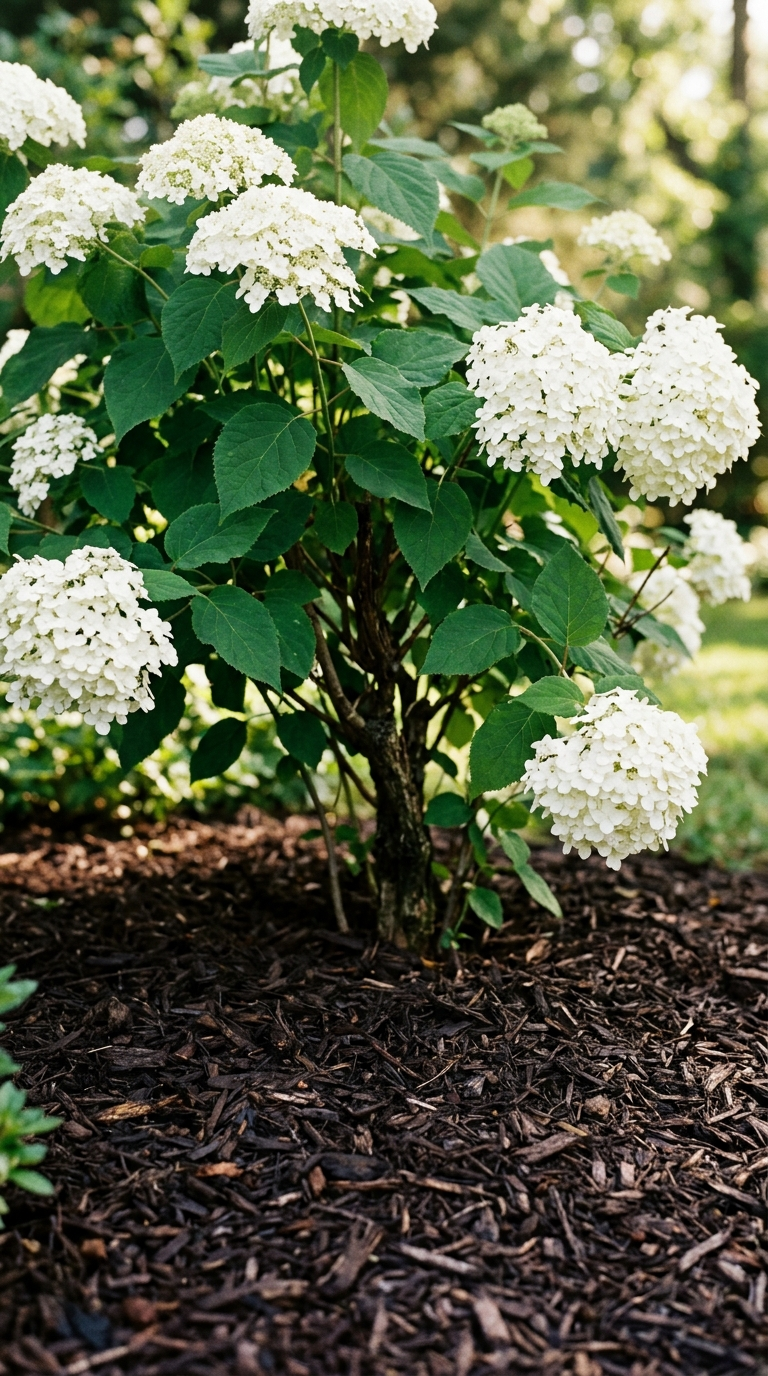
Step 7: Implementing an Efficient Watering StrategyConsistent, deep watering is crucial, especially during a garden’s first year when plants are establishing their root systems. Overhead sprinklers are inefficient; they lose water to evaporation, and wetting the foliage encourages fungal diseases. The most effective and sustainable method is installing a drip irrigation system or utilizing soaker hoses. These systems deliver water directly to the base of the plant, slowly seeping into the root zone where it is needed most. Water deeply and less frequently, rather than offering light, shallow sprinkles every day. Deep watering encourages roots to grow further down into the earth, resulting in stronger, more drought-resilient plants.Step 8: The Magic of MulchMulching is the unsung hero of a beautiful garden. Applying a 2-to-3-inch layer of organic mulch—such as shredded hardwood bark, pine needles, or composted leaf mold—across your planting beds provides a multitude of benefits. Visually, it instantly unifies the garden, providing a dark, clean background that makes the green foliage and colorful blooms pop. Functionally, mulch is indispensable. It acts as an insulating blanket, regulating soil temperatures by keeping roots cool in the summer and warm in the winter. It suppresses aggressive weeds by blocking sunlight from reaching weed seeds. Most importantly, it drastically reduces water evaporation, keeping the soil moist for longer periods. Always ensure you leave a small gap of bare soil around the immediate base of tree trunks and plant stems to prevent rot.
Step 9: Ongoing Maintenance and PruningA garden is never truly “finished.” It is a dynamic, evolving space that requires ongoing stewardship. Establish a regular maintenance routine. Deadhead spent flowers (removing the faded blooms) to encourage the plant to redirect its energy from producing seeds into generating more flowers. Regularly pull the occasional weed that manages to breach the mulch layer before it can establish a deep taproot. Understand the specific pruning requirements for your shrubs and trees; generally, remove dead, diseased, or crossing branches to maintain healthy airflow and shape. In the autumn, resist the urge to cut everything down to the ground; leaving ornamental grasses and seed heads provides crucial winter interest and valuable food and habitat for overwintering birds and beneficial insects.Step 10: Embracing the EvolutionPatience is the gardener’s greatest virtue. The classic gardening adage rings true: “The first year they sleep, the second year they creep, the third year they leap.” Do not be discouraged if your new garden looks a bit sparse immediately after planting. Give the roots time to establish and the plants time to fill their designated spaces. Observe how the garden changes through the seasons and be prepared to edit. A plant might outgrow its space, or a particular color combination might not work as intended. A garden is a forgiving canvas; plants can be moved, divided, or replaced. Embrace the continuous cycle of growth, adjustment, and renewal.
Creating Sensory ExperiencesA truly magnificent sanctuary engages all the senses, not just sight. Incorporate fragrant plants like jasmine, gardenia, or lilac near seating areas or pathways where their perfume can be easily appreciated. Add the gentle, soothing sound of trickling water with a small, recirculating fountain or a carved stone basin. Cultivate plants with interesting textures, like the fuzzy leaves of lamb’s ear or the rustling stems of tall maiden grass. By layering these sensory experiences, your garden transforms from a merely visual landscape into a deeply immersive retreat.Conclusion: The Reward of CultivationDesigning and cultivating a garden sanctuary is a journey of connecting with the earth and expressing your creativity. By meticulously preparing your site, honoring the soil, choosing appropriate flora, and practicing diligent maintenance, you guarantee a landscape that will flourish. Your garden will become a testament to your patience and care—a warm, classic, and welcoming outdoor room where memories are made, stress melts away, and the simple beauty of nature can be savored every single day. Grab your gloves and a trowel; your personal sanctuary awaits.
Step into a world of rustic charm and al fresco elegance. Uncover the secrets to designing a magical, cozy outdoor dining space for unforgettable nights.
Dive into the future of luxury outdoor living with our comprehensive trend forecast on the most spectacular pool and water feature designs dominating high-end backyards this year.
Turn your dull backyard into a stunning, year-round outdoor sanctuary. Follow this comprehensive step-by-step guide on zoning, planting, and hardscaping.
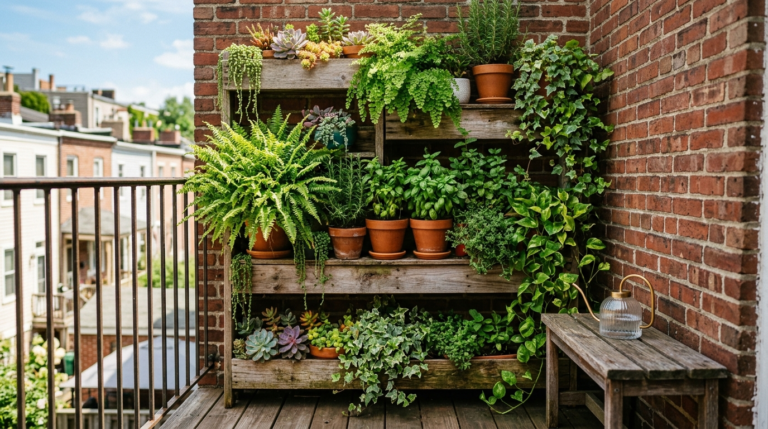
Transform your tiny balcony or patio into a lush urban oasis! Our complete step-by-step guide to vertical gardening for small spaces shows you how to maximize greenery.
Maximize your outdoor space with these brilliant and cozy design strategies. Learn how to turn any small patio or garden into a lush, private oasis this season.