Urban living often means sacrificing sprawling gardens and expansive backyards for the convenience of city life, leaving us with nothing but a small, concrete rectangle jutting out from a high-rise. But a tiny balcony should never be viewed as a limitation; rather, it is a blank canvas, a suspended stage waiting for a touch of enchantment. Transforming a microscopic outdoor footprint into a whimsical, magical oasis is one of the most rewarding DIY challenges you can undertake. It requires immense creativity, a keen eye for vertical space, and an unabashed love for the quirky and the imaginative. In this expansive guide, we will explore incredibly detailed, step-by-step DIY projects designed specifically to inject storybook magic into even the smallest of balconies and tightest of spaces. Get ready to banish the boring concrete and welcome in the fairies, the glowing lights, and the lush, enchanting greenery.
The secret to small-space magic lies in layering and verticality. When square footage is practically non-existent, you must look up. Every wall, railing, and ceiling inch is an opportunity for whimsical design. We are moving far beyond the standard plastic folding chair and solitary potted geranium. We are going to build glowing celestial canopies, upcycle vintage treasures into fantastical planters, and craft cozy, hidden nooks that make you forget you are in the middle of a bustling city. These DIYs are heavily focused on creating a sensory experience: the rustle of leaves, the soft, warm glow of hidden lights, and the tactile joy of rich, layered textiles. Let us begin the transformation of your tiny balcony into a breathtakingly magical sky-garden.
1. The Glowing Celestial Trellis Wall
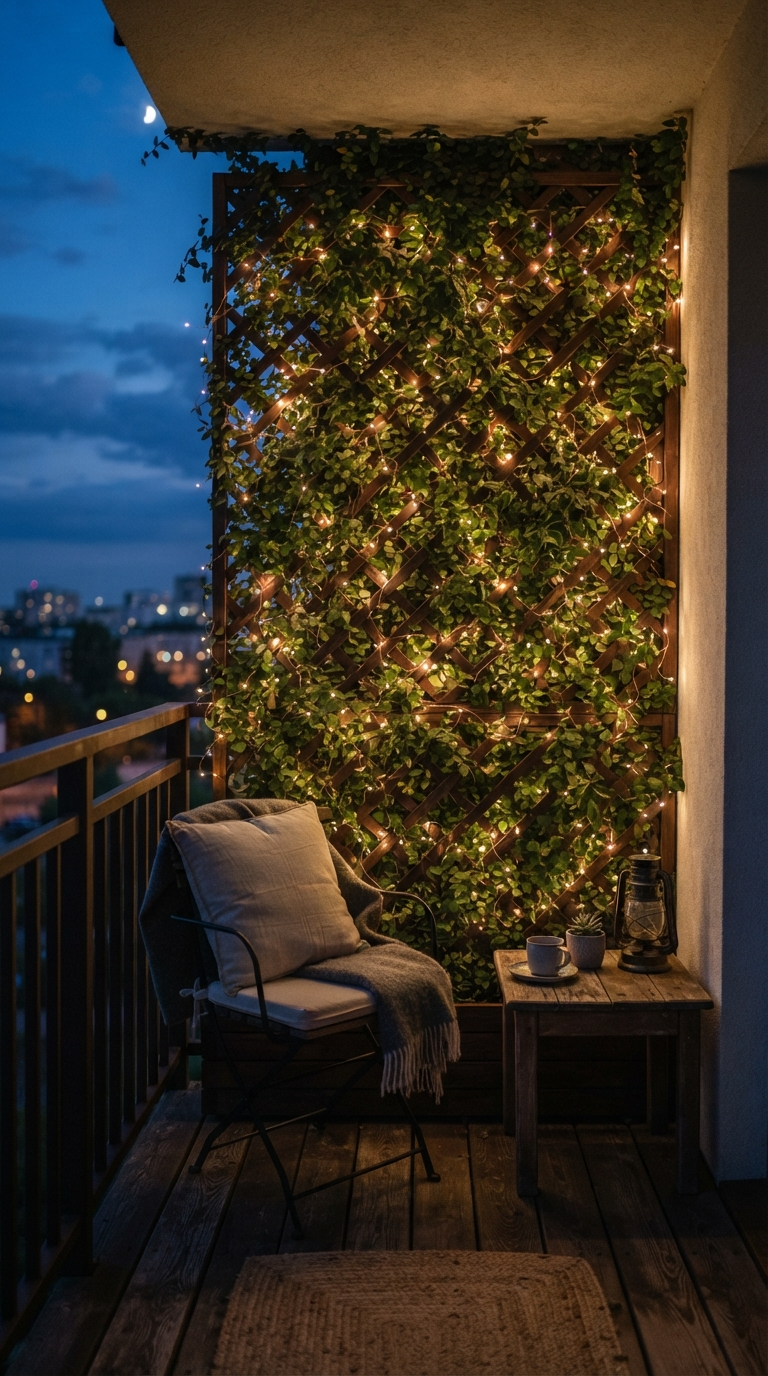
When floor space is rare, your walls are your most valuable real estate. Our first whimsical DIY is the Glowing Celestial Trellis Wall. This project instantly masks harsh brick or stucco and replaces it with a vertical garden of twinkling magic. You will need a wooden lattice panel, exterior-grade wood stain in a rich, dark walnut, a heavy-duty staple gun, and several strands of high-quality, warm-white copper wire fairy lights.
Begin by staining the lattice; the dark wood provides a stark, beautiful contrast to the bright green of trailing plants and the golden glow of the lights. Once dry, weave the copper fairy lights intricately through the crisscrossing wood, ensuring the lights are evenly distributed. Secure them behind the joints with the staple gun, being careful not to pierce the wire. Mount the trellis securely to your balcony wall. Finally, at the base, place a long, narrow planter box filled with fast-growing climbers like star jasmine or creeping fig. As the plants grow up the trellis, they will intertwine with the fairy lights, creating a breathtaking, glowing living wall that looks like a slice of the milky way tangled in a fairy forest.
2. The Upcycled Vintage Birdcage Planter
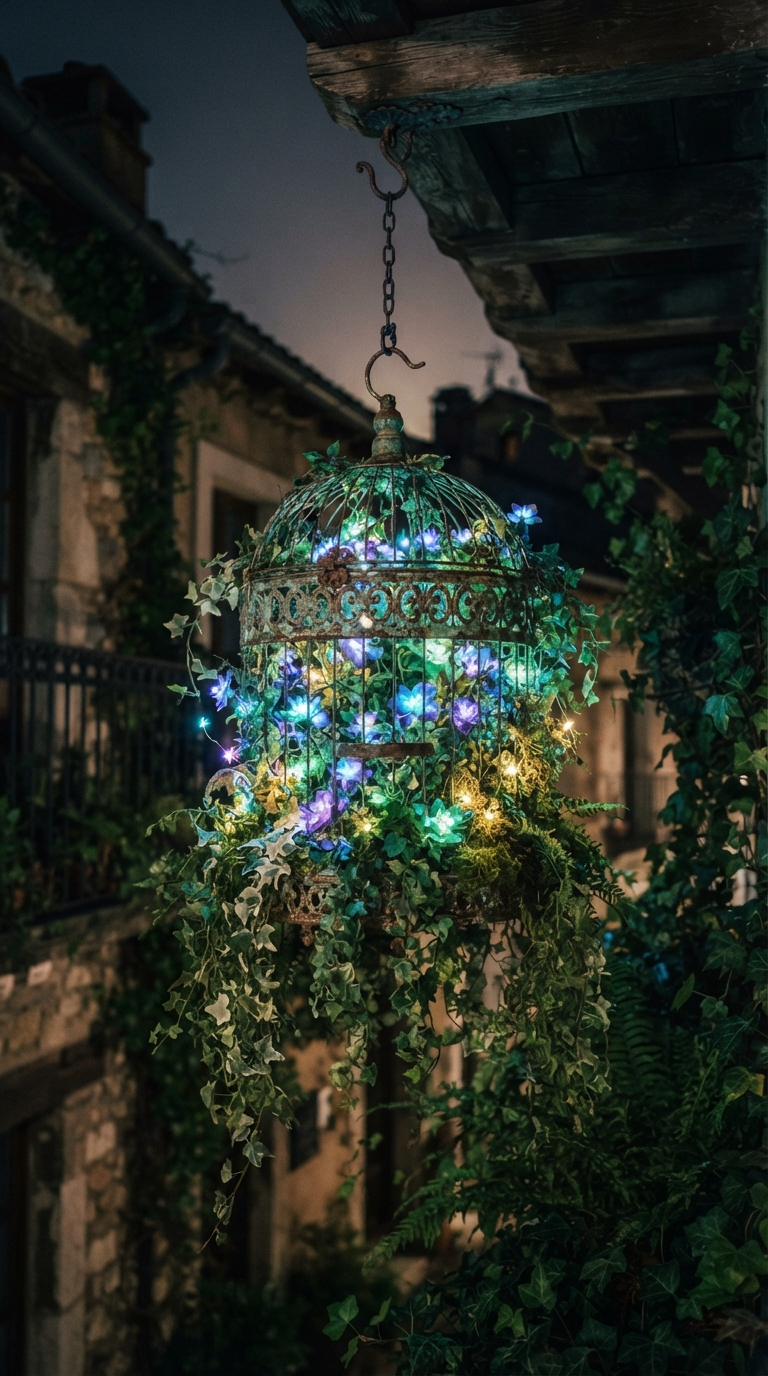
Nothing screams whimsical quite like repurposing vintage objects into lush, overflowing botanical displays. For this project, you will need to hunt down an ornate, vintage wire birdcage from a thrift store or flea market. The older and more intricately designed, the better. We are going to transform this cage from a symbol of confinement into an exploding fountain of life. You will also need a coconut coir liner, potting soil, and a mix of trailing plants (like string of pearls or ivy) and colorful, shade-tolerant flowers.
First, clean the birdcage, but do not paint over the natural patina or rust—that aged look is crucial for the quirky, storybook aesthetic. Cut the coconut liner to fit snugly inside the bottom half of the cage. Fill it with nutrient-rich potting soil. Plant your trailing vines near the edges so they can cascade dramatically out through the bars, and plant the colorful flowers in the center for a burst of color. Hang the birdcage from a sturdy ceiling hook or a bracket attached to the wall. As the plants mature, they will completely engulf the cage, creating a floating, magical orb of greenery that adds incredible visual interest without taking up any floor space.
3. The Magical Mushroom Stool Seating
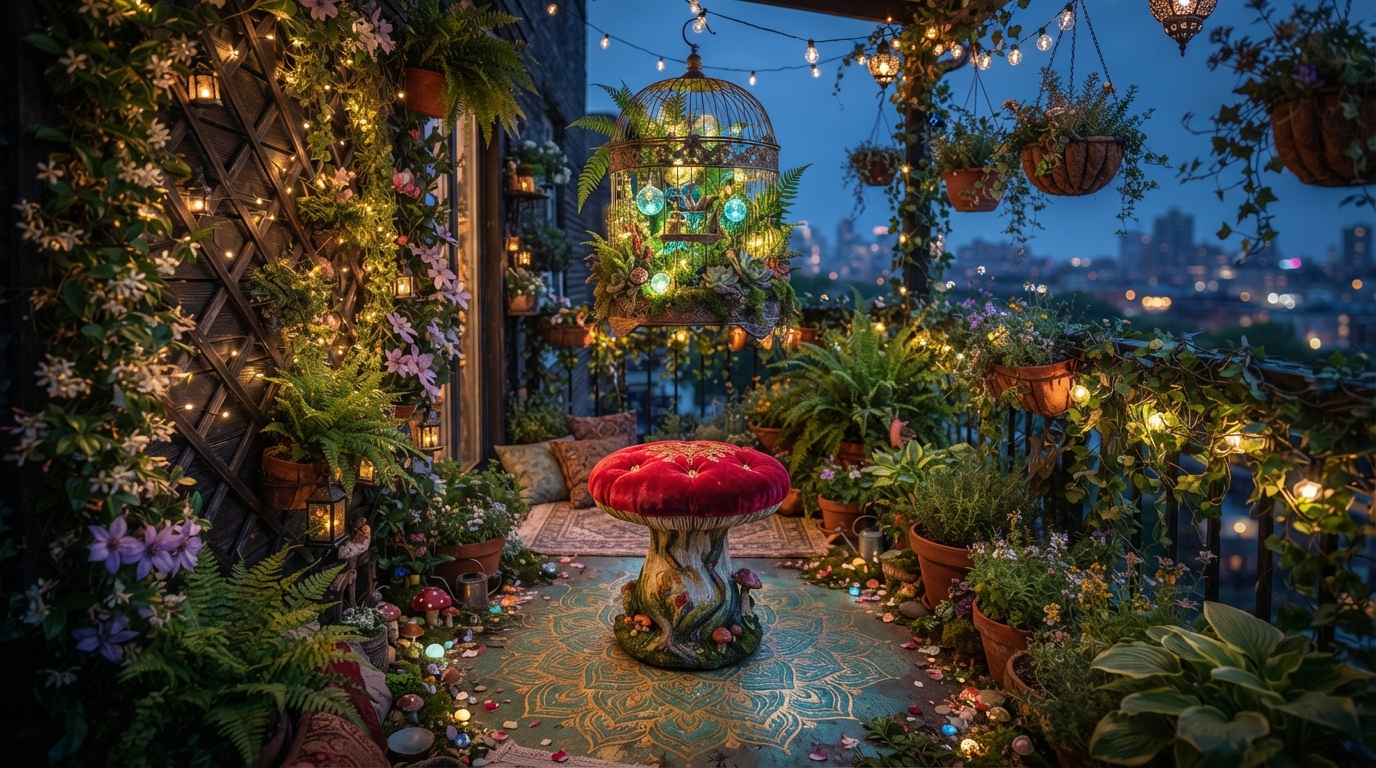
Standard balcony furniture is often bulky and entirely devoid of magic. To create seating that fits our whimsical theme, we are going to craft our own Magical Mushroom Stools. This DIY requires wooden logs or thick stumps (often obtainable from local tree removal services or garden centers), outdoor-grade foam, vibrant velvet or outdoor fabric in jewel tones (deep reds, emeralds, or mustard yellows), and a staple gun.
The wooden stump acts as the stem of the mushroom. To create the cap, cut a circle of foam slightly larger than the top of the stump. Bevel the edges of the foam so it creates a domed, rounded shape. Drape your vibrant fabric over the foam dome, pulling it tightly underneath the top edge of the stump, and staple it securely in place. You can even add small, white fabric appliqués to the top to mimic a classic toadstool. These quirky, colorful stools provide comfortable, low-profile seating that looks like it was plucked directly from a woodland fairy tale, perfectly scaled for a tiny balcony.
4. The Hand-Painted Mandala Floor Tapestry
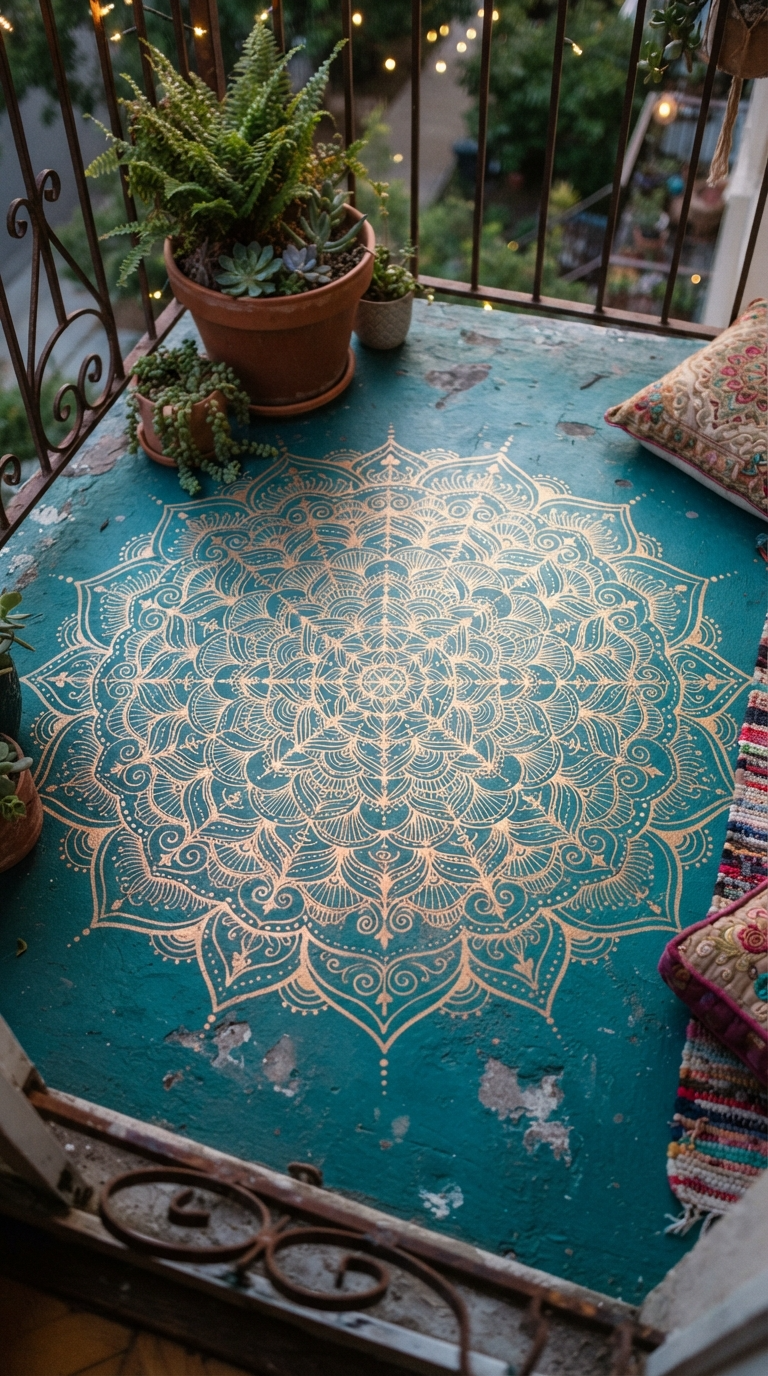
The floor of a balcony is usually the ugliest part—stained concrete or faded wood. Instead of covering it with a boring, generic outdoor rug, we are going to paint a magical, intricate mandala directly onto the surface to act as a permanent, whimsical tapestry. You will need outdoor masonry or floor paint in a base color (like a deep, mystical teal or charcoal), a contrasting color for the design (like antique gold or bright copper), and a large, intricate mandala stencil.
Clean the floor meticulously. Apply two coats of your dark base color, allowing it to dry completely. Next, position your giant mandala stencil perfectly in the center of the balcony floor. Using a dense foam roller, carefully apply the metallic contrasting paint over the stencil. The metallic paint will catch the sunlight during the day and the glow of your fairy lights at night, creating a mesmerizing, magical focal point that grounds the entire space. It is a labor of love, but the result is a breathtakingly quirky and bespoke flooring solution that requires zero upkeep and adds massive whimsical character.
5. The Floating Macrame Herb Garden
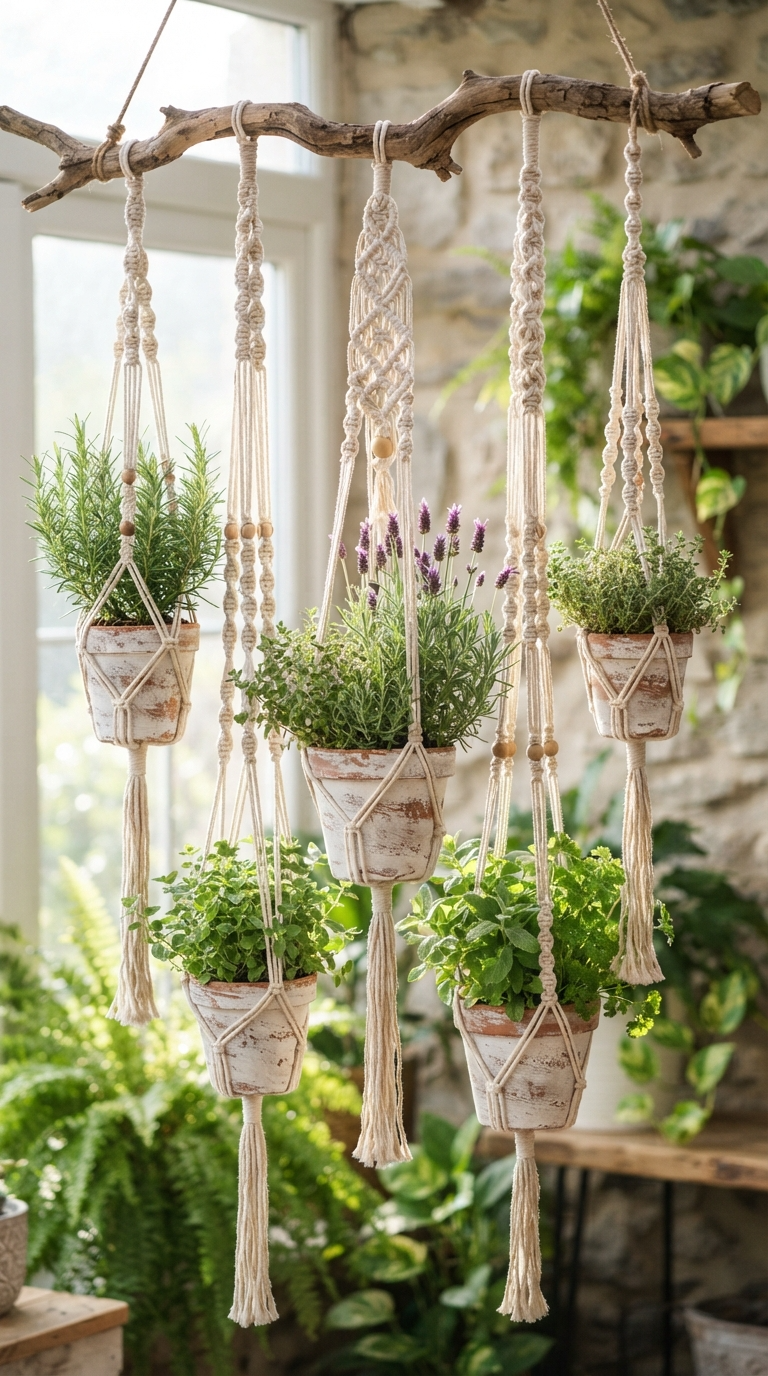
For those who wish to combine the magical aesthetic with practical gardening, the Floating Macrame Herb Garden is the perfect DIY. This utilizes the airspace above your balcony railing, leaving the visual sightline open while providing fresh herbs. You will need cotton macrame cord, small terracotta pots (aged with a bit of watered-down white paint for a vintage look), a sturdy branch or bamboo pole, and your favorite magical herbs like rosemary, thyme, and lavender.
Knot a series of simple macrame plant hangers—they do not need to be overly complex; in fact, slightly uneven, rustic knots add to the quirky charm. Hang these macrame cradles at varying lengths from the sturdy branch, which should be suspended horizontally across a wall or from the ceiling overhead. Pot your herbs in the distressed terracotta pots and nestle them into the macrame. The varying heights create a cascading waterfall of aromatic, magical greenery that gently sways in the breeze, perfuming your tiny balcony with natural, soothing scents.
6. The Repurposed Shutter Privacy Screen
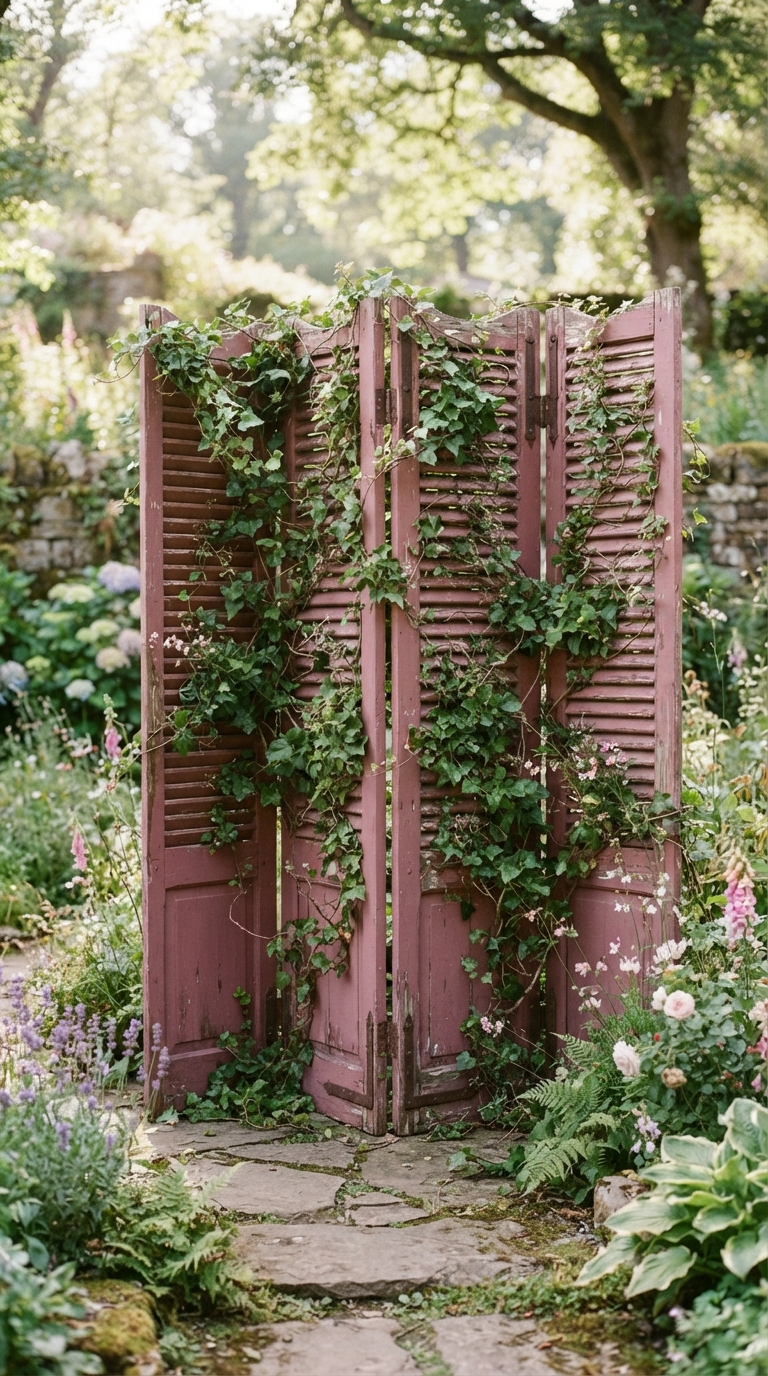
The illusion of magic is easily shattered if you are staring directly at your neighbor’s air conditioning unit. Privacy is essential for an enchanted retreat. For our final DIY, we will build a whimsical privacy screen using salvaged, vintage wooden shutters. You will need 3 to 4 tall, louvered wooden shutters (scour architectural salvage yards for these), hinges, and outdoor paint in a soft, magical hue like dusty rose, sage green, or periwinkle blue.
Hinge the shutters together to create a freestanding, folding accordion screen. Paint them in your chosen whimsical color, but use a distressing technique (lightly sanding the edges once dry) to let the vintage wood peek through. To add the final magical touch, weave strands of ivy (real or high-quality faux) through the louvers of the shutters. Place this screen on the side of your balcony that requires the most privacy. It acts as a beautiful, architectural backdrop, blocking out the mundane world and enclosing your tiny, whimsical paradise. With these incredibly creative DIYs, your small balcony will no longer be an afterthought, but a breathtaking, magical destination suspended in the sky.
Discover enchanting DIY projects to turn your small balcony into a magical retreat. Learn how to craft whimsical seating, fairy light canopies, and more.
Transform any blank wall with this step-by-step DIY board and batten guide. Learn essential measuring, cutting, and painting techniques for high-end results.
Discover how to maximize your small outdoor space with these brilliant design hacks. Turn your tiny balcony into a relaxing, lush, and stylish private oasis!
Discover 12 whimsical DIY home projects that transform your living space into a magical sanctuary. From fairy-lit reading nooks to enchanted garden decors.
Are your organizing efforts falling flat? Uncover the most common home organization mistakes and learn practical, minimalist solutions to reclaim your space.