Adding architectural detail is one of the most effective ways to elevate a characterless room and give it custom, high-end charm. Among all woodworking projects, board and batten wall paneling stands out as an accessible, high-impact upgrade that delivers dramatic results. Whether you want to add warmth to a bedroom, craft an inviting entryway, or introduce classic texture to a dining room, this comprehensive step-by-step DIY guide will walk you through building a stunning accent wall from start to finish.
Phase 1: Planning, Layout, and Spacing Calculations
The secret to a professional-looking board and batten installation lies in accurate initial planning. Start by measuring the total width and height of your chosen wall. Decide how high you want your paneling to go—full height to the ceiling, two-thirds up the wall, or classic chair-rail height. Calculate the space between vertical battens so that spacing remains perfectly equal across the entire wall, taking into account light switches and electrical outlets.
Phase 2: Tool and Material Preparation
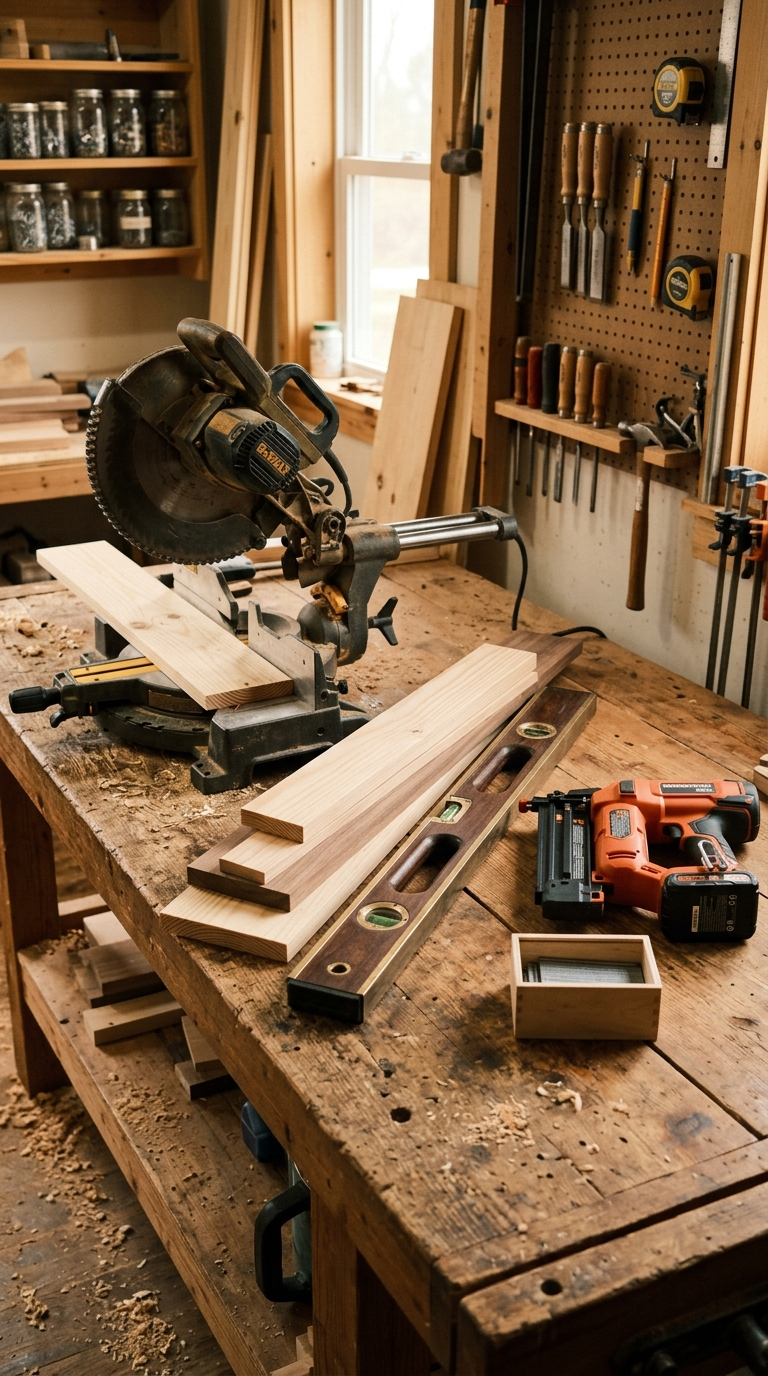
Gather all necessary materials before beginning your build to ensure a smooth workflow. You will need smooth MDF or pre-primed pine boards (typically 1×3 or 1×4 inch boards for battens and 1×6 inch boards for the top horizontal header), a miter saw, brad nailer with 2-inch finish nails, construction adhesive, a laser level, wood filler, painter’s caulk, 220-grit sandpaper, and premium interior paint.
Phase 3: Surface Preparation and Marking Guidelines
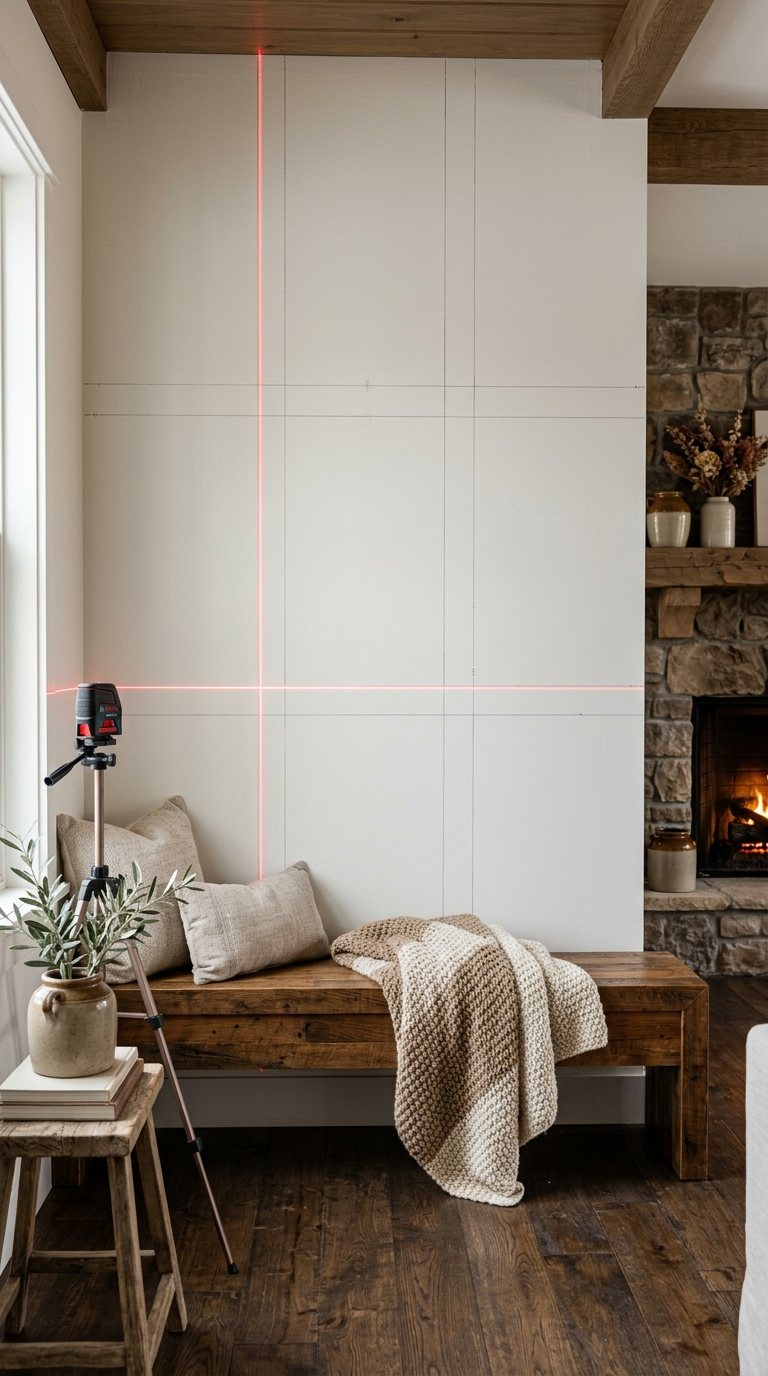
Prepare your wall by removing switch plates, baseboards (if upgrading to thicker ones), and sanding away any heavy existing wall texture. Use a long level or vertical laser level to draw light pencil guidelines directly on the drywall where each vertical batten will be installed. This visual template helps verify spacing before making any cuts.
Phase 4: Installing the Top Header and Baseboards
Begin installation by securing your top horizontal rail board along your upper pencil line. Apply a steady zig-zag bead of heavy-duty construction adhesive to the back of the board, level it precisely, and nail it securely into the wall studs using your brad nailer. Repeat this process for the bottom baseboard or bottom ledger rail, ensuring both horizontal anchor points are level.
Phase 5: Cutting and Mounting Vertical Battens
Measure the distance between the top header and bottom rail individually for each batten, as floors and ceilings are rarely perfectly level. Cut your vertical pine or MDF boards to size using a miter saw. Apply construction adhesive to the back of each batten, press it firmly against your vertical pencil mark, double-check vertical level, and fasten with finish nails spaced every 12 inches.
Phase 6: Adding Horizontal Cross Members for Grid Patterns
If you prefer a contemporary box-grid or square pattern rather than traditional vertical battens, measure and cut shorter horizontal wood blocks to fit between the vertical posts. Use a spacer block of consistent height to align all horizontal cross pieces quickly and accurately across the entire wall length.
Phase 7: Caulking, Filling Nail Holes, and Sanding
The magic that makes wood paneling look like built-in architecture happens during the finishing phase. Fill every nail hole with sandable wood filler and allow it to dry completely. Apply a smooth bead of paintable acrylic caulk along every seam where the wood meets the drywall and adjoining boards, smoothing it with a damp finger or sponge to eliminate gaps.
Phase 8: Priming Wood Surfaces and Muted Paint Selections
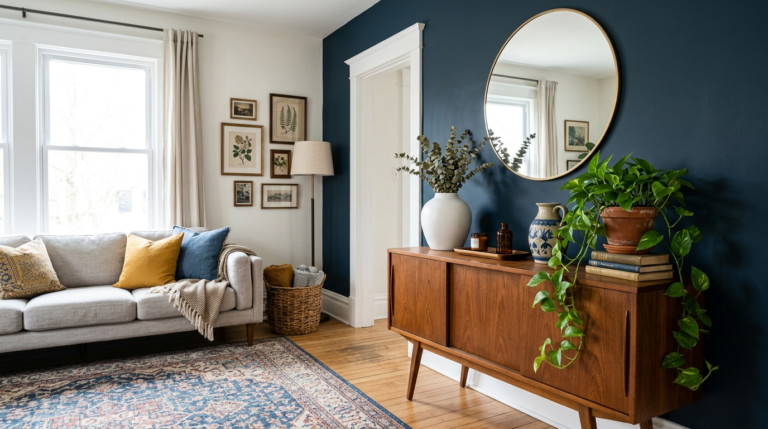
Once wood filler is sanded smooth and caulk is fully cured, apply a coat of high-adhesion stain-blocking primer over all raw wood and filler spots. Selecting the right paint color brings the feature wall to life. Soft warm sage green, moody dusty blue, creamy warm off-white, or deep greige are timeless colors that highlight light and shadow across the raised batten grid.
Phase 9: Applying the Final Finish Coats for a Seamless Look
Apply two full finish coats of high-quality interior paint in an eggshell or satin sheen. Use a short-pile microfiber roller on flat surfaces and a angled sash brush to coat board edges and inner corners smoothly. Satin finishes reflect ambient light gently, subtly emphasizing the depth of your custom millwork.
Phase 10: Styling Your New Feature Wall with Cozy Accents
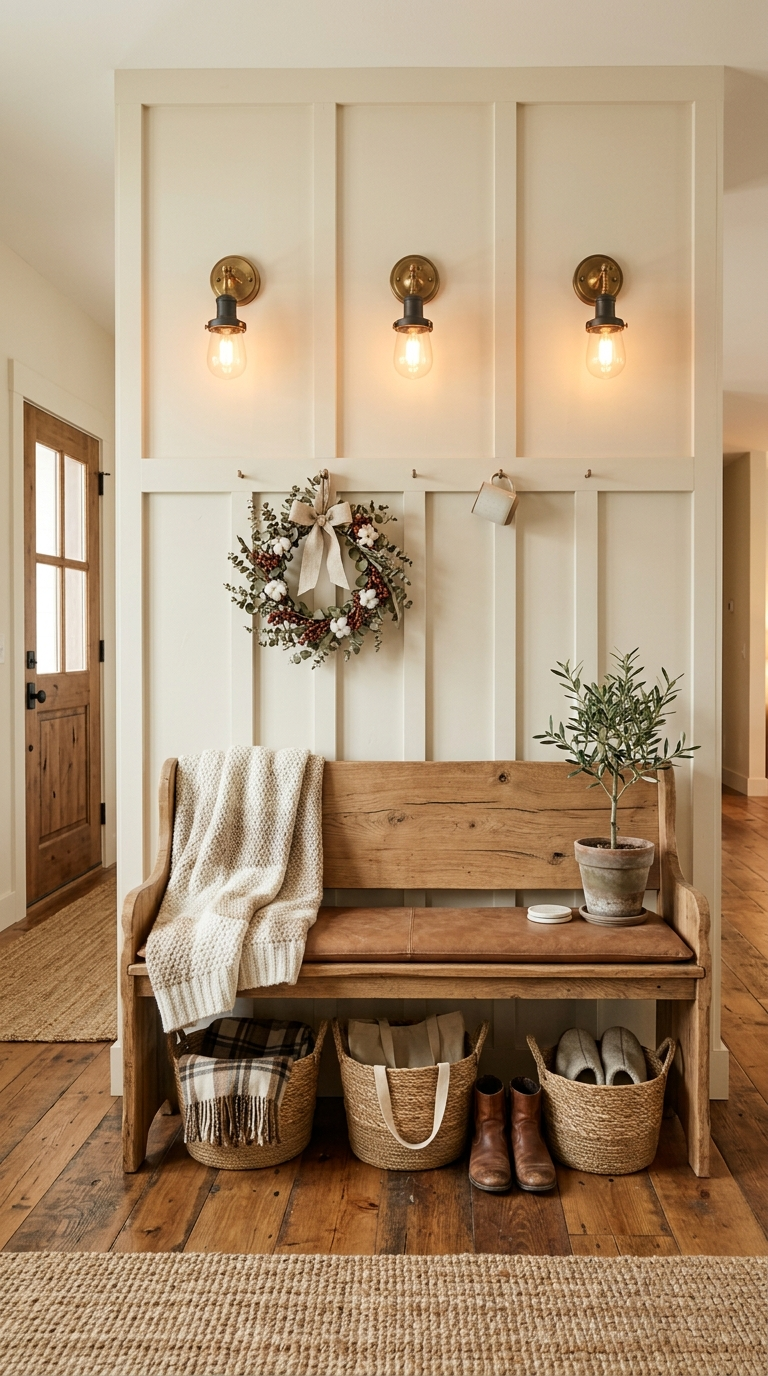
With your custom accent wall completed, finish the space by styling it with complementary home decor. Anchor a bed frame or cozy wooden bench against the wall, hang framed artwork inside the batten grids, or add brass wall sconces to create an inviting, cozy home sanctuary.
Troubleshooting Common DIY Millwork Challenges
If your drywall is uneven, use small wooden shims behind battens before nailing to ensure a flat front surface. For warped boards, flex them straight while securing with extra finish nails driven at alternating 45-degree angles into wall studs for superior holding power.
With patience, basic power tools, and attention to detail, building a custom board and batten wall is a highly rewarding weekend DIY project that adds immediate value and handcrafted character to your home.
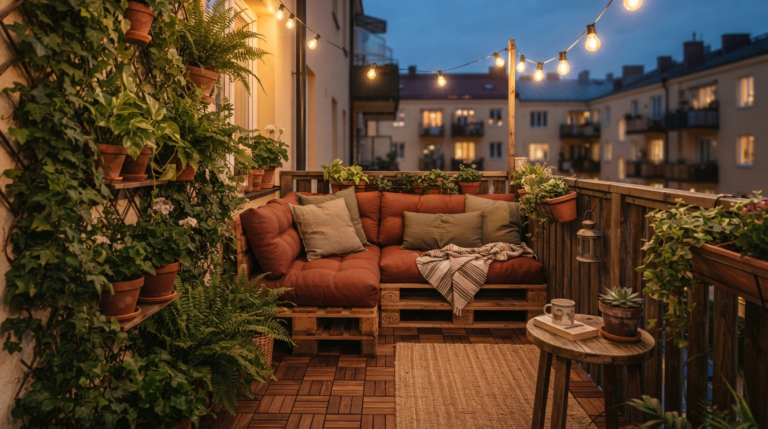
Maximize your small outdoor space with these 14 cozy and rustic balcony ideas. From vertical planters to space-saving seating, create your private oasis today.
Discover affordable and highly creative budget makeover ideas to refresh your living space. Learn how to transform your home without breaking the bank.
Discover the ultimate step-by-step guide to mastering daily decluttering habits. Learn how to transform your messy space into a tidy, serene, and organized sanctuary.
Declutter your kitchen with these clever, rustic pantry organization hacks designed to optimize vertical space, clear counters, and simplify meal prep.
Discover 15 cozy and rustic balcony ideas to transform your small outdoor space into a relaxing retreat. Maximize your tiny balcony with these top decor tips!