
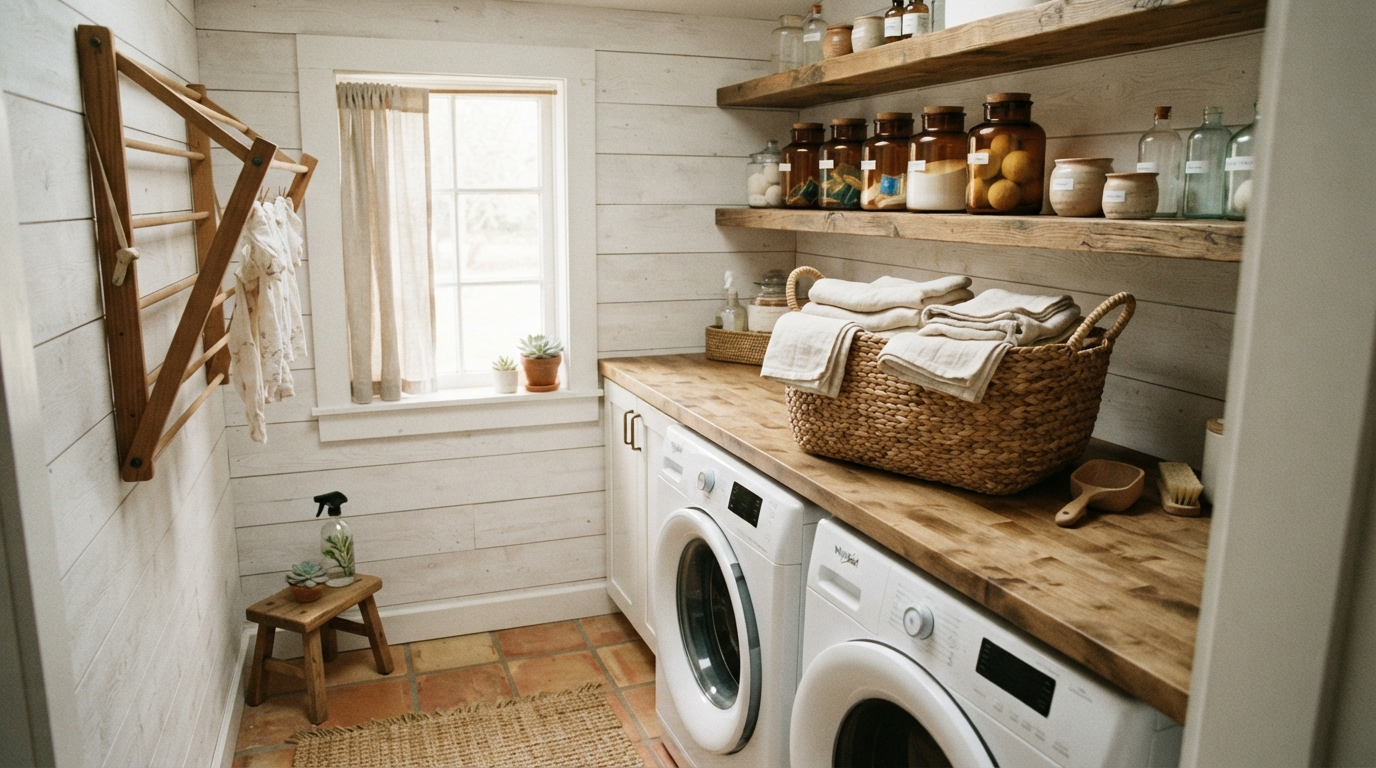
The laundry room might be the smallest, most utilitarian room in your house, but it’s also one you probably visit almost every single day. Between overflowing hampers, mismatched detergent bottles, and socks that never seem to have a home, laundry rooms can quickly spiral into one of the most chaotic corners of a home. The good news is that with a focused weekend project, you can turn even the tiniest laundry closet into an organized, functional, and genuinely pleasant space to work in.
This step-by-step guide will walk you through exactly how to organize a small laundry room from the ground up — no major renovation required. Grab a notepad, set aside an afternoon, and let’s get your laundry space working as hard as you do.
Step 1: Empty the Room and Take Inventory
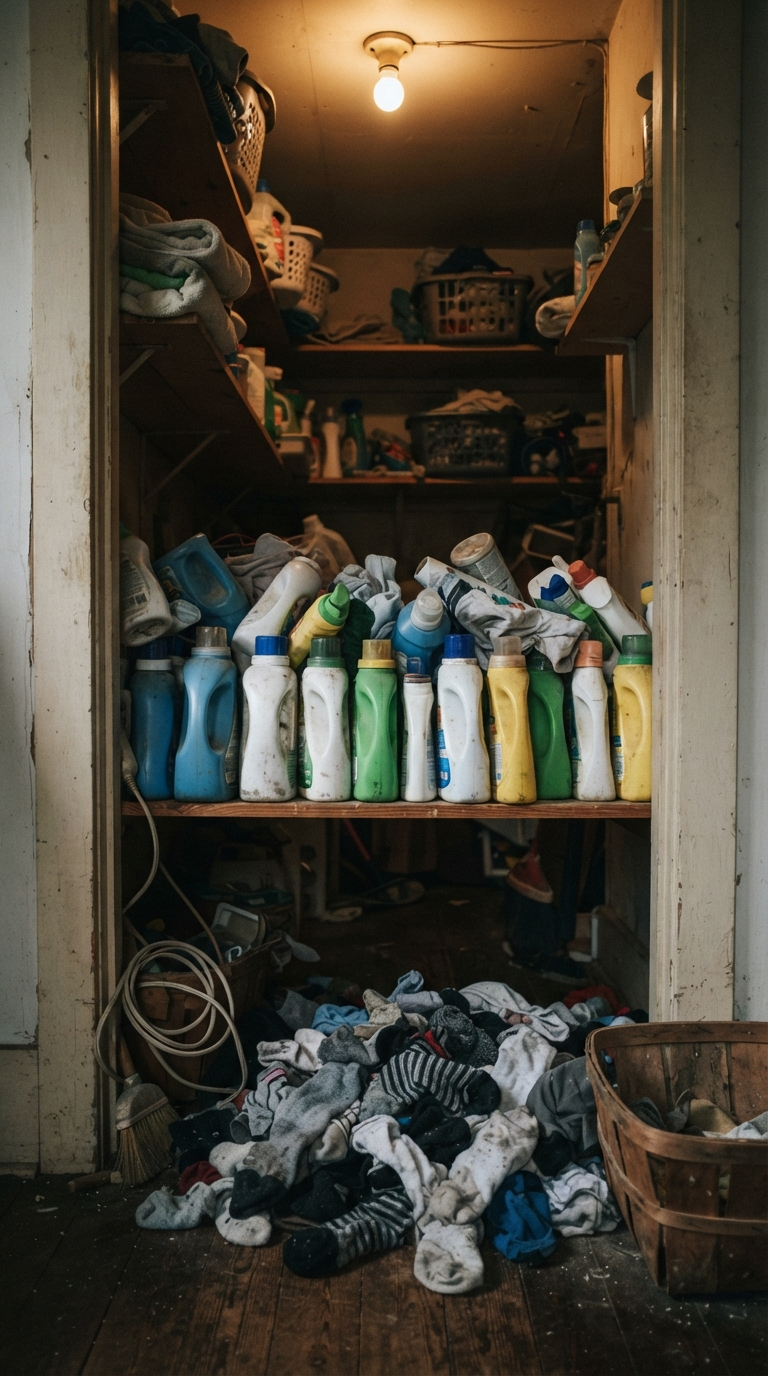
Before any organizing can happen, you need a clean slate. Remove everything from your laundry room — every bottle, box, hanger, and stray sock. This is the only way to truly see how much space you’re working with and to take honest stock of what you own.
As you pull items out, sort them into three categories: items you use weekly, items you use occasionally (like stain treatments or delicate wash bags), and items you no longer need or that have long since dried out or expired. Laundry rooms are notorious for accumulating half-used bottles of specialty detergents — be ruthless here.
- Remove every item from shelves, the top of the machines, and the floor
- Wipe down all surfaces, including behind and around appliances
- Sort supplies into daily-use, occasional-use, and discard piles
- Check expiration dates on stain removers and specialty cleaners
Step 2: Maximize Vertical Storage
Most laundry rooms are narrow, which means your best ally is vertical space. Open shelving installed above the washer and dryer instantly doubles your storage capacity without taking up any additional floor space. Choose sturdy wood or wire shelving that can support the weight of detergent jugs and bulk supplies.
If your walls are too narrow for deep shelving, a slim pegboard system is a fantastic alternative. Pegboards let you hang everything from spray bottles to small baskets, and you can rearrange the layout anytime your needs change. Reserve the highest shelves for items you use only occasionally, and keep everyday essentials within easy arm’s reach.
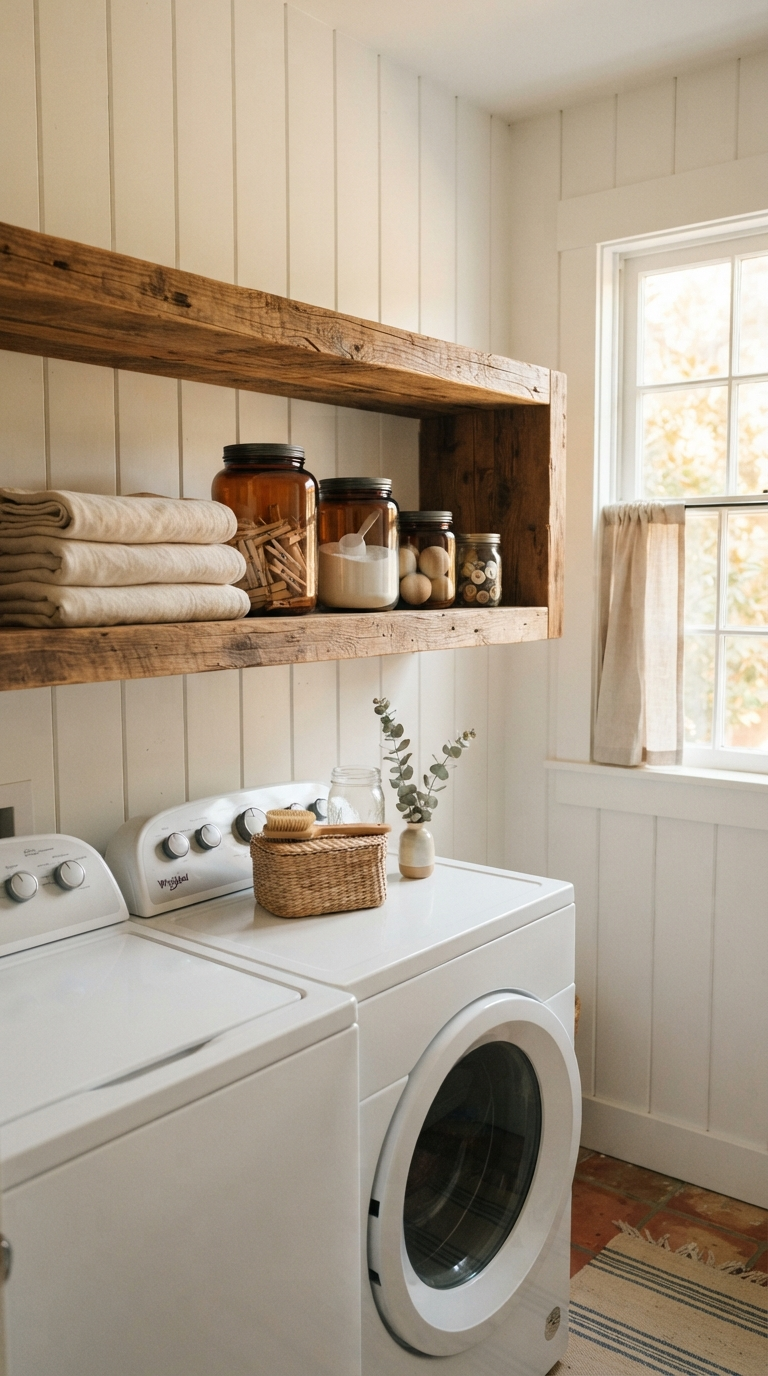
When choosing shelving materials, consider the humidity levels in your laundry room. Solid wood shelves can warp over time in consistently damp environments, so opt for sealed or painted wood, powder-coated metal, or moisture-resistant composite materials. This small material choice will save you from having to redo your storage system a year down the line.
Step 3: Contain Everything in Labeled Bins
Loose items are the number one enemy of an organized laundry room. Once you’ve sorted your supplies, transfer them into labeled bins, baskets, or clear canisters. Grouping like items together — all stain treatments in one bin, all dryer sheets and fabric softeners in another — makes it effortless to grab what you need without rummaging.
Clear canisters are especially useful for powdered detergent or pods, since you can see at a glance when supplies are running low. For smaller items like clothespins, lint rollers, or sewing kits, a divided drawer organizer keeps everything visible and prevents the classic junk-drawer effect from taking over a cabinet.
- Clear canisters for detergent pods and powders
- Labeled bins for stain treatments and specialty cleaners
- A divided drawer organizer for small tools and accessories
- A dedicated basket for lost socks awaiting their match
Step 4: Add a Folding Surface
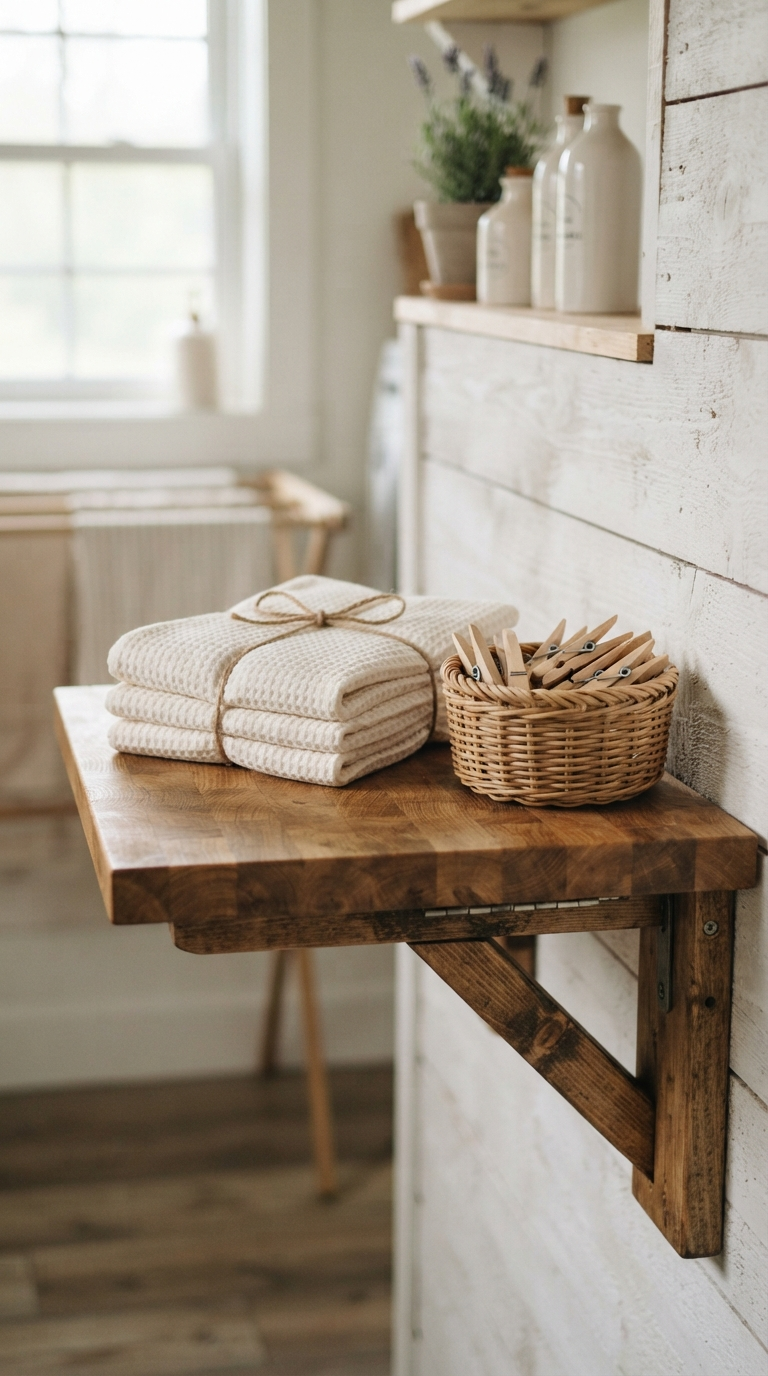
If your laundry room has even a foot of extra space, carve out a dedicated folding surface. This could be as simple as a slim countertop installed over a stacked washer and dryer, a fold-down shelf mounted to the wall, or even a rolling cart with a flat top that tucks away when not in use.
Having a designated folding spot means clean laundry gets processed immediately instead of piling up in a basket for days. If space truly doesn’t allow for a permanent surface, a portable folding board that hangs on a hook and unfolds when needed is a clever workaround for the tightest laundry closets.
Step 5: Install a Drying and Hanging System
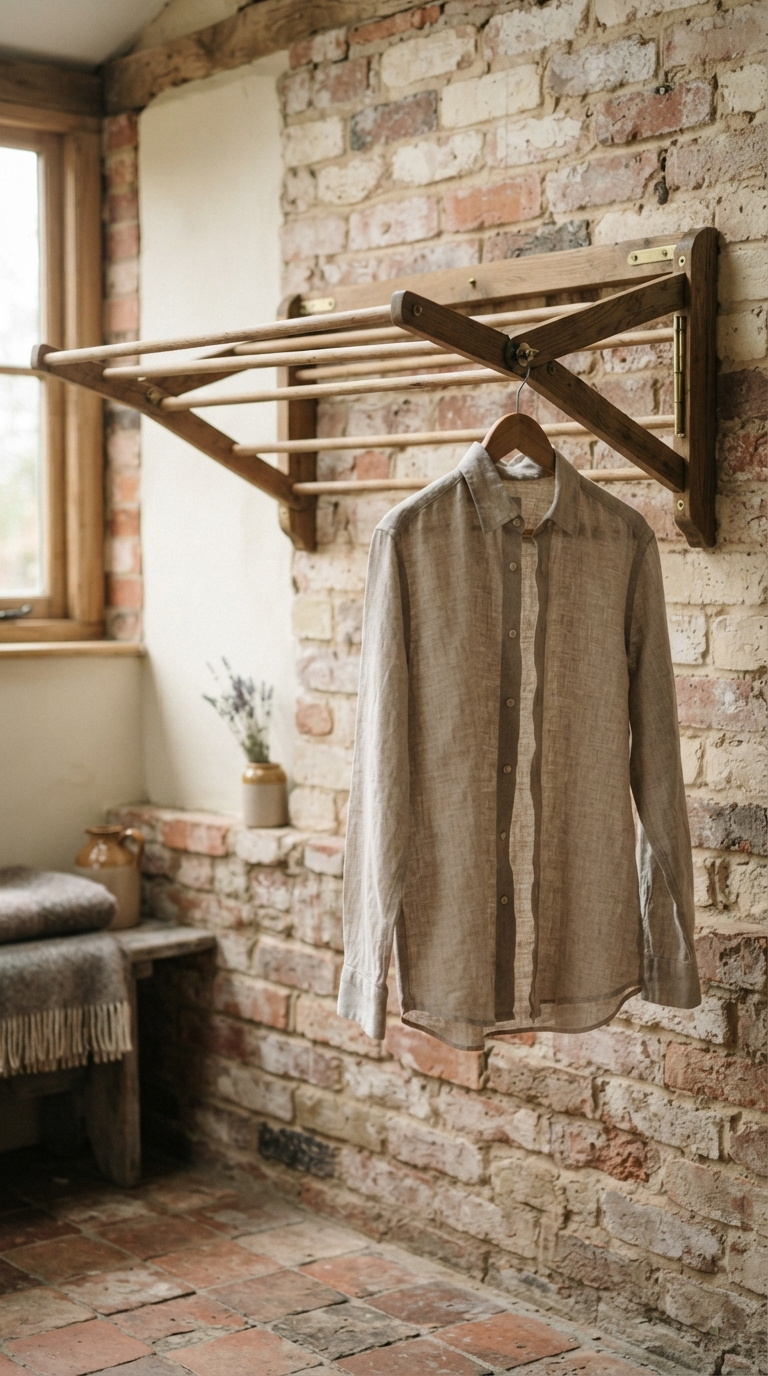
A retractable clothesline or a wall-mounted drying rack is one of the most useful additions you can make to a small laundry room. These fold flat against the wall when not in use and pull out instantly for air-drying delicates, sweaters, or items that shouldn’t go in the dryer.
Pair your drying rack with a short hanging rod so that shirts and dresses can go straight from the dryer onto a hanger, skipping the wrinkle-inducing laundry basket altogether. This small addition alone can save you significant time on ironing.
Don’t overlook the space behind the laundry room door either. A slim over-the-door organizer with clear pockets is perfect for stashing dryer sheets, stain pens, and lint rollers without using up any shelf or counter space. This often-forgotten zone can single-handedly solve storage shortages in the tiniest laundry closets.
Step 6: Create a Sorting Station
A dedicated sorting station streamlines laundry day before it even begins. Whether it’s a tiered hamper system with separate compartments for darks, lights, and delicates, or simply three labeled bins tucked into a corner, having a sorting system in place means less time spent digging through one giant pile.
If your household includes kids, consider color-coding bins or labeling them with each family member’s name. This encourages everyone to pitch in and pre-sort their own laundry, which can be a genuine time-saver for busy parents.

Step 7: Style the Space So It Feels Good to Use
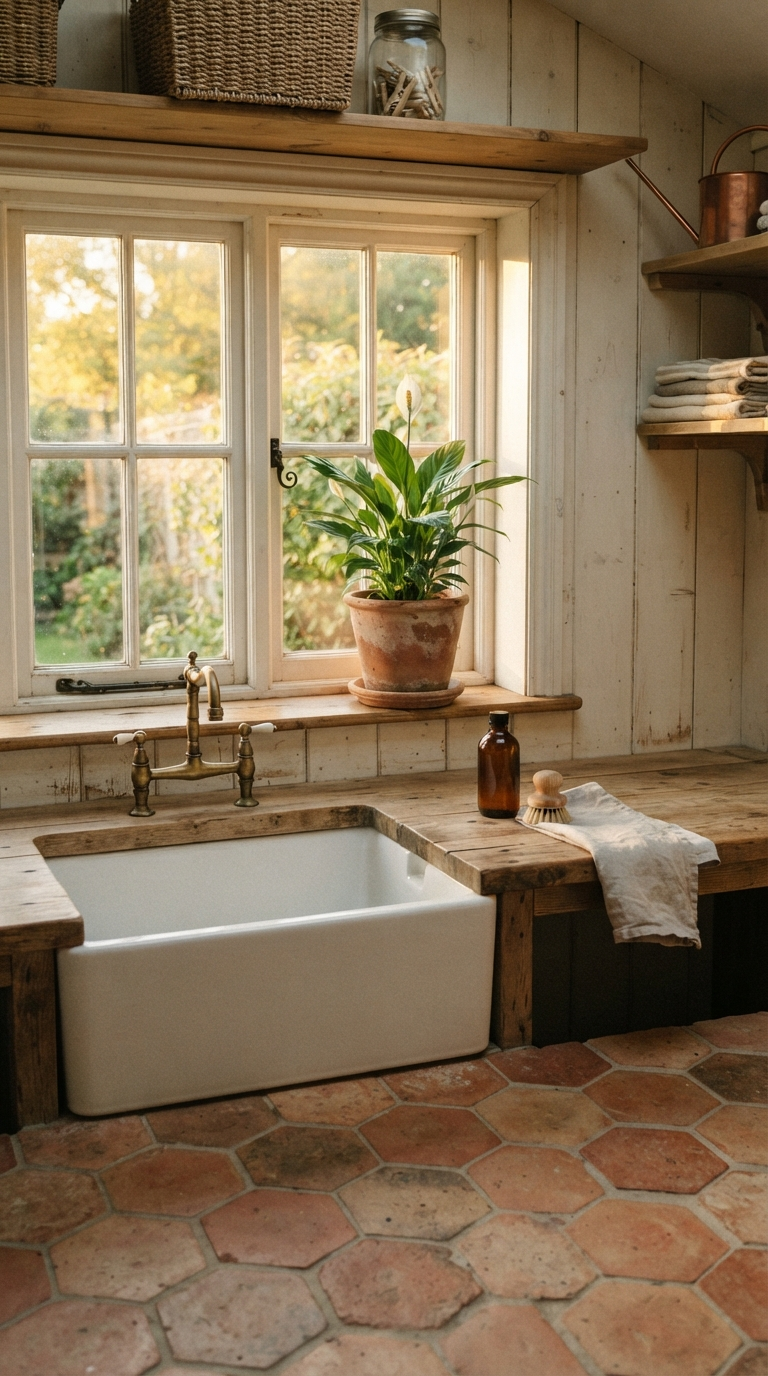
Once the functional systems are in place, take a moment to make the space feel intentional rather than purely utilitarian. A fresh coat of paint in a cheerful color, a small piece of art, or a potted plant that tolerates humidity, like a peace lily, can transform a purely functional closet into a space you don’t mind spending time in.
Swap out generic plastic detergent bottles for refillable glass or ceramic dispensers if you want a more polished look. Small upgrades like a patterned contact paper on shelf edges or a woven rug underfoot can make the room feel finished rather than forgotten.
Step 8: Establish a Weekly Reset Routine
Organization only sticks if it’s paired with a simple maintenance habit. Set aside five minutes each week to wipe down the machines, return any stray items to their designated bins, and check supply levels so you’re never caught without detergent mid-cycle.
This small weekly reset prevents the slow creep of clutter that so often takes over laundry spaces, keeping your newly organized room functional for the long haul rather than just for the first few weeks after your makeover.
Common Laundry Room Mistakes to Avoid
As you finalize your laundry room organization, keep an eye out for these frequent pitfalls:
- Storing heavy detergent jugs on high shelves where they’re difficult and unsafe to reach
- Skipping a folding surface, which leads to clean laundry piling up in baskets
- Overbuying specialty cleaners that go unused and take up valuable shelf space
- Forgetting ventilation, which can lead to musty odors in an enclosed laundry closet
- Neglecting a lost-sock solution, resulting in a permanently mismatched drawer
Bringing It All Together
Organizing a small laundry room doesn’t require a big budget or a demolition crew — just a clear system and a little intentional styling. Work through these steps one at a time: empty and sort, build vertical storage, contain your supplies, add a folding and drying zone, and finish with a few personal touches. Once your system is in place, laundry day will feel less like a chore and more like a quick, satisfying routine.