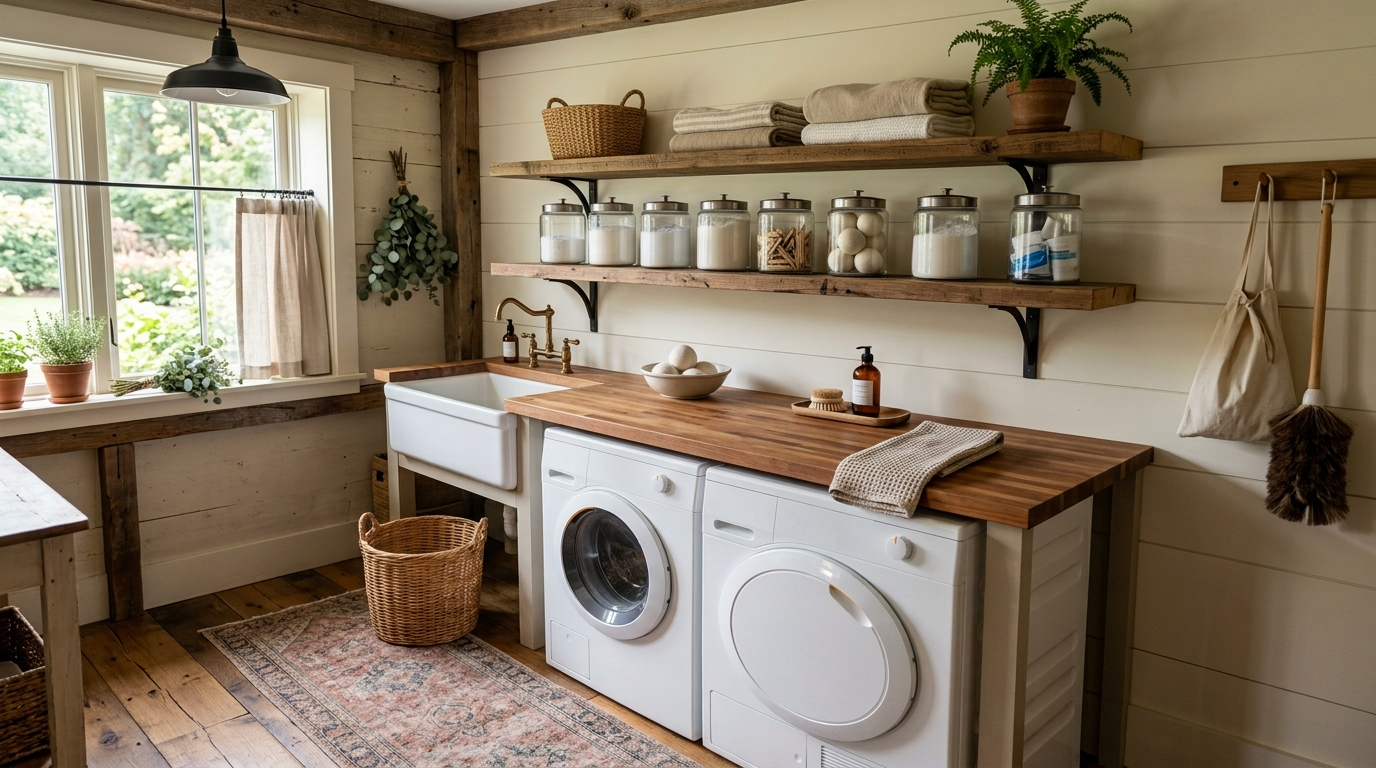
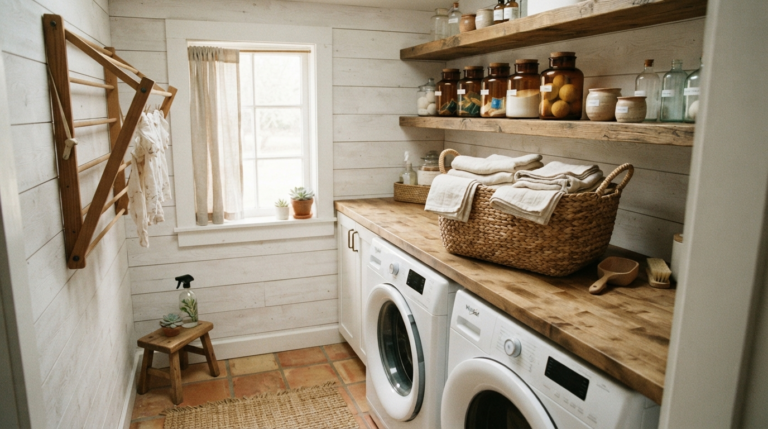
For many, the laundry room is the most neglected space in the house. It is often relegated to a dark, unfinished basement or a cramped, purely utilitarian closet. However, considering the amount of time we spend washing, drying, and folding clothes, doesn’t it make sense to create an environment that is actually enjoyable to be in? Transforming your laundry room from a dreary chore zone into a cozy, rustic, and highly functional sanctuary can completely change your approach to household chores. In this comprehensive, step-by-step how-to guide, we will walk you through the process of building the ultimate cozy and functional laundry room, focusing on warm aesthetics and brilliant organizational solutions.The key to a successful laundry room renovation lies in marrying extreme functionality with comforting, rustic design elements. We want to evoke the feeling of a warm, bustling country farmhouse, utilizing natural woods, classic textiles, and clever storage hacks that make the work itself easier. From planning the initial layout to installing custom butcher block countertops and vintage-inspired hardware, we will cover every detail required to breathe new life into this essential space. Grab your measuring tape and let us begin the transformation.
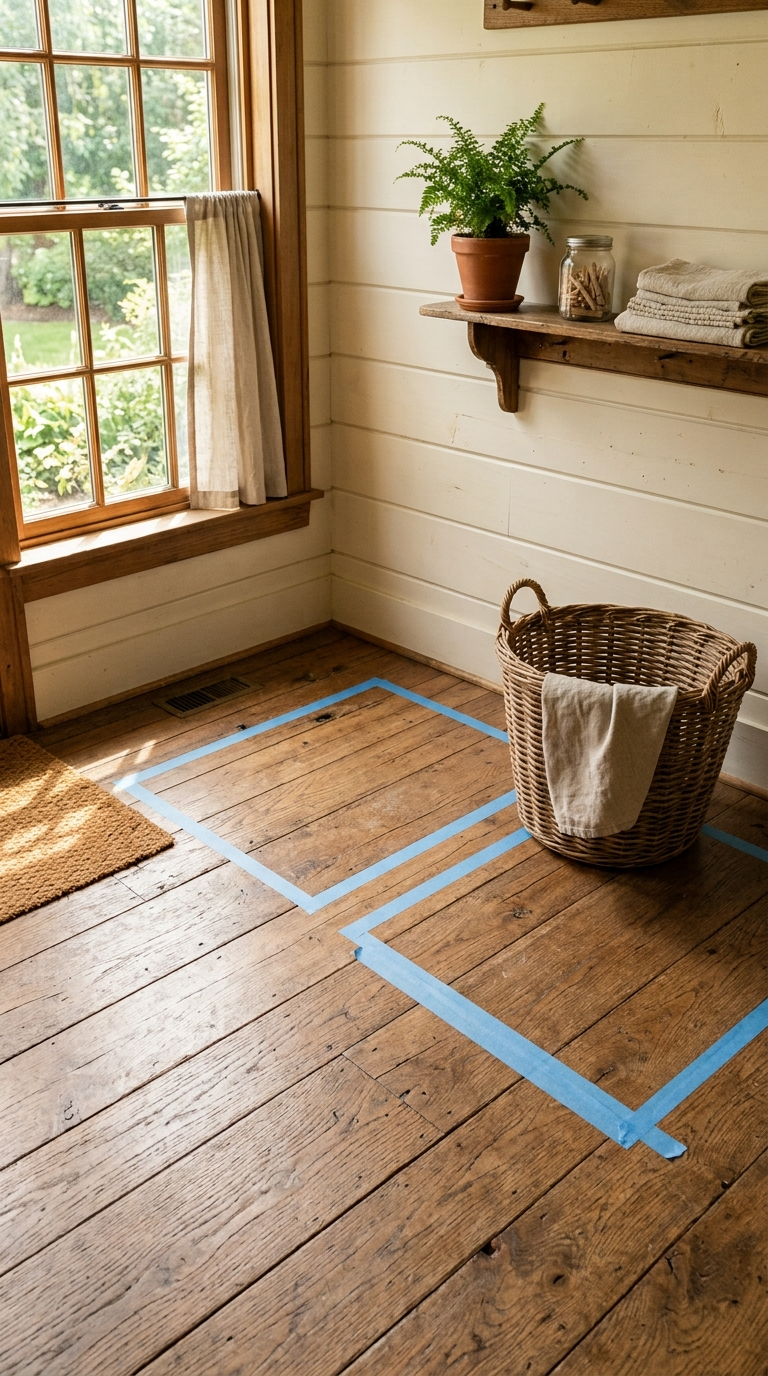
Step 1: Evaluate and Optimize the LayoutBefore buying any materials or swinging a hammer, you must ruthlessly evaluate your current layout. The goal is to create an efficient workflow: a clear path from sorting dirty clothes, to washing, to drying, and finally to folding. If your space allows, placing the washer and dryer side-by-side offers the best opportunity for adding a continuous countertop above them. If you are dealing with a narrow closet, stacking the units is necessary, which means you must find alternative vertical wall space for storage and a folding station.Consider the plumbing and electrical constraints. Moving water lines and heavy-duty electrical outlets can drastically inflate your budget, so try to optimize the layout around the existing utility connections. Ensure the doors of your washer and dryer can fully open without hitting each other or blocking the entryway. Tape out the dimensions of your proposed layout on the floor using painter’s tape to get a physical sense of the space and ensure you have enough room to maneuver comfortably with a full laundry basket.
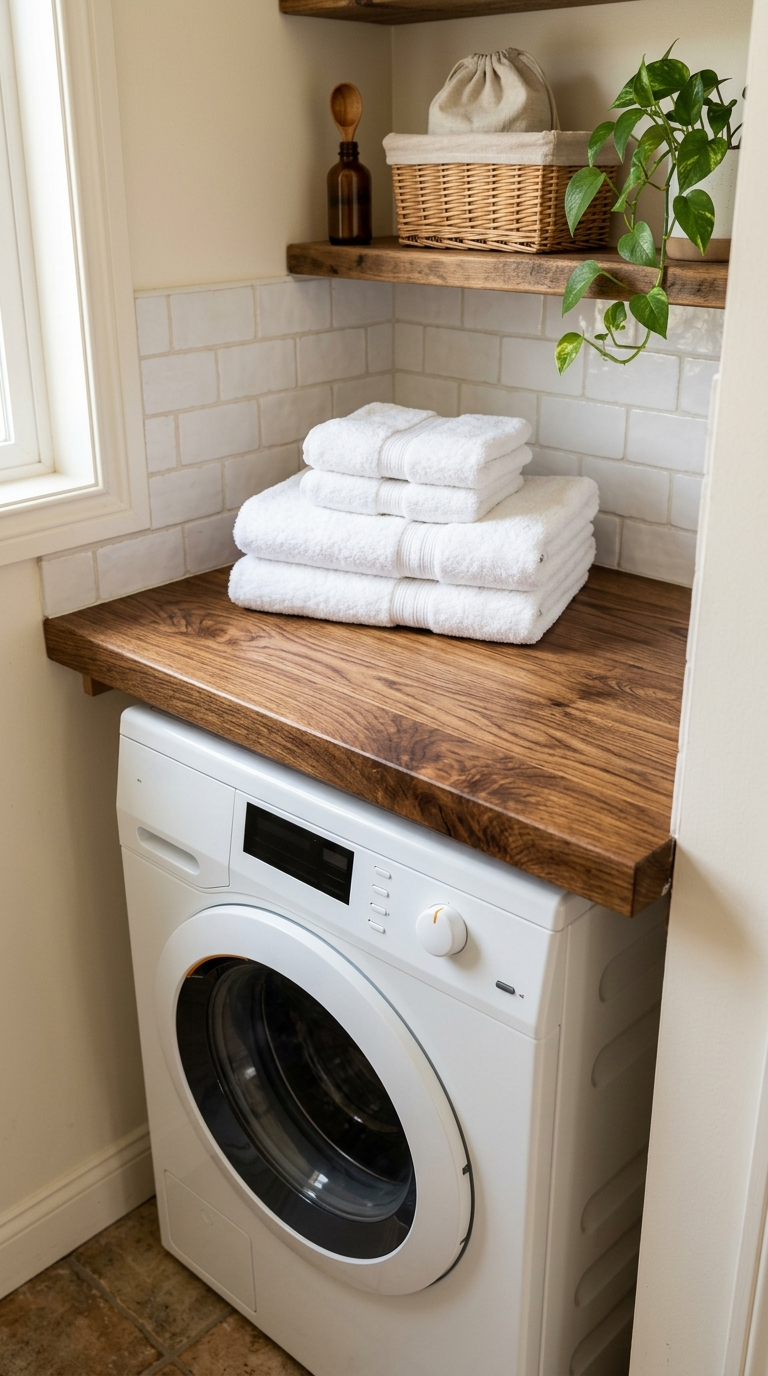
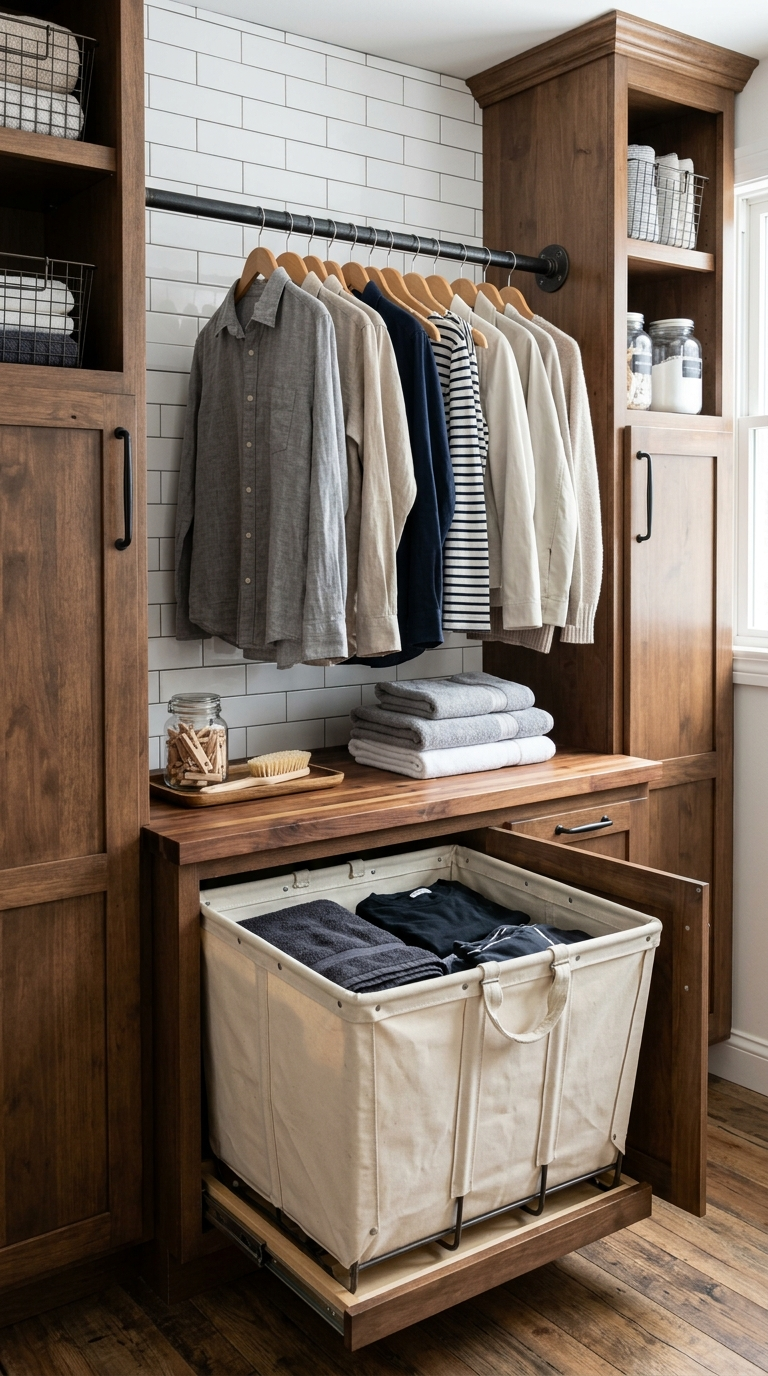
Step 2: Install Custom Butcher Block CountertopsOne of the most transformative elements in a cozy, rustic laundry room is a massive, warm wood countertop installed directly over front-loading machines. This simple addition completely hides the utilitarian tops of the appliances and provides a sprawling, beautiful surface dedicated entirely to folding clothes and organizing supplies. Butcher block is the ideal material for this, offering incredible durability and a rich, natural warmth that instantly softens the room.To install a countertop over your machines, you will need to build strong support cleats along the back and side walls. Never rest the heavy wood directly on the machines, as the vibrations during the spin cycle will cause damage. Secure the butcher block to the wall cleats. To protect the wood from the inevitable moisture and humidity in a laundry room, it is absolutely crucial to seal it thoroughly with a high-quality, water-resistant polyurethane or a specialized hardwax oil, applying multiple coats to ensure longevity.
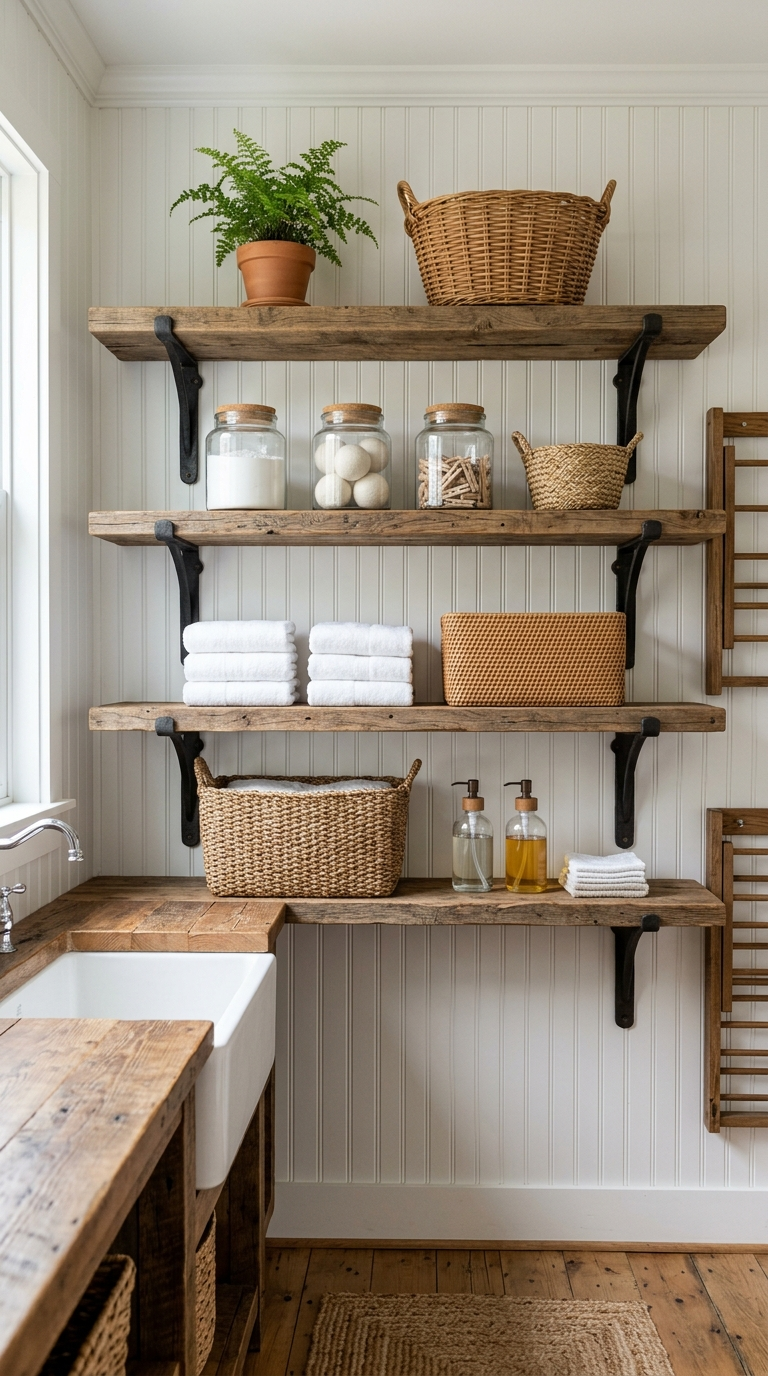
Step 3: Maximize Vertical Storage with Rustic ShelvingLaundry rooms are notorious for lacking storage space. To combat this, you must look upward. Maximize every inch of available vertical space by installing heavy-duty, rustic open shelving. Open shelves keep frequently used items—like detergent, stain removers, and dryer balls—easily accessible while adding to the cozy, farmhouse aesthetic. Avoid flimsy wire racks; instead, opt for thick, rough-sawn pine or reclaimed wood planks.Support these heavy wooden shelves with strong, cast-iron or matte black metal brackets. The contrast between the warm wood and the dark metal perfectly encapsulates the rustic style. To keep the open shelves looking organized rather than cluttered, decant your bright, aggressively branded detergents and powders into beautiful glass jars, woven baskets, and galvanized metal bins. This visual uniformity is key to maintaining a calm and cozy atmosphere.
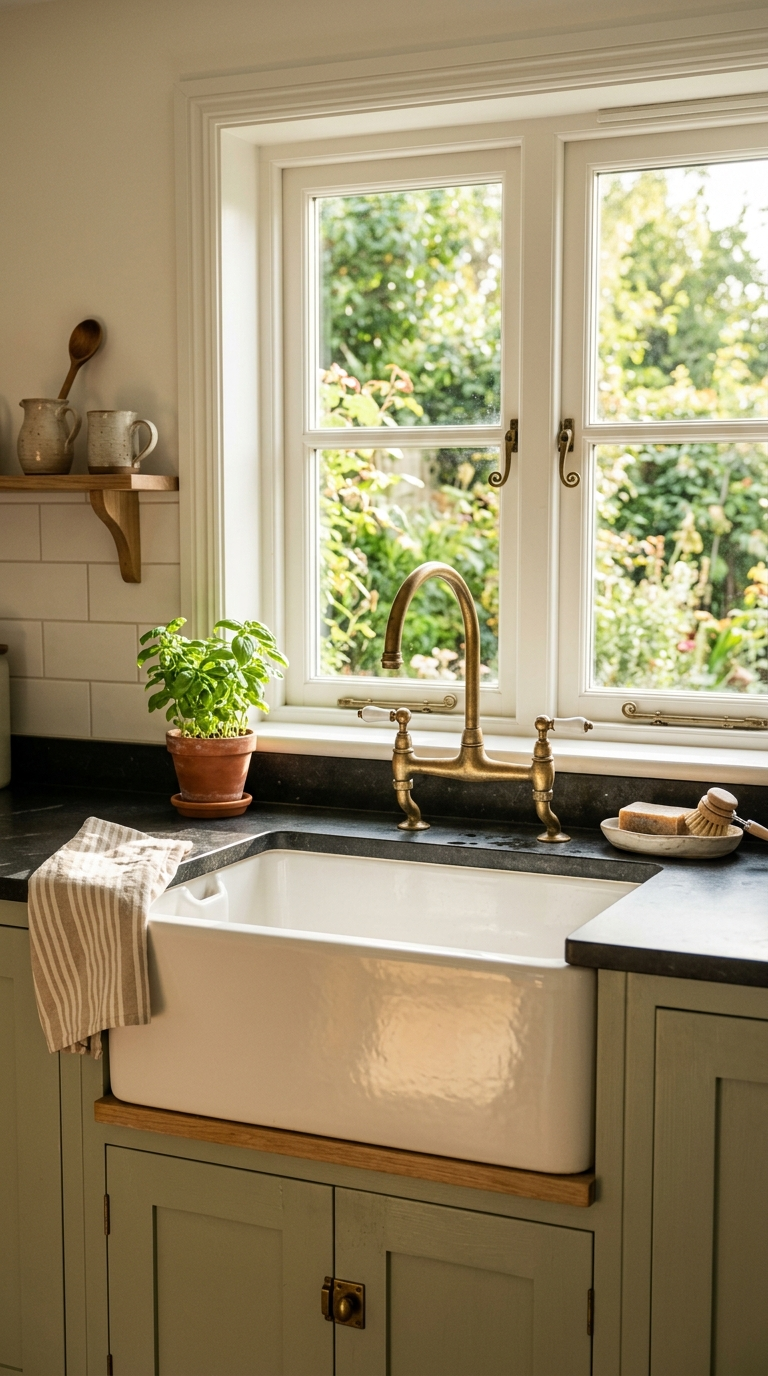
Step 4: Incorporate a Deep Farmhouse SinkIf your plumbing allows for it, installing a deep utility sink is an absolute game-changer for a functional laundry room. But rather than settling for a cheap plastic utility tub, elevate the space by incorporating a classic ceramic farmhouse apron-front sink or a deep cast-iron basin. This is essential for hand-washing delicate items, soaking heavily stained clothes, or even washing the family dog.Pair the rustic sink with a vintage-inspired, bridge-style faucet in a warm finish like aged brass or oil-rubbed bronze. The faucet should ideally have a pull-down sprayer to make rinsing out the large basin easy. Build custom cabinetry around the sink using beadboard or shaker-style doors painted in a soft, soothing color—like sage green, slate blue, or warm cream—to further enhance the cozy, cottage-like feel of the room.
Step 5: Master the Art of Sorting and HangingA truly functional laundry room anticipates the workflow. To prevent piles of dirty clothes from accumulating on the floor, implement a built-in sorting system. If you have lower cabinetry, install pull-out canvas hamper bins so clothes can be sorted into lights, darks, and delicates as soon as they enter the room. If space is tight, utilize a rolling, multi-bag laundry sorter constructed from distressed metal and heavy-duty canvas.Equally important is a dedicated hanging area for clothes that need to air dry or be hung immediately to prevent wrinkles. Install a sturdy, industrial-style iron pipe rack between two upper cabinets, or hang a vintage wooden ladder horizontally from the ceiling using strong chains to serve as a unique, rustic drying rack. Providing ample hanging space eliminates the need to drape wet clothes over chairs and doorknobs throughout the rest of the house.
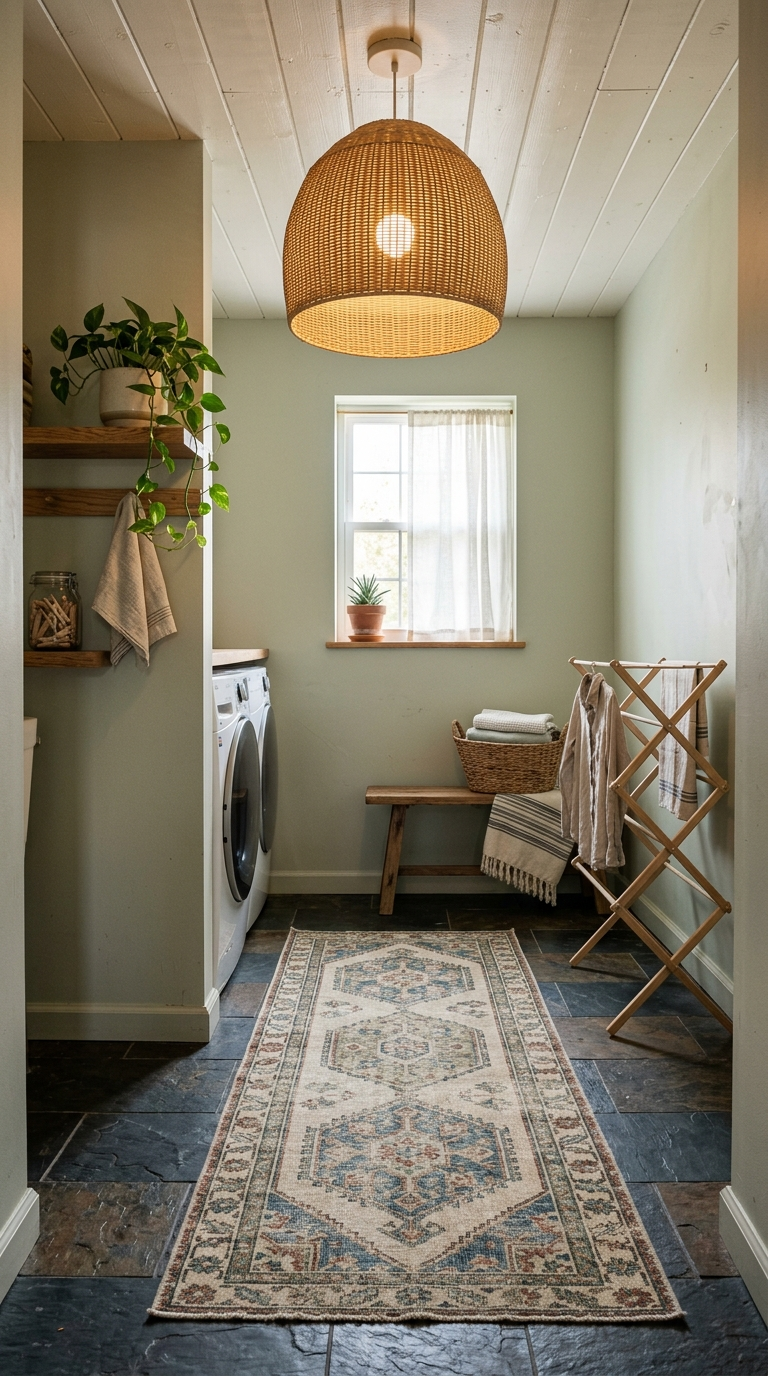
Step 6: Add Cozy Textures and Finishing TouchesThe final step is to layer in the cozy, decorative elements that make the room feel like a true living space rather than a utility closet. Lighting plays a major role; replace harsh fluorescent tubes with a charming flush-mount fixture, like a seeded glass dome or a woven rattan pendant. Add a soft, washable vintage-style runner rug over the cold floor tiles to provide warmth and comfort while you stand and fold.Finish the room with thoughtful, rustic accessories. Hang a vintage washboard or a framed, antique laundry soap advertisement on the wall. Add a small, hearty houseplant—like a pothos or a snake plant—on the windowsill or upper shelf to bring in a touch of vibrant life. By carefully executing each of these steps, you will construct a laundry room so exceptionally cozy and perfectly functional that you might just find yourself looking forward to laundry day.
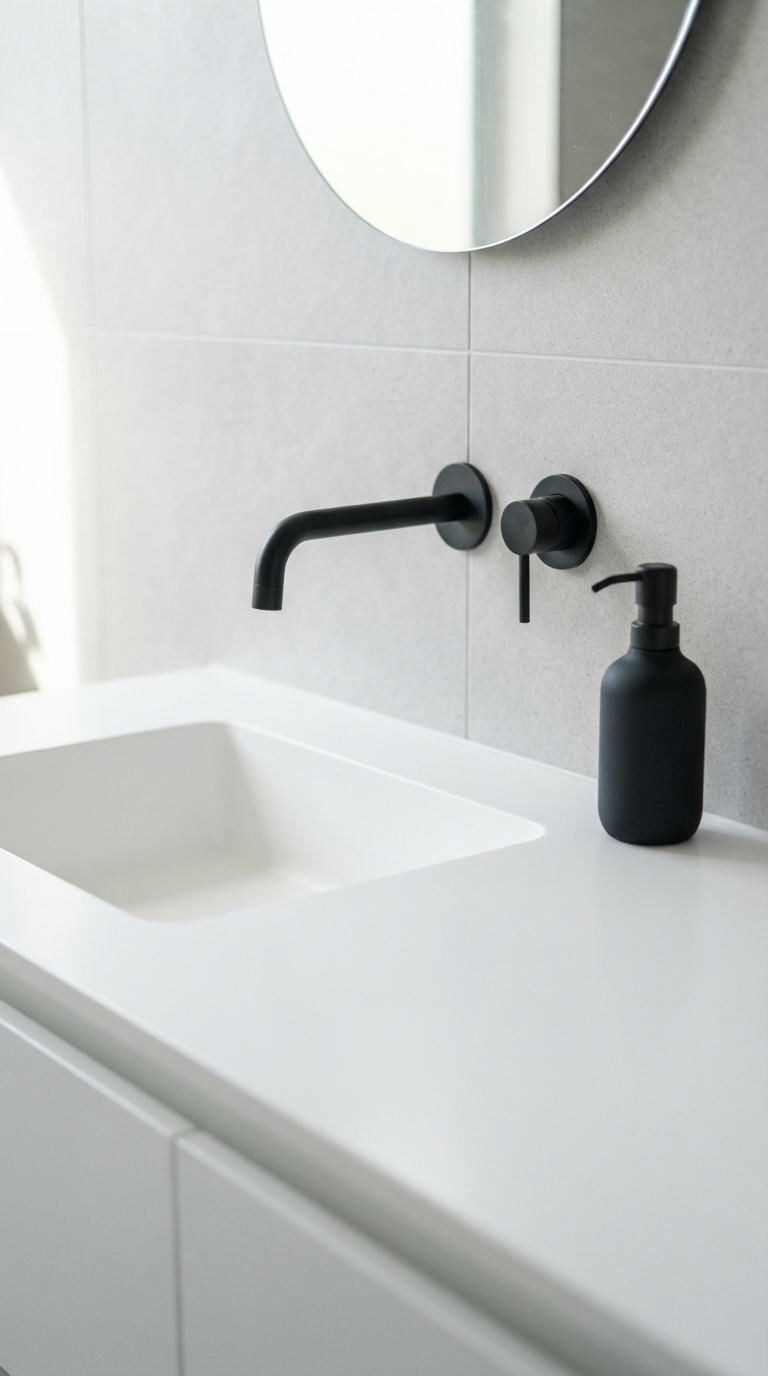
Upgrade your daily routine with these fourteen minimalist bathroom ideas designed to create a spotless, peaceful, and visually expansive spa-like retreat.
Transform your daily routine by designing a luxurious spa bathroom. Explore premium materials, elegant fixtures, and serene touches for your personal oasis.
Are your bathroom and laundry spaces inefficient or dated? Discover the most common design mistakes homeowners make and learn how to fix them for a sleek, clean look.
Are you making these critical layout and styling errors? Learn how to fix common bathroom and laundry design mistakes for a flawless, highly functional space.
Unlock the secrets to maximizing space and elevating style in a compact bathroom. This step-by-step guide helps you create a premium, luxurious oasis at home.