Lighting is often the most overlooked element in interior design, yet it has the power to completely transform a space. It’s not just about flipping a switch to see; it’s about creating mood, highlighting architectural features, and making a home functional for various activities. A single, harsh overhead light rarely does a room justice. Instead, the secret that professional designers use is ‘layered lighting.’ This guide will walk you through exactly how to achieve a professionally lit home, step-by-step.
Step 1: Understand the Three Foundational Types of Lighting
To begin layering, you first need to understand the different types of light and what purpose they serve. Think of these as your building blocks. Without all three, a room can feel flat, impractical, or uninviting.
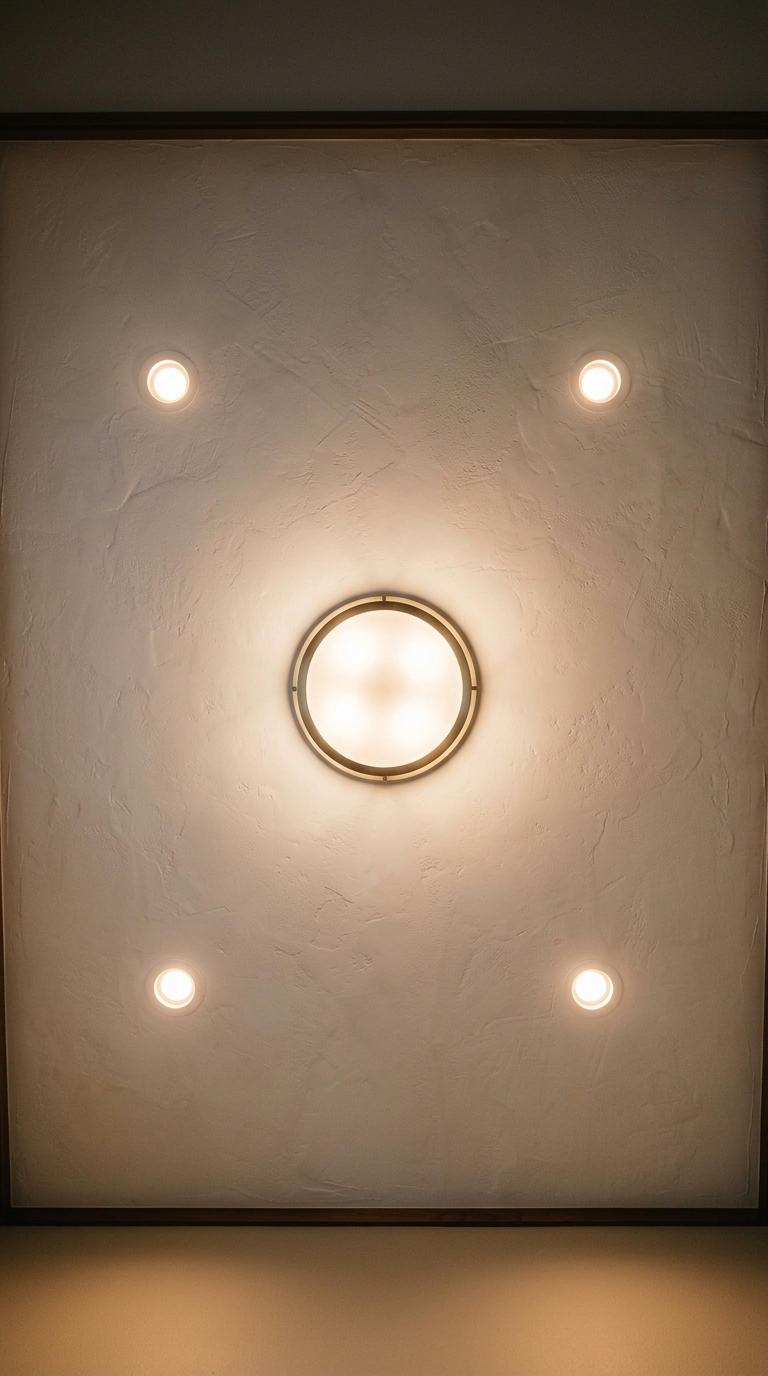
1. Ambient Lighting (General Lighting): This is the base layer of light in a room. It provides uniform illumination and is intended to make the space safely navigable. Examples include recessed ceiling lights, flush mounts, or the natural light coming through a window.
2. Task Lighting: This lighting is functional and focused. As the name suggests, it helps you perform specific tasks, such as reading, cooking, or applying makeup. Desk lamps, under-cabinet lighting in the kitchen, and vanity lights are common examples. It needs to be bright enough to prevent eye strain but directional enough not to overpower the room.
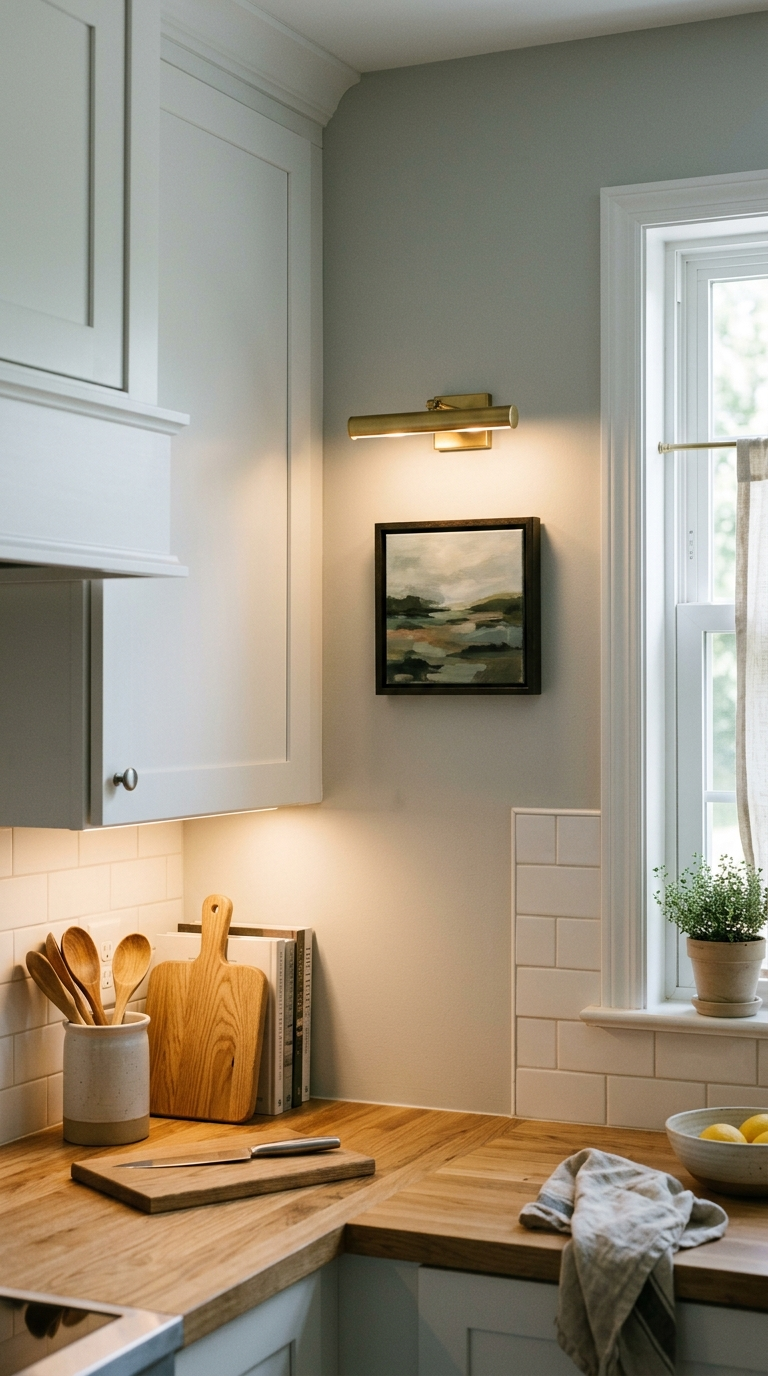
3. Accent Lighting: This is the ‘jewelry’ of your lighting scheme. It’s used to draw attention to specific features, such as artwork, architectural details, or a collection of objects on a shelf. Accent lighting should generally be about three times brighter than the surrounding ambient light to create visual interest. Think track lighting, wall sconces, or picture lights.
Step 2: Start with the Heart of the Home – Lighting the Living Room
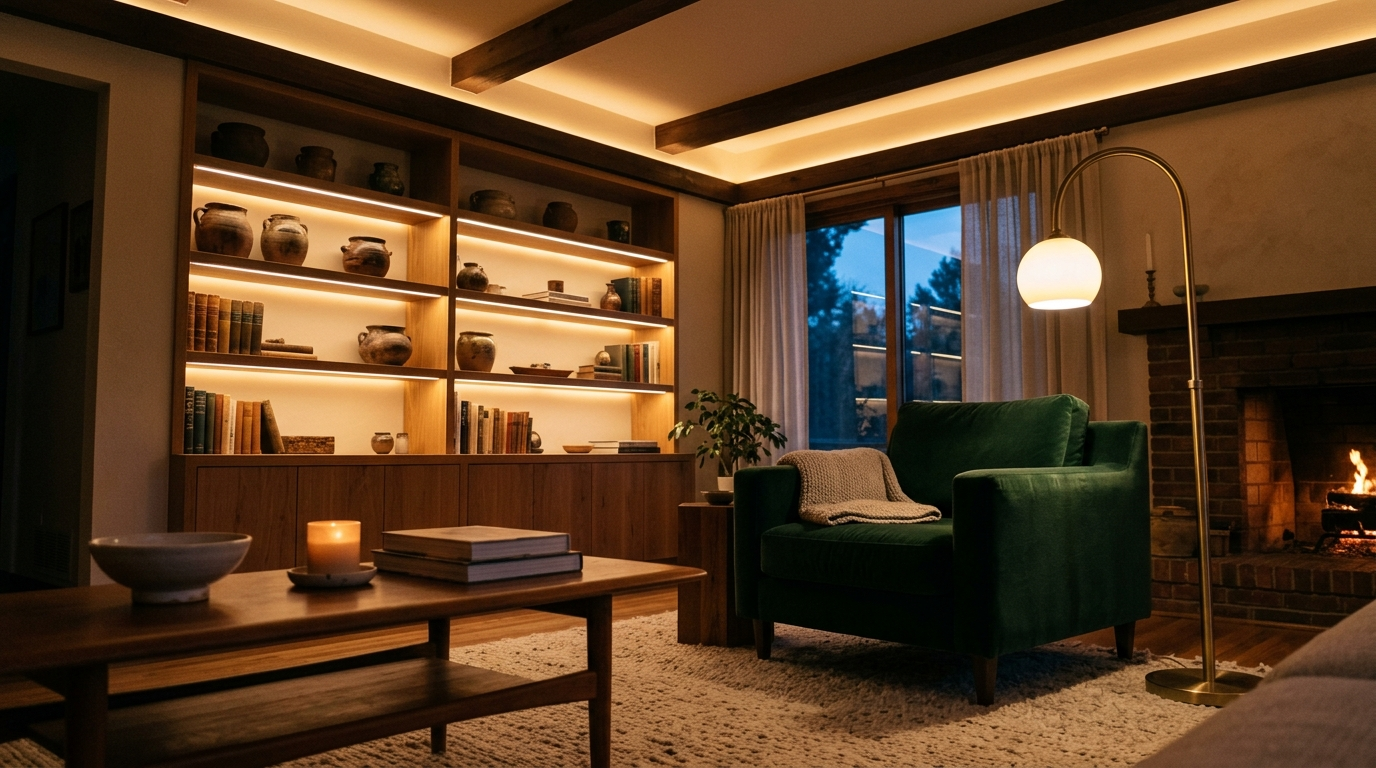
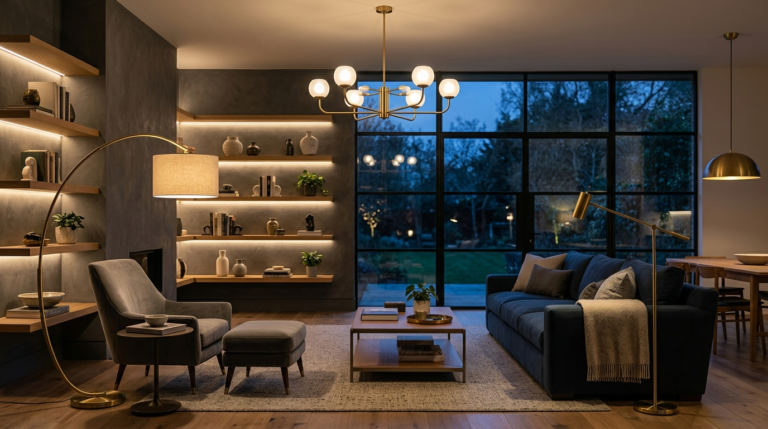
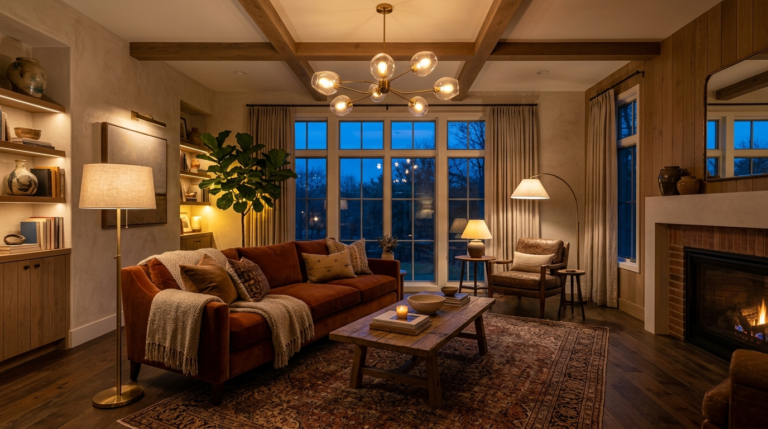
The living room is multi-functional: it’s for relaxing, entertaining, and perhaps even working. Therefore, flexibility is key. Start by establishing your ambient light. While recessed lights are popular, consider an elegant flush mount or a dramatic chandelier as a central focal point. In older homes with limited ceiling wiring, a decorative floor lamp that arcs over the seating area can provide ambient light.
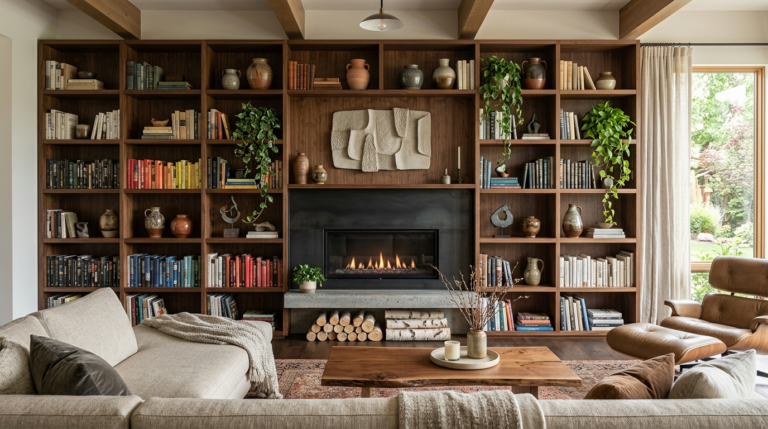
Next, add task lighting. A stylish table lamp next to a sofa or an adjustable floor lamp next to a reading chair are perfect additions. For entertaining, you want these lights to be dimmable to soften the mood. Finally, incorporate accent lighting. Install warm LED strip lighting inside a built-in bookshelf, or use directional tracking lights to illuminate a large piece of art above the fireplace. This prevents the room from feeling like a sterile box and creates depth.
Step 3: Mastering Kitchen and Dining Room Lighting
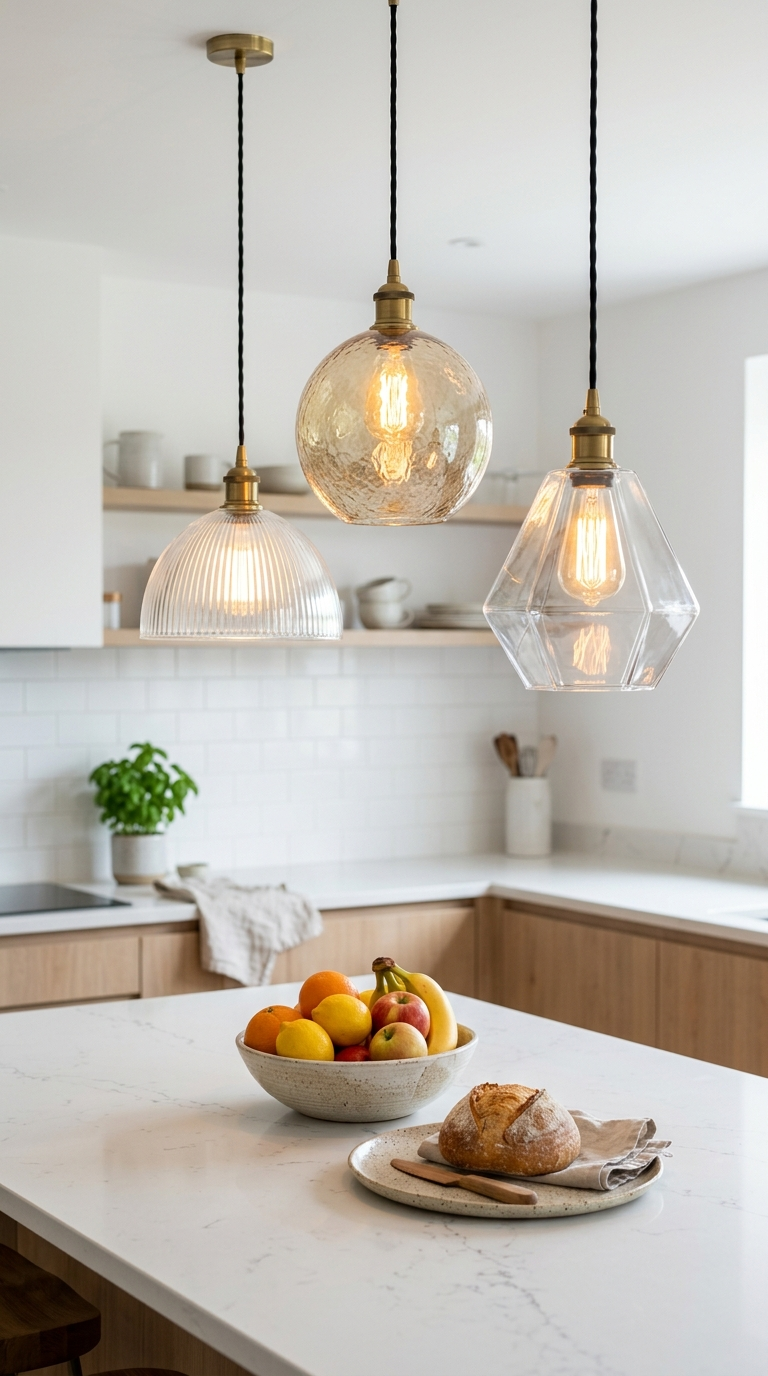
The kitchen requires a strong emphasis on task lighting. While overhead ambient lighting is necessary, shadows on countertops make food prep difficult and unsafe. Installing LED strip lights or puck lights under the upper cabinets directly illuminates your workspace. If you have a kitchen island, pendant lights are a fantastic option. They provide focused light on the island surface (task) and serve as a decorative element (accent).
In the dining room, the central focus is almost always the dining table. A stunning pendant or chandelier suspended over the table serves as both ambient light and a design statement. The rule of thumb is to hang the fixture about 30 to 36 inches above the table surface. Complement this with accent lighting. A sideboard or buffet can hold stylish table lamps, or wall sconces can be placed on either side of a large mirror or piece of art, creating a welcoming glow for dinner parties.
Step 4: Creating a Restful Sanctuary in the Bedroom and Bathroom
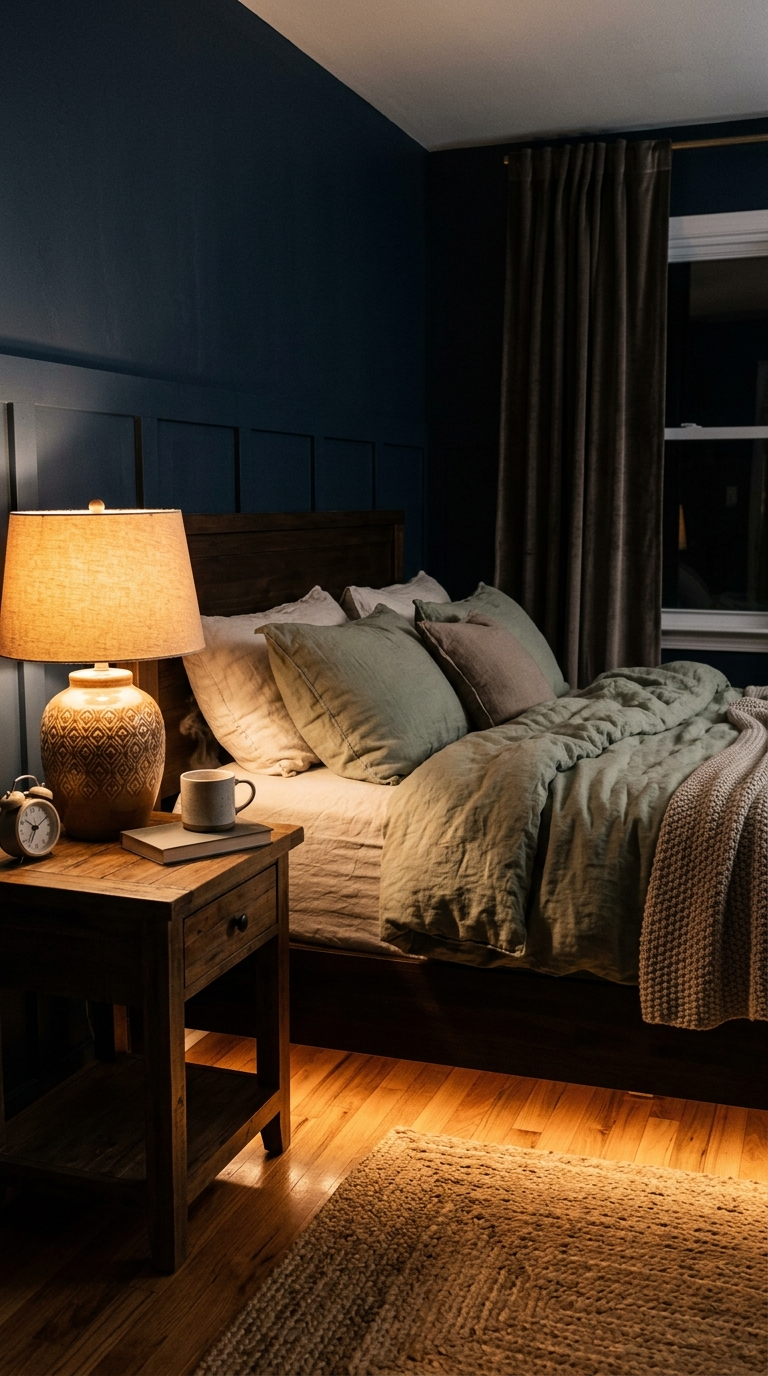
In the bedroom, the goal is relaxation. Avoid harsh overhead ambient lights as the primary source. Opt for warmer, dimmable flush mounts or even a romantic chandelier. The most crucial layer here is task lighting. Bedside table lamps or wall-mounted sconces on either side of the bed are essential for reading and wind-down time. Consider the height: the bottom of the lamp shade should be roughly at eye level when you are sitting up in bed.
Bathrooms are tricky because they need bright, functional lighting for grooming but softer light for a relaxing bath. Ambient light can come from recessed ceiling lights. However, for task lighting at the vanity, avoid overhead lights that cast harsh shadows under the eyes. Instead, install wall sconces on either side of the mirror at eye level (about 60 inches from the floor) for flattering illumination. To create a spa-like atmosphere, consider adding damp-rated accent lighting, such as LED strips under a floating vanity or in a shower niche.
Step 5: Choosing the Right Fixtures and Bulbs for Your Style
Once you understand the placement, you need to select fixtures that match your aesthetic. The choices are endless, from modern minimalism to traditional elegance. When choosing pendants for an island, for example, look for something that complements your kitchen hardware. For living room lamps, consider mixing textures—a ceramic base with a linen shade adds warmth.
Equally important are the bulbs. Pay attention to ‘Color Temperature,’ measured in Kelvin (K). For a cozy, inviting feel in living rooms and bedrooms, choose bulbs in the ‘Warm White’ range (2700K–3000K). For utility areas like kitchens and bathrooms, ‘Cool White’ or ‘Daylight’ bulbs (3500K–5000K) provide crisp, clear light for tasks. Also, look at ‘Lumens’ (brightness), not just watts. Always check if your fixtures are dimmable and invest in dimmer switches; they are the easiest way to adjust the lighting layers on demand.
Step 6: Putting It All Together: Installation and Styling Tips
While many decorative lamps are plug-and-play, overhead fixtures and sconces require hardwiring. If you are not confident with electrical work, always hire a licensed electrician. Plan your lighting layout before starting any renovations. Think about where switches should be located for convenience—for example, a switch by the bed for the main room light.
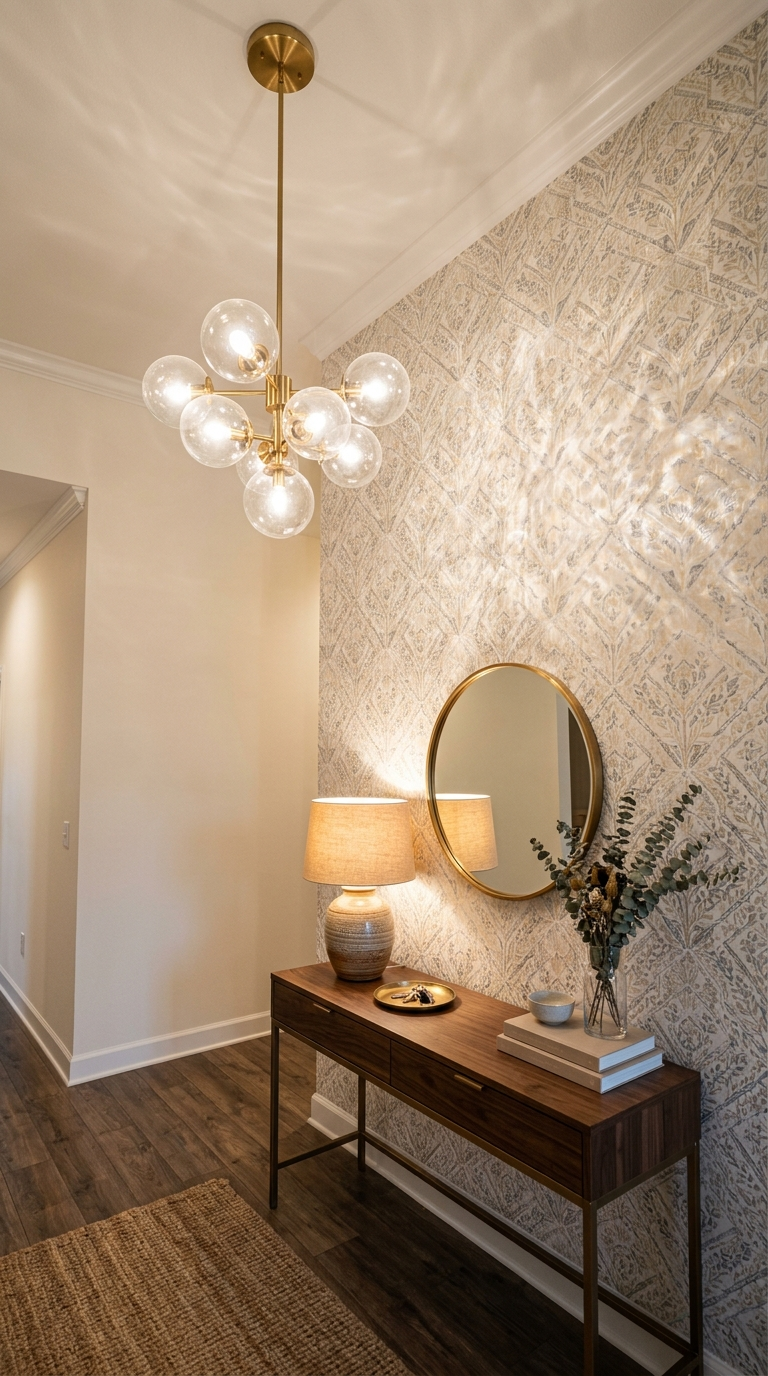
Final styling is where you personalize. In a living room, use a floor lamp to fill an empty corner and add visual height. On a console table, pair a smaller table lamp with stacked books and a decorative object. In the entryway, a stunning flush mount and a table lamp on a console table immediately set a welcoming tone. Experiment with different bulb types and dimming levels until you achieve the perfect, professional glow. Remember, layered lighting is about flexibility, functionality, and fashion, allowing you to control the feel of your home at any moment.
By following these steps, you can move away from uninspired, single-source illumination and embrace a sophisticated, multi-layered approach. Your home will not only look better but it will also feel more comfortable and function more efficiently for your everyday life.
Is your home overflowing with clutter? Avoid these common Shelves & Storage mistakes to create a perfectly organized, beautiful, and functional living space today.
Are you making these critical home lighting mistakes? Learn how to properly layer ambient, task, and accent lighting to beautifully illuminate every single room.
Transform your dining area into a stunning focal point. Explore elegant tables and curated accessories that elevate your everyday meals and special events.
Master the art of shelf styling! Learn how to seamlessly blend beautiful decor with practical storage solutions in any room with this ultimate design guide.
Discover the most common living room lighting mistakes that ruin your home’s aesthetic. Learn expert tips on layering, color temperature, and fixture scale.