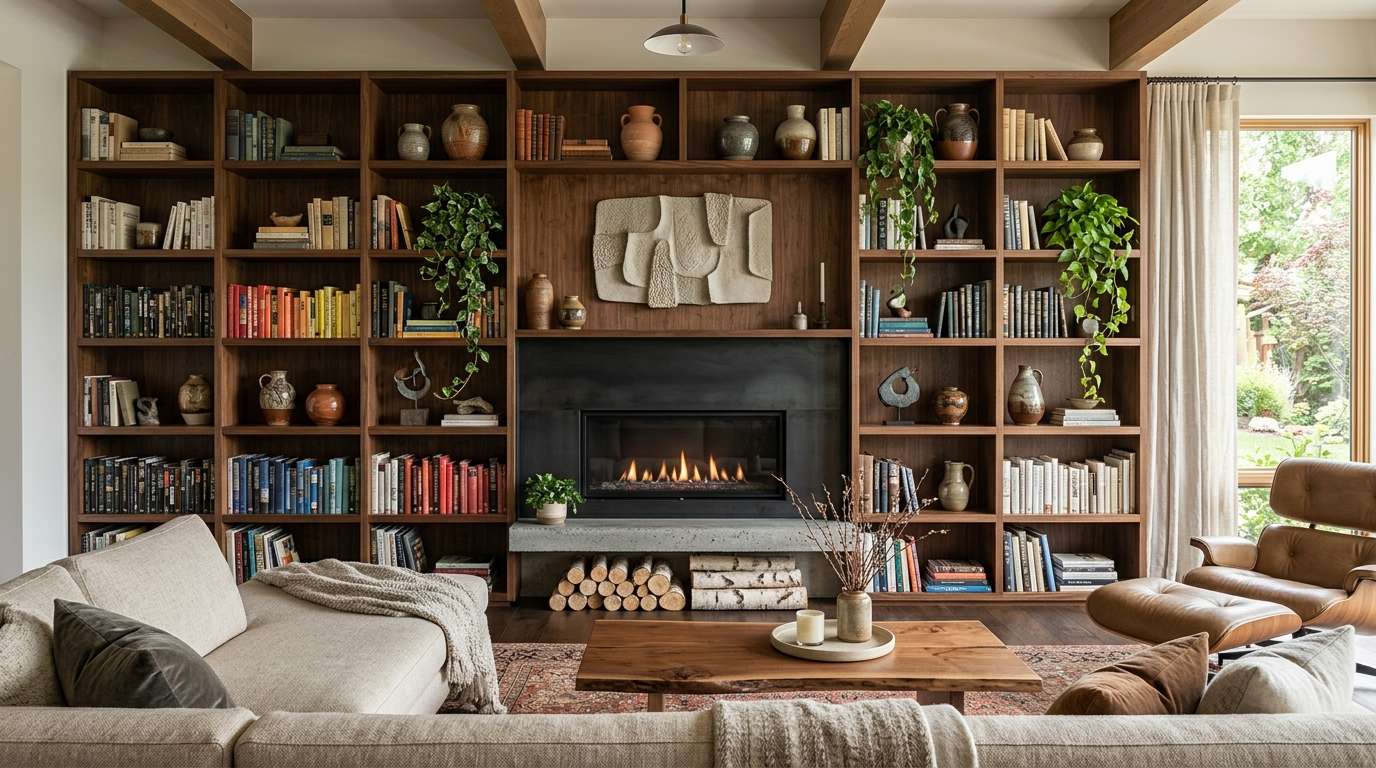
Open shelving has taken the interior design world by storm, evolving from a trendy kitchen addition to an absolute staple in living rooms, bathrooms, and home offices. The appeal is undeniable: when done right, open shelves provide a magnificent opportunity to display your personality, showcase cherished collections, and keep everyday essentials within easy reach. However, the line between a beautifully curated display and a chaotic, cluttered mess is incredibly thin. Navigating that line is the true challenge of styling open storage.For many homeowners, staring at a blank set of shelves can feel incredibly intimidating. How do you balance aesthetics with functionality? How many items are too many? How do you create visual interest without making the space feel heavy or disorganized? In this comprehensive, step-by-step guide, we will unlock the secrets used by professional interior designers to style open shelving flawlessly. We will walk you through the process of combining beauty and utility, transforming your storage solutions into captivating focal points that elevate your entire home.
Step 1: The Essential Declutter and Blank SlateThe biggest mistake you can make when styling shelves is trying to rearrange existing clutter. The process must always begin with a completely blank slate. Take absolutely everything off your shelves. Yes, everything. Wipe down the surfaces and stand back to look at the empty structure. This allows you to understand the scale, the spacing between the shelves, and how the unit interacts with the rest of the room’s architecture.Now, ruthless editing is required. Sort through the items you removed and separate them into three categories: strictly functional items that need to stay in the room, beautiful decorative pieces you love, and items that belong elsewhere (or in the donation bin). Open shelving is a display space, meaning every single item you put back must serve a deliberate purpose—either it functions perfectly, or it brings you joy visually. If it does neither, it goes.
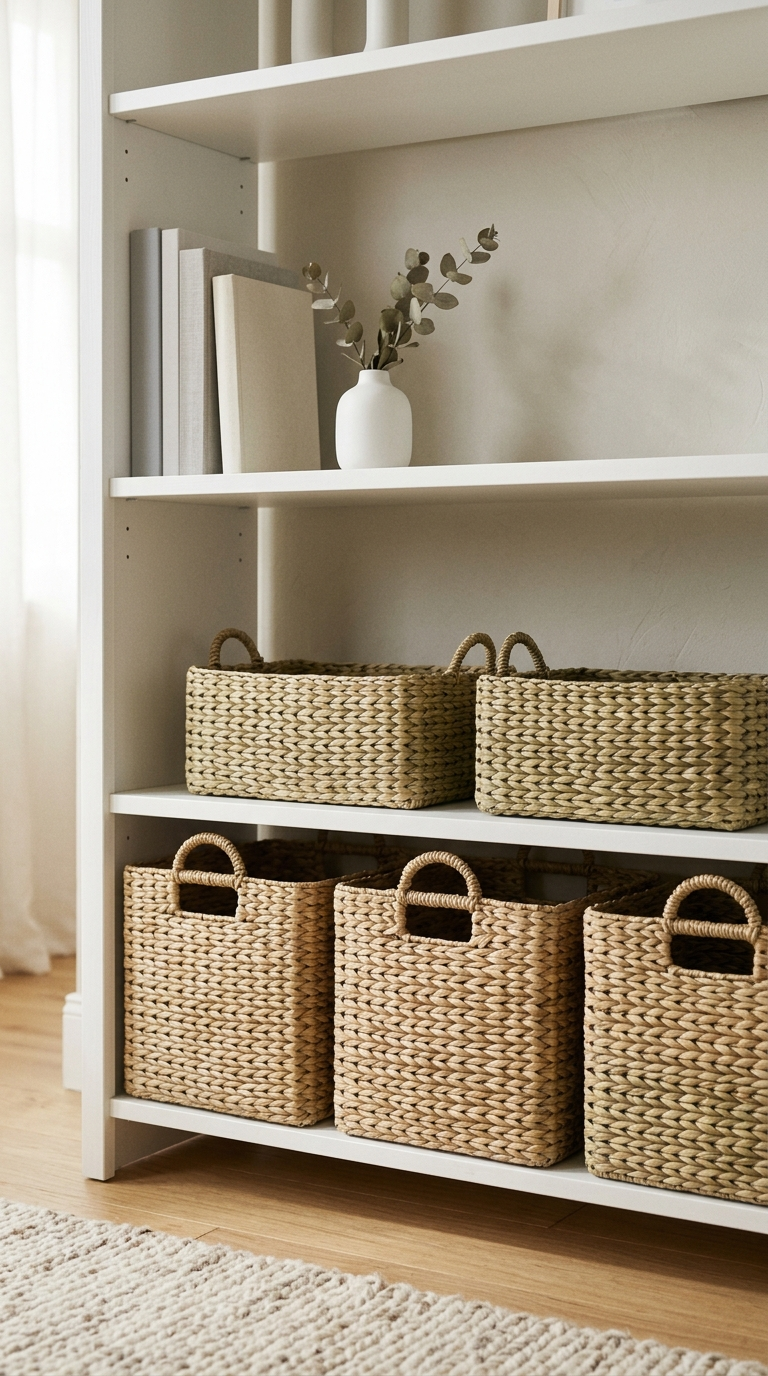
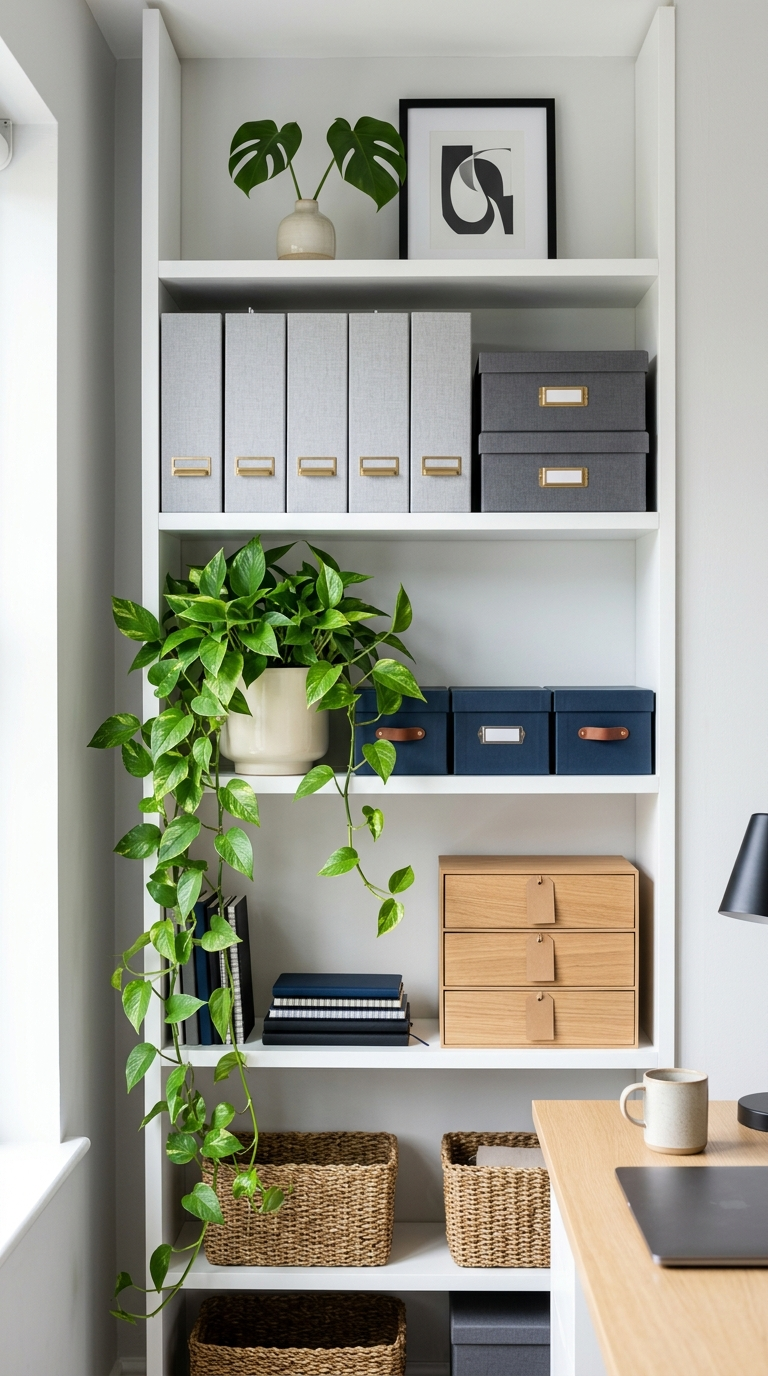
Step 2: Establish the Foundation with AnchorsOnce you have a curated collection of items, you must establish the foundation of your styling using “anchors.” Anchors are the largest, visually heaviest pieces in your collection. Think large woven baskets, substantial decorative boxes, thick art books, large ceramic vases, or framed artwork.The goal is to distribute these heavy items evenly across the shelving unit to create visual balance. If you place all the heavy items on the top shelf, the unit will look top-heavy and unstable. Place your anchors in a zigzag or staggered pattern from top to bottom and left to right. For instance, if you place a large basket on the bottom left shelf, place a bulky wooden crate on the middle right shelf, and a large piece of art on the top left. This triangular distribution forces the eye to travel naturally across the entire installation, establishing a sense of harmony.
Step 3: Mastering the Art of Books and StackingBooks are the cornerstone of incredible shelf styling. They add warmth, texture, and a sense of intellectual depth to any space. However, simply lining them up vertically like a public library is rarely the most visually interesting approach. To achieve a designer look, you need to vary the orientation and grouping of your books.Start by grouping books by color or size for a more cohesive look. Create both vertical stacks (secured with beautiful, substantial bookends like marble spheres or vintage brass animals) and horizontal stacks. Horizontal stacks are incredibly useful because they act as risers or pedestals. By laying three or four visually pleasing books flat, you create a perfect platform to elevate smaller, delicate items like a small bowl, a magnifying glass, or a decorative knot. This technique is crucial for adding height variations within a single shelf, ensuring the display doesn’t look flat or monotonous.
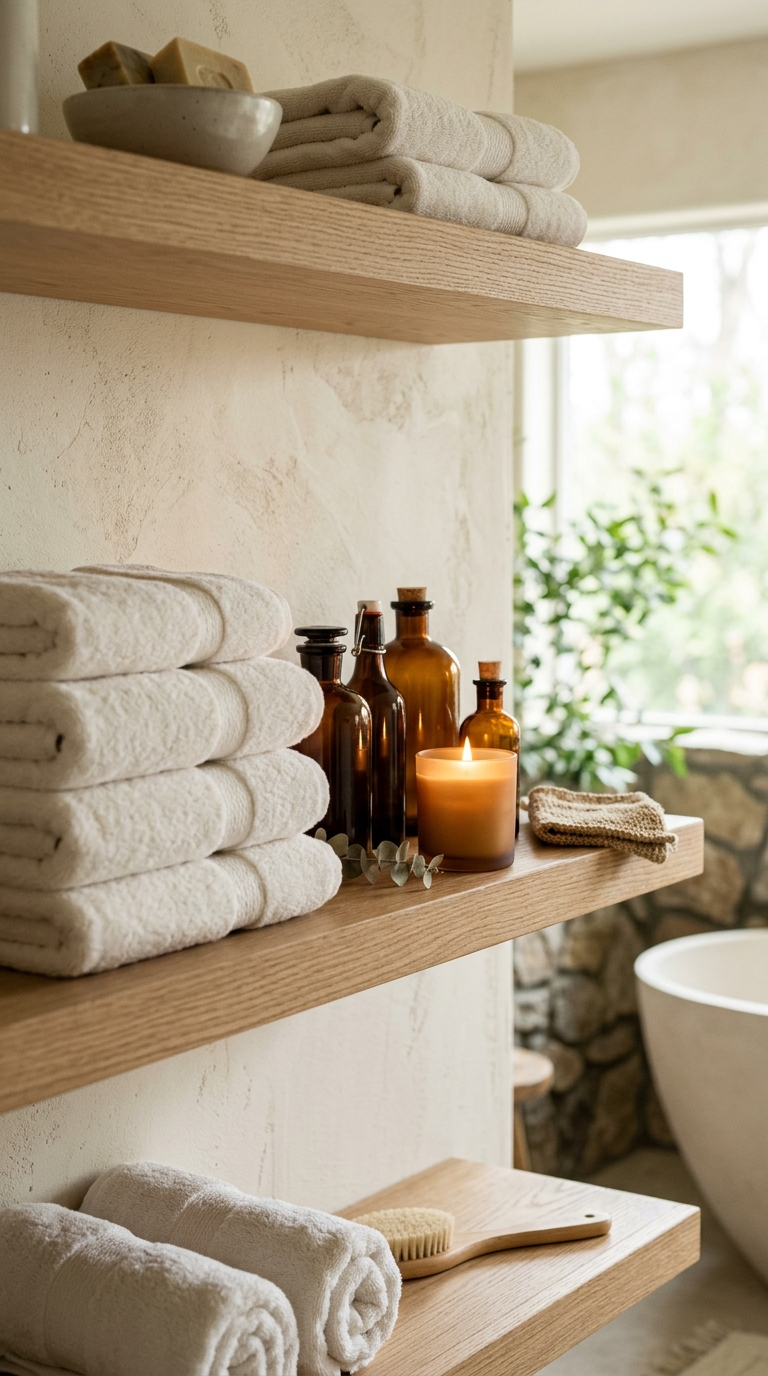
Step 4: Introducing Functional ConcealmentOpen shelves are beautiful, but life is messy. We all have unsightly items that we need access to—remote controls, charging cables, paperwork, or dog treats. The secret to maintaining an aesthetic open shelf while living a normal life is “functional concealment.”This is where beautiful, closed containers become your best friend. Utilize lidded seagrass baskets, elegant leather boxes, or textured ceramic canisters with lids. Place these containers on the lower shelves to anchor the space and hide the everyday clutter. You get the visual benefit of a stunning, textured object, while secretly utilizing it for high-volume storage. This ensures that the open, airy parts of your shelves at eye level remain reserved exclusively for beautiful, intentional decor.
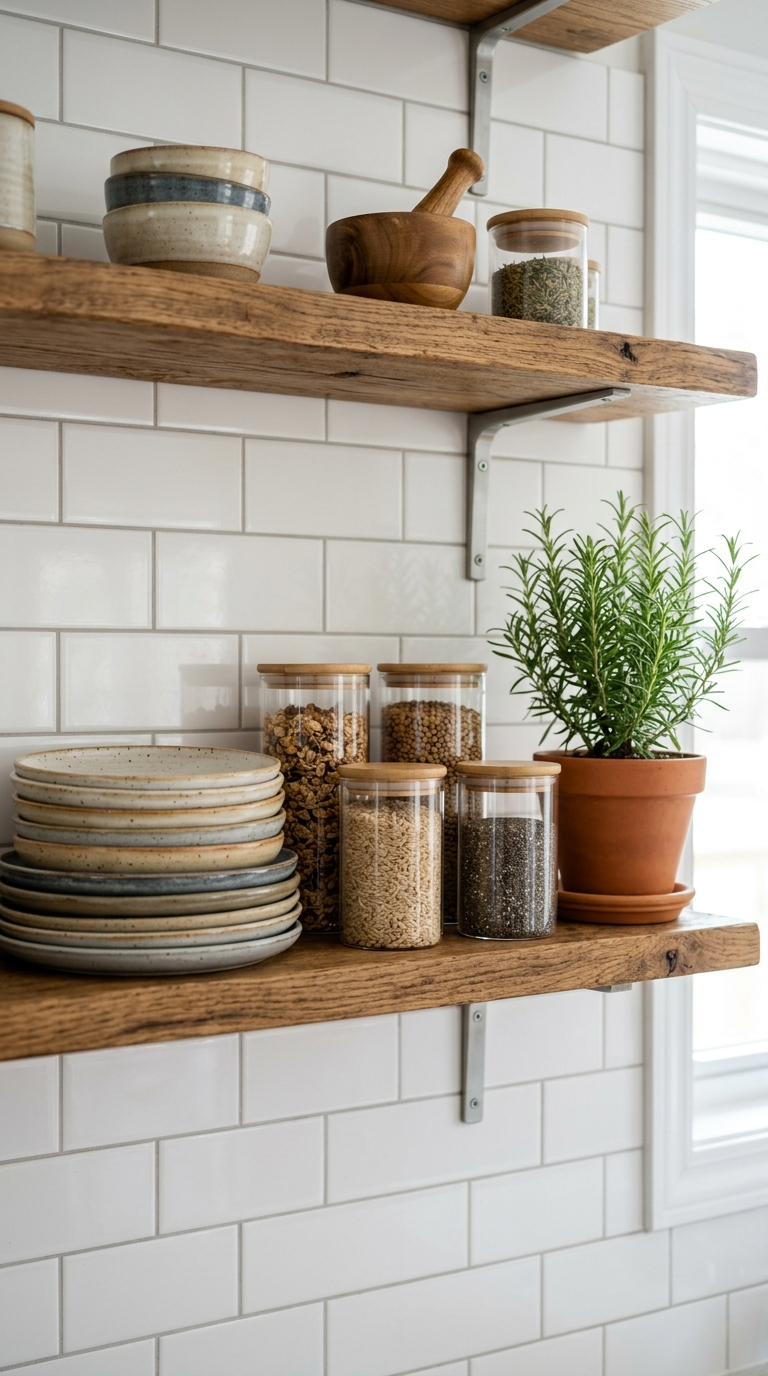
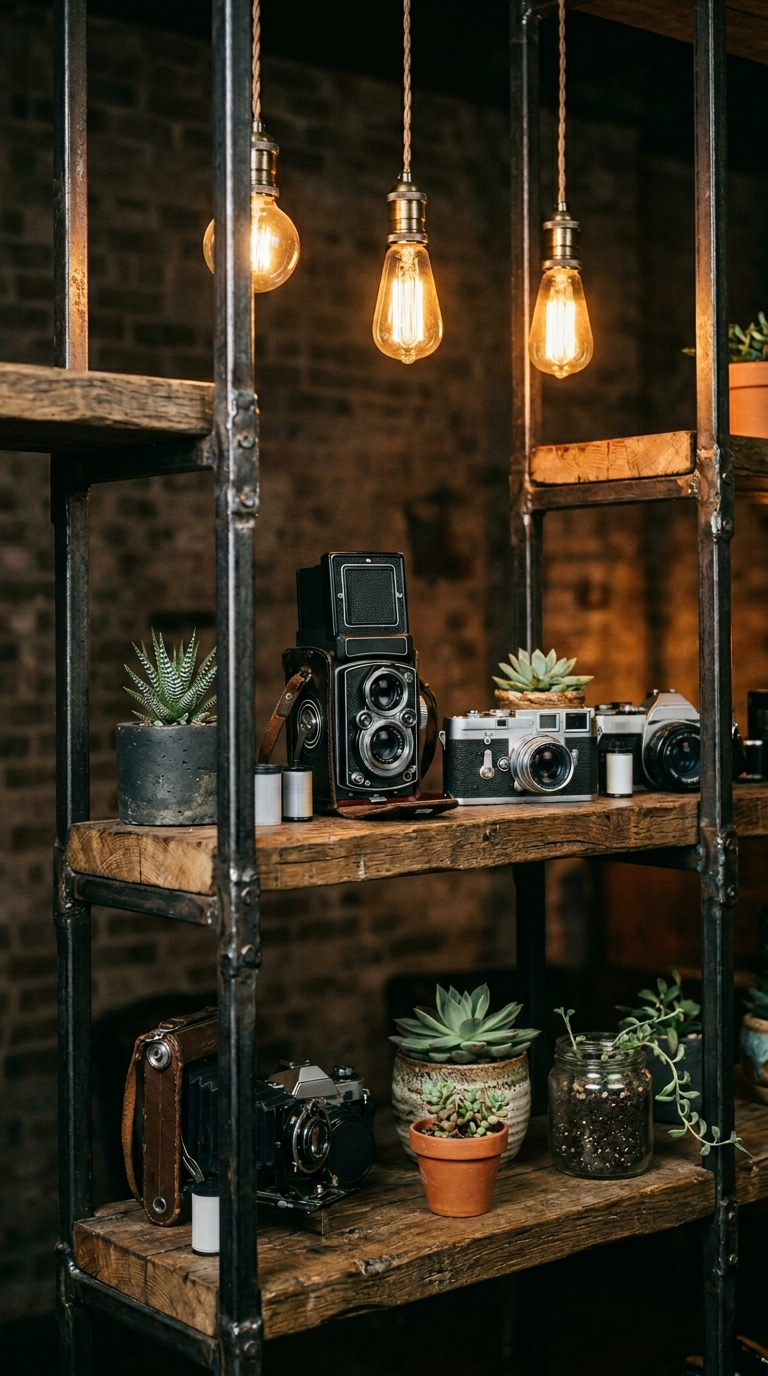
Step 5: Adding Organic Textures and LifeA shelf styled exclusively with books, boxes, and hard objects can feel rigid and lifeless. To soften the straight lines of the shelving and the hard edges of your decor, you must introduce organic elements and signs of life. Greenery is non-negotiable in superior shelf styling.Incorporate trailing plants like Pothos or String of Pearls on higher shelves, allowing the vines to cascade beautifully down the sides. For lower shelves, utilize sculptural succulents, a small fern, or branches in a textured vase. If your space lacks natural light, high-quality faux botanicals or dried arrangements (like eucalyptus or pampas grass) are excellent substitutes. Wood elements, such as a carved wooden bowl, a driftwood sculpture, or woven rattan trays, also inject crucial organic warmth, contrasting beautifully against glass or metal shelves.
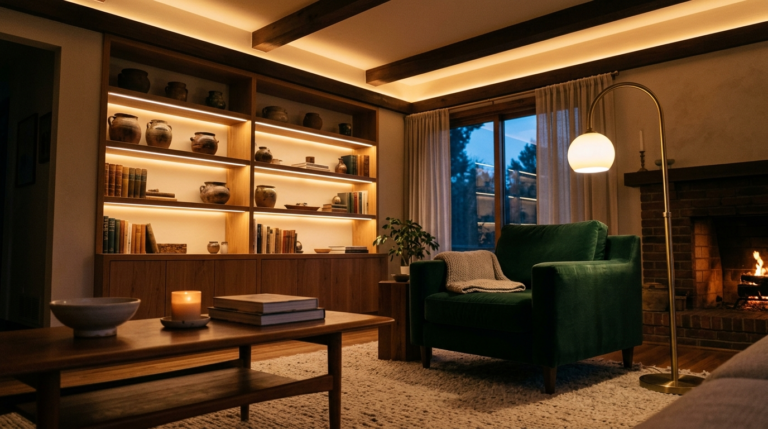
Step 6: The Crucial Concept of Negative SpaceThe final, and perhaps most difficult, step in styling open shelves is knowing when to stop. In design, the empty space around an object is just as important as the object itself. This is called negative space. If every square inch of your shelving is packed with items, the eye becomes overwhelmed, and the display feels cluttered, regardless of how beautiful the individual pieces are.Allow your items room to breathe. Step back frequently during the styling process. If a shelf feels too heavy or busy, remove one item. Group smaller objects in clusters of three or five (the rule of odds is highly effective in visual arts) and leave clear, empty space between these clusters. Negative space highlights the objects you have chosen to display, giving them importance and allowing their beauty to be fully appreciated. Remember, the goal of open shelving is curation, not mere storage.
Is your home overflowing with clutter? Avoid these common Shelves & Storage mistakes to create a perfectly organized, beautiful, and functional living space today.
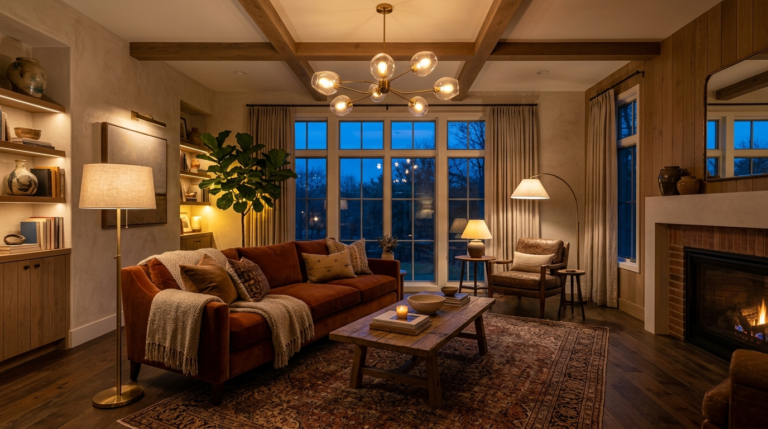
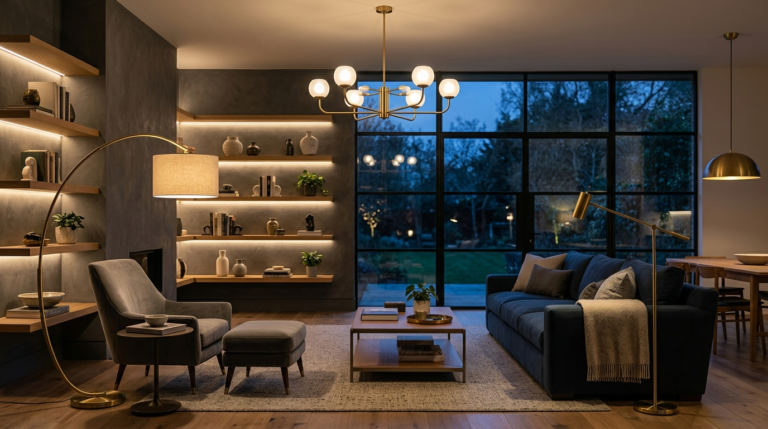
Want a cozy, functional, and beautiful home? Learn how to master the art of layered lighting with our comprehensive, step-by-step guide to home illumination.
Transform your dining area into a stunning focal point. Explore elegant tables and curated accessories that elevate your everyday meals and special events.
Discover the most common living room lighting mistakes that ruin your home’s aesthetic. Learn expert tips on layering, color temperature, and fixture scale.
Are you making these critical home lighting mistakes? Learn how to properly layer ambient, task, and accent lighting to beautifully illuminate every single room.