Designing a nursery or a child’s bedroom is a unique opportunity to let your creativity soar without boundaries. It is a space where imagination should reign supreme, fostering a sense of wonder, safety, and boundless joy. A whimsical and imaginative approach allows you to craft not just a room, but a magical world tailored specifically for your little one. In this showcase, we will guide you through enchanting DIY projects that will transform an ordinary space into a dreamy haven, filled with handcrafted love and delightful details.
Project 1: The Illuminated Cloud Ceiling Canopy
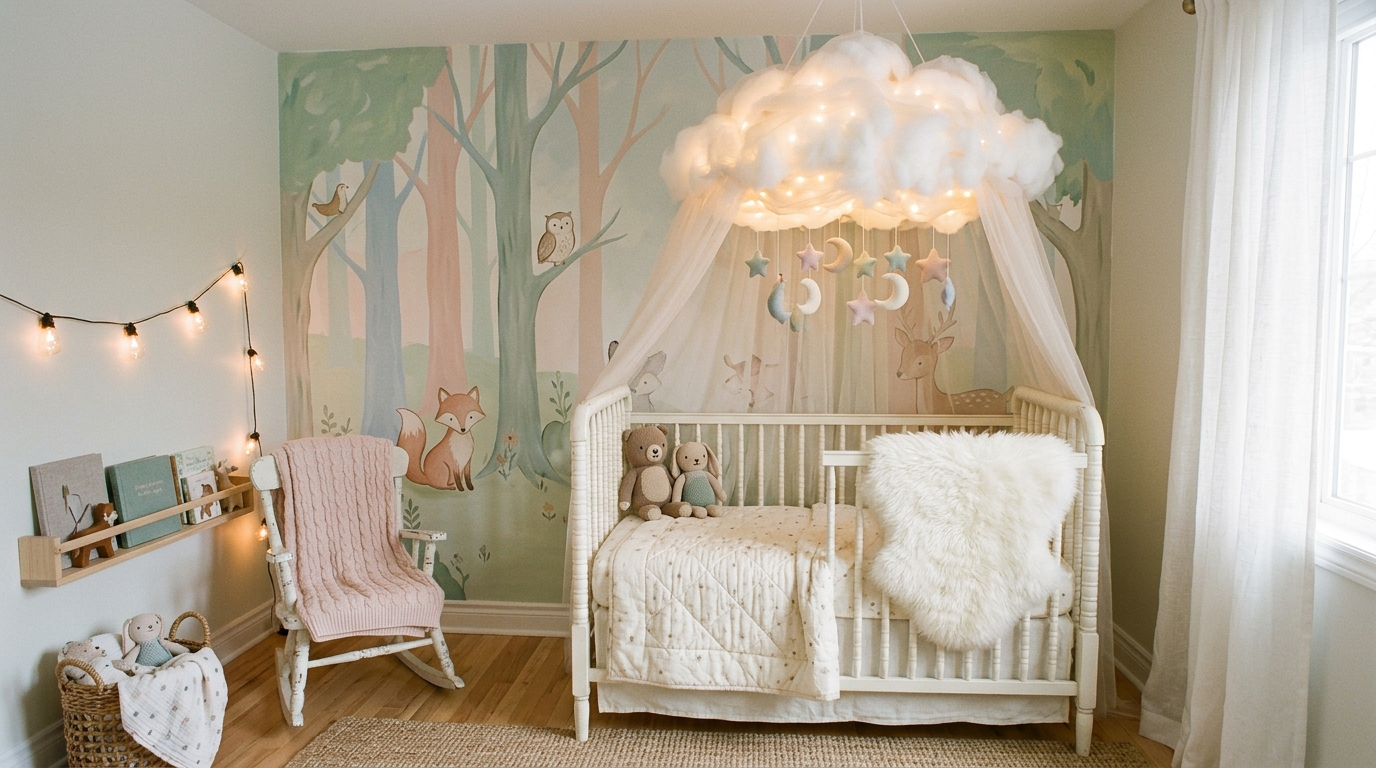
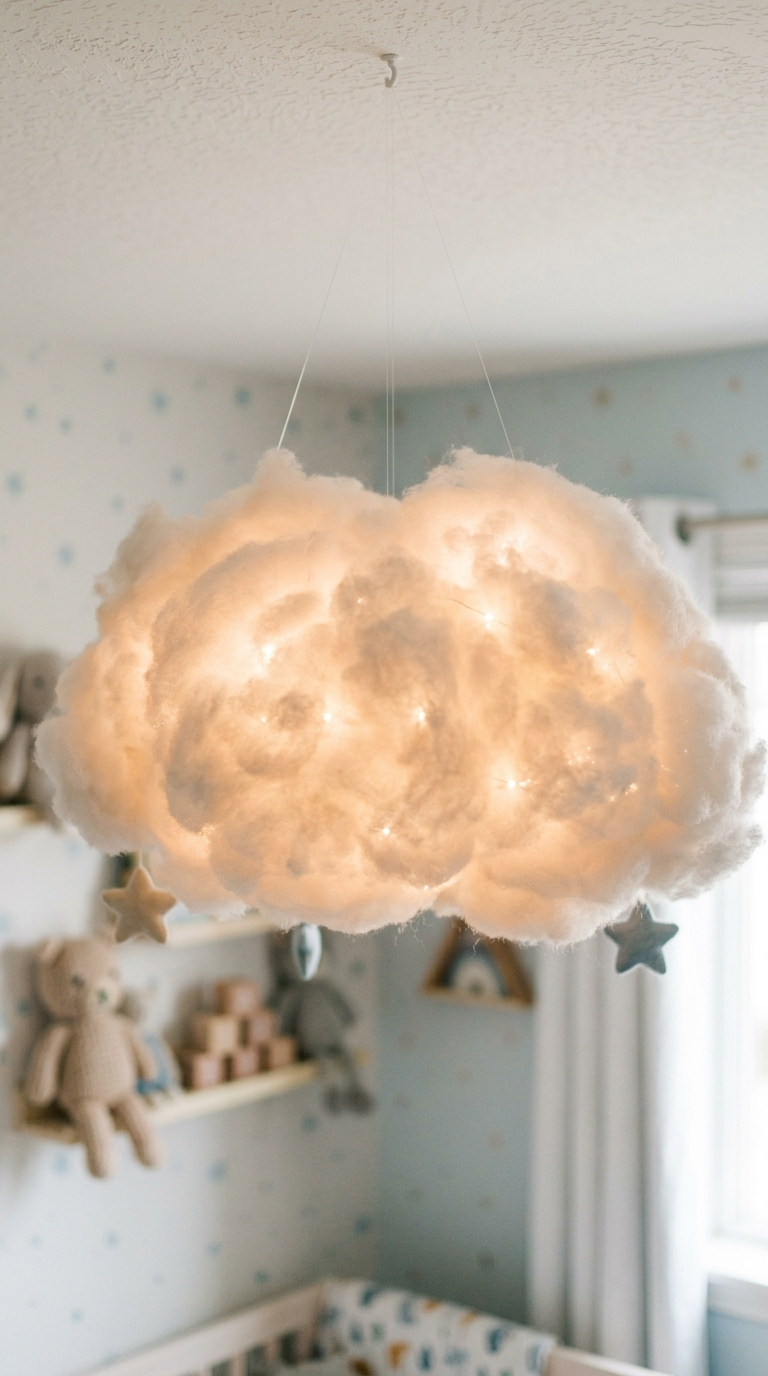
Imagine your child drifting to sleep beneath a soft, glowing sky of clouds. Creating a cloud ceiling canopy is surprisingly simple and yields an incredibly dramatic, whimsical effect. This project requires polyester fiberfill (the kind used for stuffing pillows), paper lanterns in various sizes, a cool-touch LED fairy light string, and a hot glue gun. The soft diffusion of the lights through the fiberfill creates a mesmerizing, comforting nightlight effect that sparks pure joy.
To begin, expand your paper lanterns and gently pull apart the fiberfill to make it fluffy and cloud-like. Carefully hot glue the fiberfill onto the lanterns, covering them completely while maintaining an irregular, organic cloud shape. Once you have created several clouds of varying sizes, string them together using clear fishing line and weave the LED fairy lights through the clusters. Suspend the entire arrangement from the ceiling using secure hooks. The result is a breathtaking, floating dreamscape that instantly elevates the magic of the nursery.
Project 2: Hand-Painted Enchanted Forest Mural
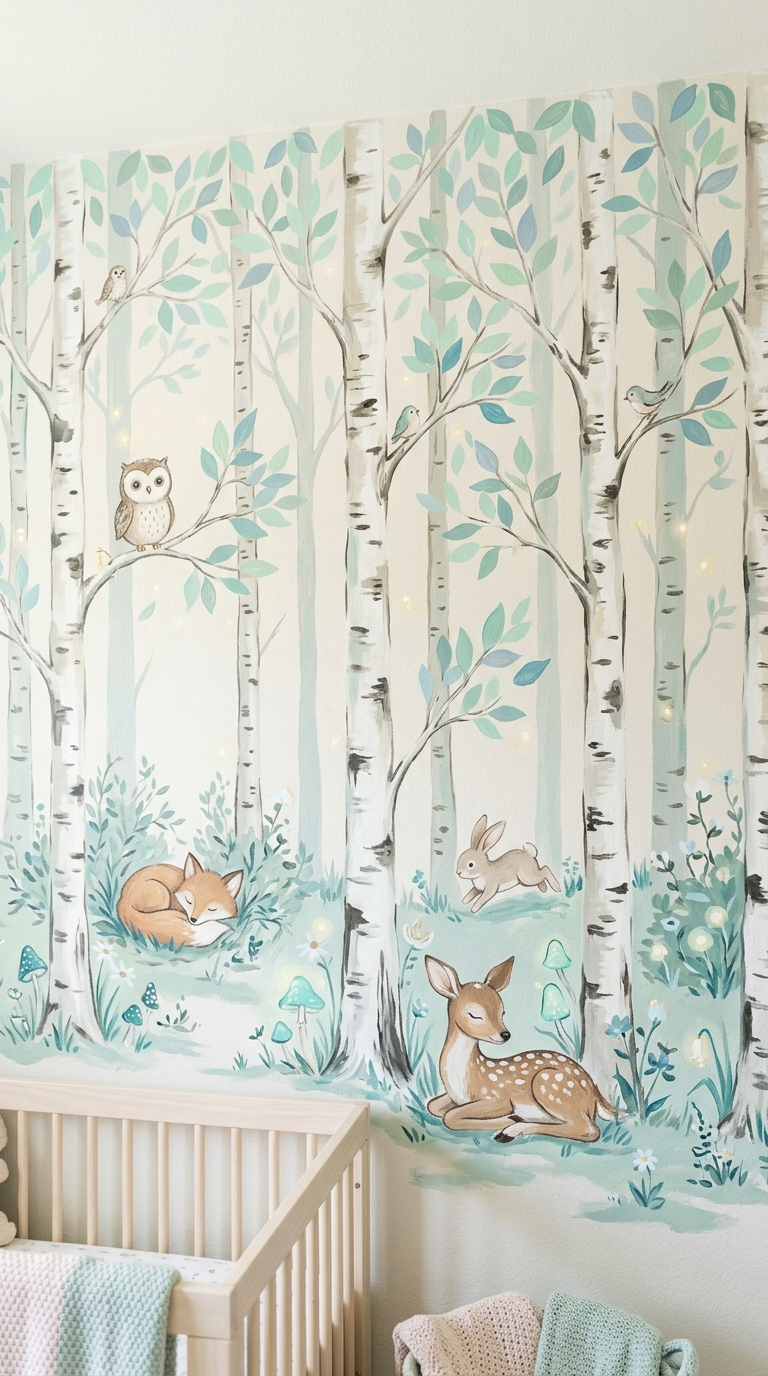
Nothing sets a whimsical scene quite like a large-scale, hand-painted mural. An enchanted forest theme brings the beauty of nature indoors, providing a serene yet stimulating backdrop for play and rest. You do not need to be a master artist to achieve a beautiful result; a stylized, simple approach using muted, earthy tones works wonderfully. Gather your supplies: painter’s tape, a variety of brushes, and low-VOC interior paints in sage greens, soft browns, and dusky blues.
Start by painting the background—perhaps a soft, misty blue or a warm beige. Use painter’s tape to outline tall, slender tree trunks birch-style. Fill them in with a base color, then use a dry brush technique to add texture and depth. Add gentle, swooping branches and simple, stylized leaves. To make it truly enchanted, paint tiny, glowing fireflies using dabs of pale yellow paint, or include small woodland creatures peeking from behind the trees. This customized art piece becomes the heart of the room.
Project 3: Floating “Invisible” Book Ledges
Encourage a love for reading by making books a central, accessible part of the nursery’s decor. Floating, “invisible” book ledges are a brilliant way to display beautiful children’s book covers outward, turning literature into wall art. This minimalist DIY keeps the focus on the colorful stories rather than heavy furniture. You will need clear acrylic shelves, sturdy wall anchors, a level, and a drill.
Determine the placement of your shelves, keeping them low enough for an older toddler to reach, or higher up for display in an infant’s room. Use the level to ensure perfect horizontal alignment and mark your drill holes. Install the wall anchors—this is crucial, as books can be surprisingly heavy. Screw the acrylic ledges firmly into place. Once filled with beautifully illustrated books, the shelves seem to disappear, leaving a cascading wall of stories that invites your child into a world of imagination.
Project 4: The Whimsical Upcycled Storybook Dresser
Transform a plain, thrifted dresser into a functional piece of art with a storybook theme. This project is eco-friendly and allows for massive personalization. You will need a wooden dresser, sandpaper, primer, pastel chalk paint, clear wax for sealing, and optionally, vintage storybook pages or whimsical wallpaper remnants for decoupaging.
First, thoroughly sand and prime the dresser. Apply two coats of a soft, pastel chalk paint—think mint green, blush pink, or buttery yellow. Once dry, you can apply a decoupage medium to adhere cut-out illustrations or patterned paper to the drawer fronts. For a more subtle look, simply update the hardware with whimsical knobs shaped like animals, stars, or crystals. Seal the entire piece with clear furniture wax for a durable, soft-touch finish. This unique dresser adds immense character and charm to the nursery.
Project 5: A Starry Night Reading Canopy Fort
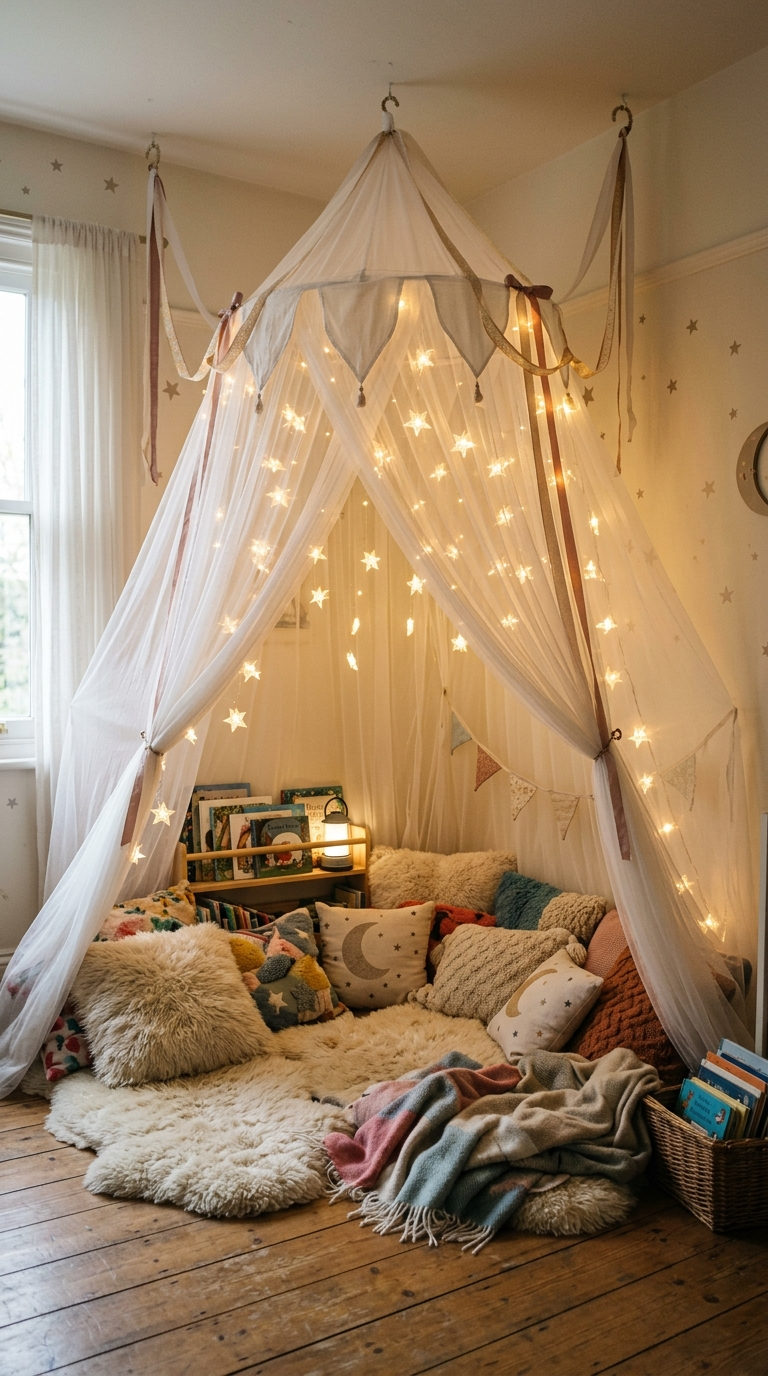
Every child needs a secret hideaway, a cozy corner dedicated to quiet time and imagination. Creating a canopy fort is a simple, no-sew project that yields spectacular results. You will need a large embroidery hoop, sheer, flowing fabric like tulle or lightweight cotton, strong ribbon, and a ceiling hook. To add the “starry night” element, you will also need a string of battery-operated star-shaped fairy lights.
Disassemble the embroidery hoop and slide the top edge of your fabric panels onto the inner hoop. Reassemble and tighten the hoop to secure the fabric. Tie four pieces of ribbon to the hoop, bringing them together in the center to create a hanging loop. Suspend the canopy from the ceiling hook, allowing the fabric to drape gracefully to the floor. Inside, weave the star lights around the hoop and down the fabric. Fill the base with plush floor cushions and soft blankets. You have just created a magical, glowing sanctuary.
Project 6: Hand-Crafted Felt Animal Mobile
A mobile is a classic nursery staple, providing visual stimulation and a soothing focal point above the crib. Hand-crafting a felt animal mobile allows you to perfectly match the room’s color scheme and theme. You will need sheets of high-quality wool felt, embroidery floss, stuffing, an embroidery hoop for the frame, and a needle.
Cut out simple animal shapes—bunnies, bears, or birds—from the felt. Hand-stitch the pieces together using a running stitch or blanket stitch, leaving a small opening to insert the stuffing. Once plump, stitch them closed. Create accompanying shapes like stars, moons, or leaves. Wrap the wooden embroidery hoop in yarn or ribbon for a polished look. Hang your felt creations from the hoop using varying lengths of string, ensuring the mobile is balanced. This heirloom-quality piece will be a cherished focal point in your magical nursery design.
Avoid these major bedroom decor mistakes to achieve a premium personal space. Discover expert, actionable solutions to elevate your master suite’s luxury.
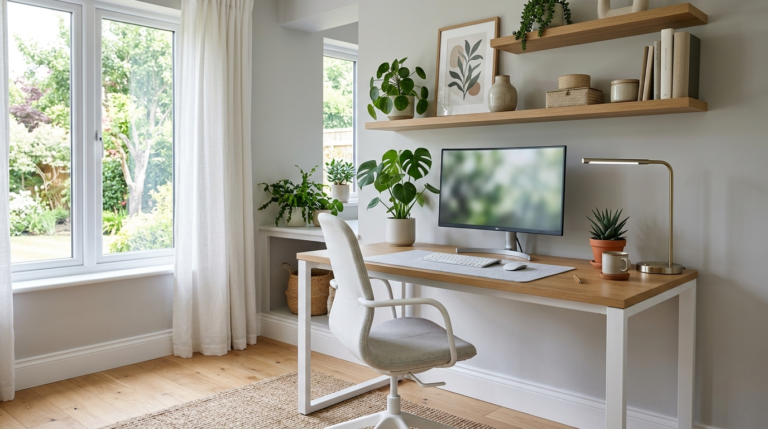
Stop letting poor design ruin your focus. Avoid these critical home office mistakes to create a productive, ergonomic, and beautiful workspace that inspires.
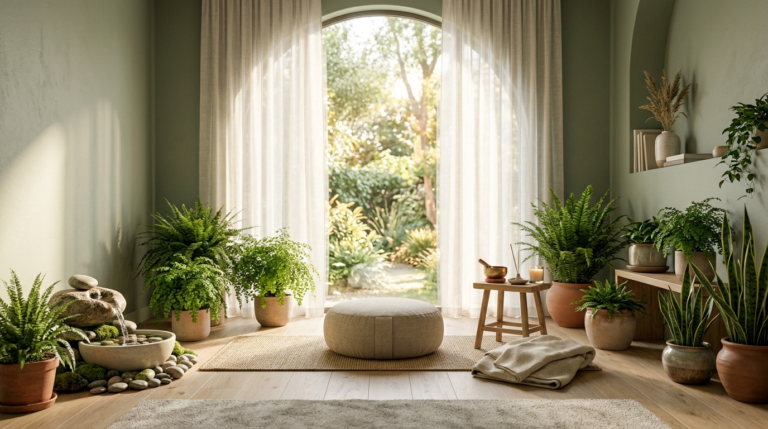
Transform a spare room into an extraordinary at-home wellness sanctuary. Discover elegant design strategies and natural elements for ultimate peace and calm.
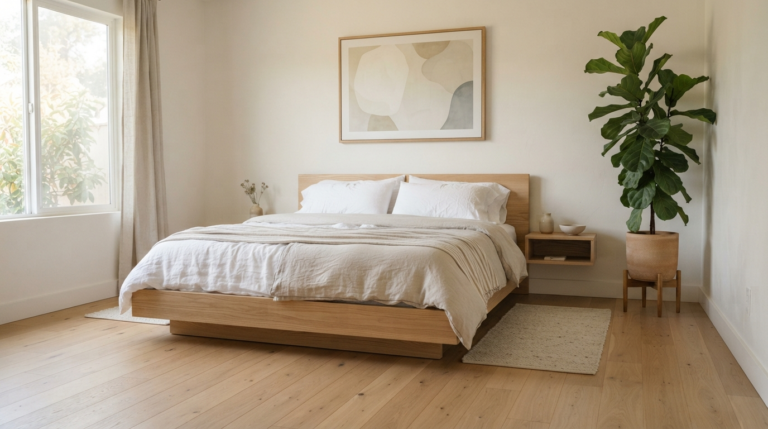
Are you making these common bedroom design mistakes? Learn how to fix your sleeping space, optimize flow, and create a truly minimalist, serene retreat.
Struggling to achieve that perfect minimalist bedroom? Learn the 7 most common decor mistakes to avoid for a clean, serene, and perfectly balanced space.
Create a serene retreat with these stunning minimalist bedroom ideas. Embrace clean lines, neutral palettes, and clever organization for ultimate peace.