Designing a small bathroom presents a unique architectural and aesthetic puzzle. When square footage is strictly limited, every millimeter counts. Fortunately, a small footprint does not mean you have to compromise on elegance, serenity, or functionality. By applying clever spatial principles, intentional color palettes, and smart storage architecture, you can transform even the most cramped powder room or tiny master bath into an open, airy spa retreat.
In this comprehensive step-by-step remodeling guide, we will walk you through the essential stages of planning, executing, and styling a small bathroom upgrade. Whether you are performing a down-to-the-studs overhaul or seeking high-impact decorative upgrades, these actionable steps will help you achieve a high-end look without feeling boxed in.
Step 1: Evaluate Spatial Flow and Floor Plan Efficiency
Before demolishing tiles or ordering fixtures, you must thoroughly evaluate your existing layout. The key to a successful small bathroom layout is maintaining clear sightlines and smooth traffic paths. Measure your door swings, fixture clearances, and vertical wall availability carefully.
If you have the flexibility to adjust plumblines, positioning the toilet and vanity along the same wall often maximizes floor clearance. Consider replacing outward-swinging hinged doors with pocket doors or sliding barn hardware. This single modification instantly reclaims up to 9 square feet of usable floor space, preventing awkward door jams and making the entry feel vastly superior.
Step 2: Install Floating Vanities and Wall-Mounted Fixtures
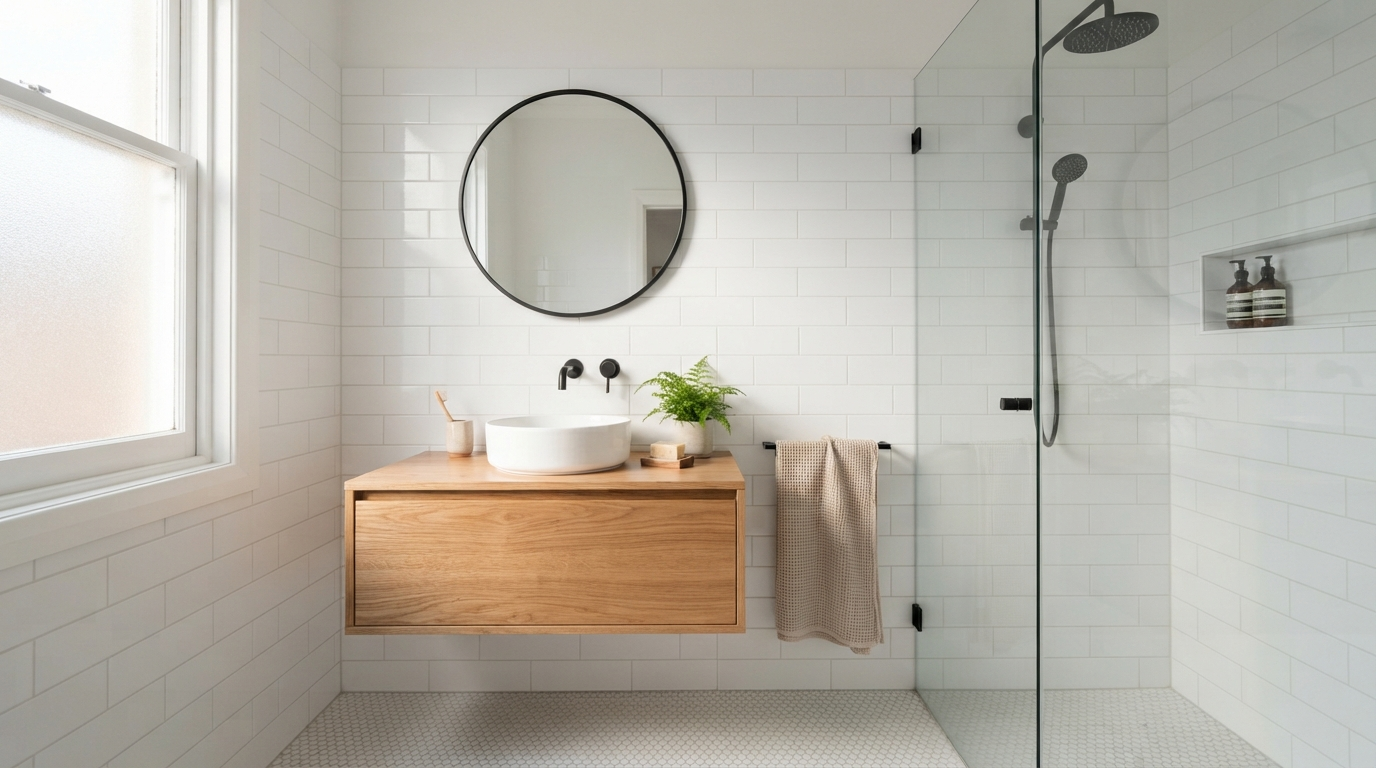
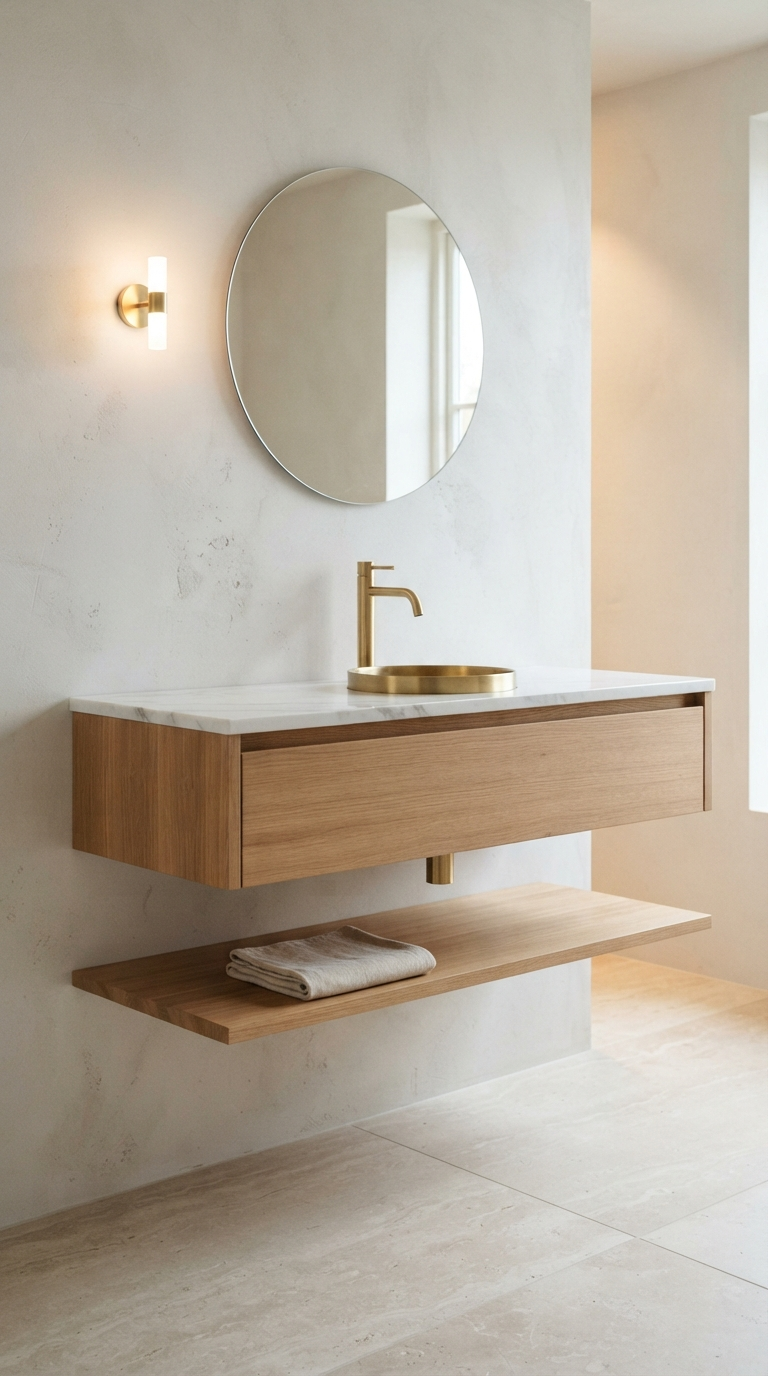
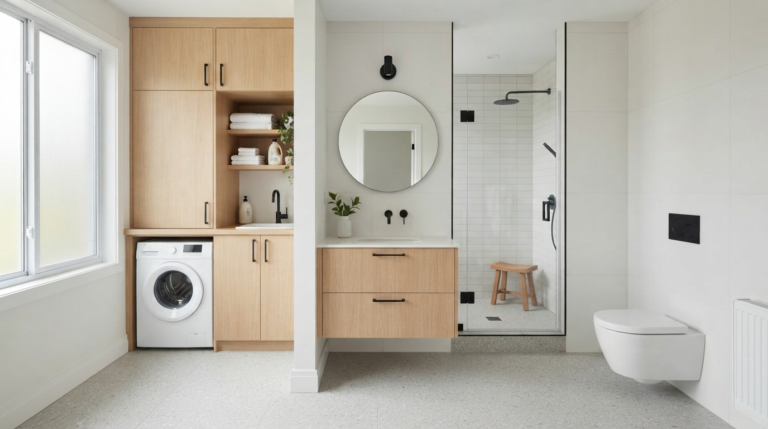
Traditional floor-standing vanity cabinets visual lock down floor space, creating a heavy, boxy impression. Swapping a bulky vanity for a wall-mounted floating vanity creates an uninterrupted view of the floor tile underneath. This visual continuity tricks the human eye into perceiving a much larger room.
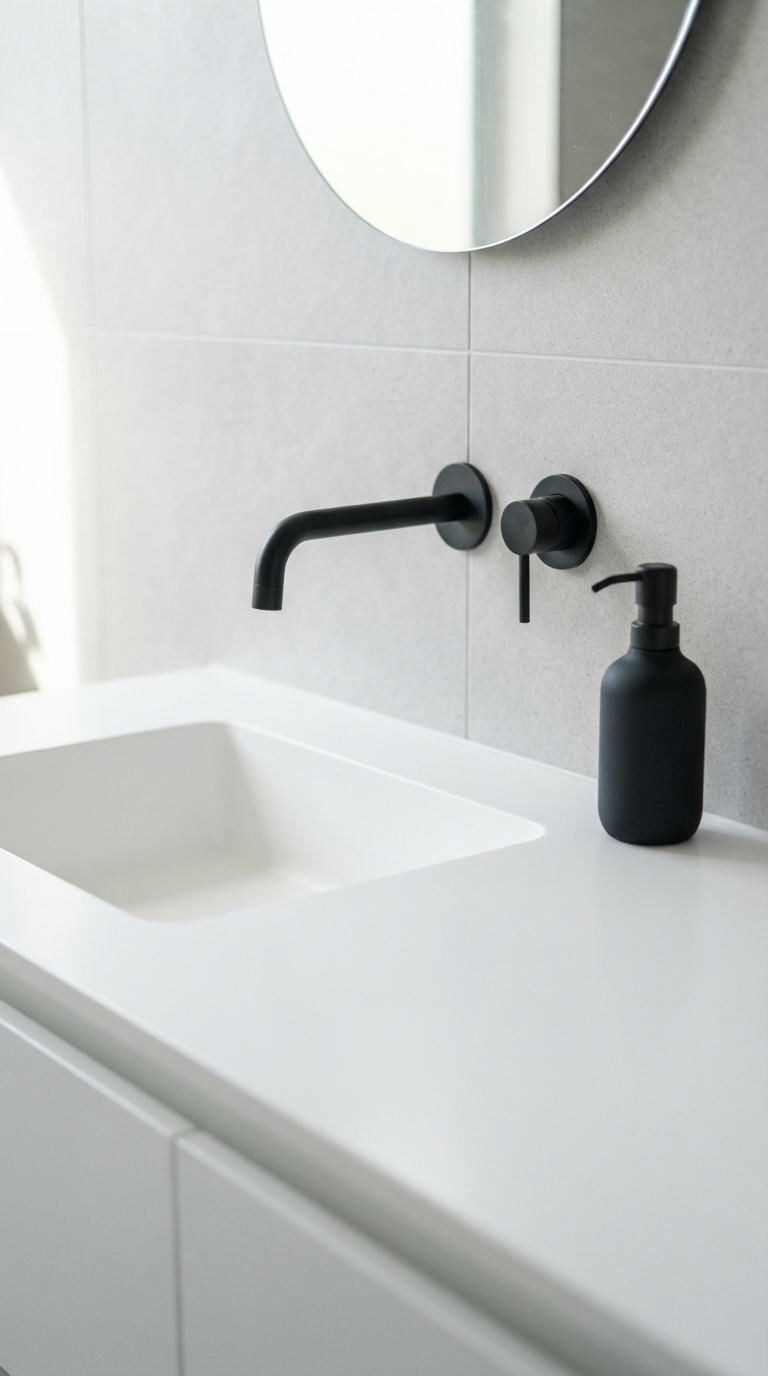
When selecting floating vanities, opt for models featuring deep drawer dividers rather than cabinet doors. Drawers provide far superior organizational access in compact spaces. Furthermore, pairing wall-mounted faucets with vessel or integrated sinks saves valuable countertop depth while establishing a sleek, minimalist aesthetic.
Clear Floor Space: Aim for 8 to 12 inches of open elevation below the vanity base.
Slim Depths: Choose shallow-depth vanities (18 inches or less) to open up central walking aisles.
Wall-Mounted Plumbing: Concealing valve bodies inside the wall cavity releases precious counter area.
Step 3: Master the Art of Optical Light and Color Schemes
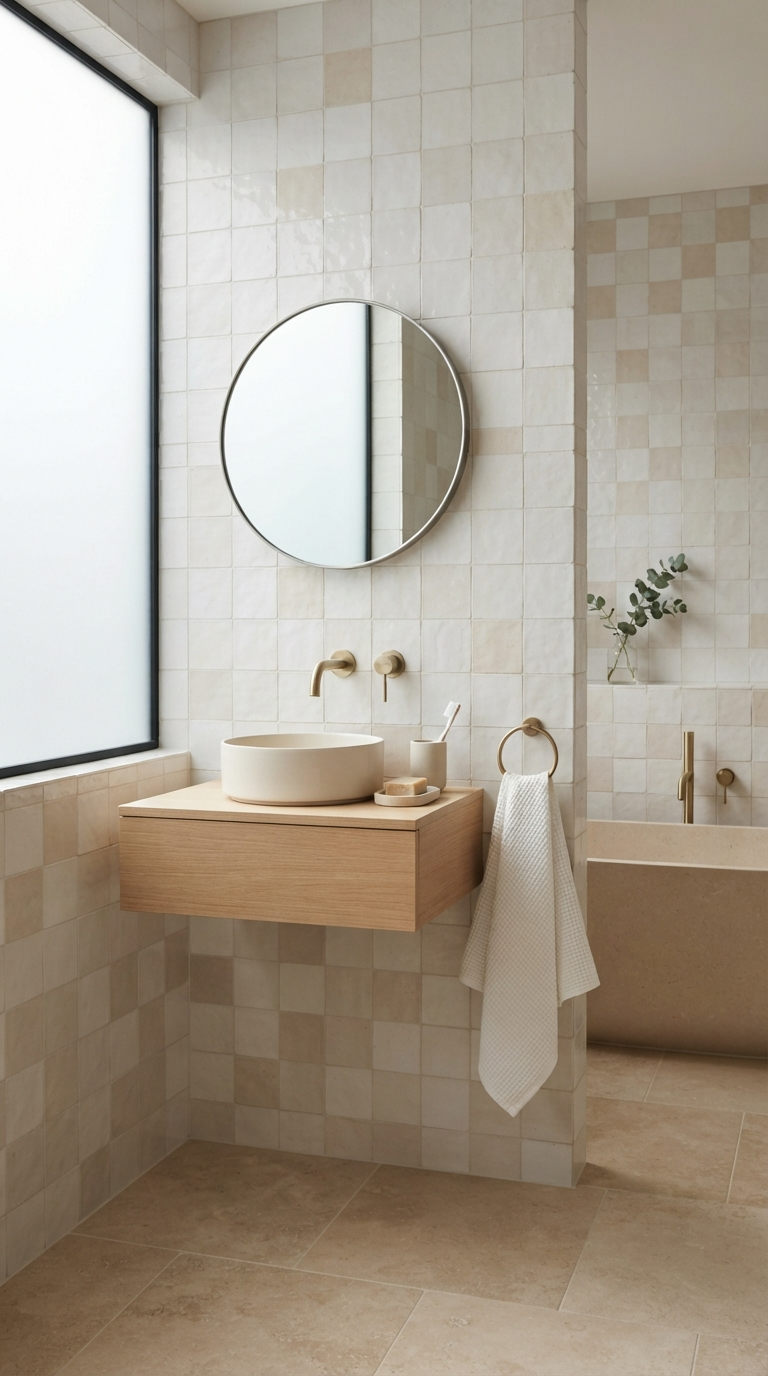
Color choices dramatically impact spatial perception. Heavy, dark wall tones absorb light, pulling walls inward and creating a claustrophobic atmosphere. Conversely, crisp, monochromatic neutral palettes reflect soft natural light, blurring the boundaries between corners and surfaces.
Work with soft, luminous hues such as warm alabaster, soft linen, muted dove gray, or gentle warm beige. To prevent a monochromatic palette from feeling sterile, introduce rich organic textures through natural stone counter surfaces, matte ceramic tiles, and light-toned solid timber accents like oak or ash.
Step 4: Transition to Frameless Glass Enclosures and Vertical Tile Patterns
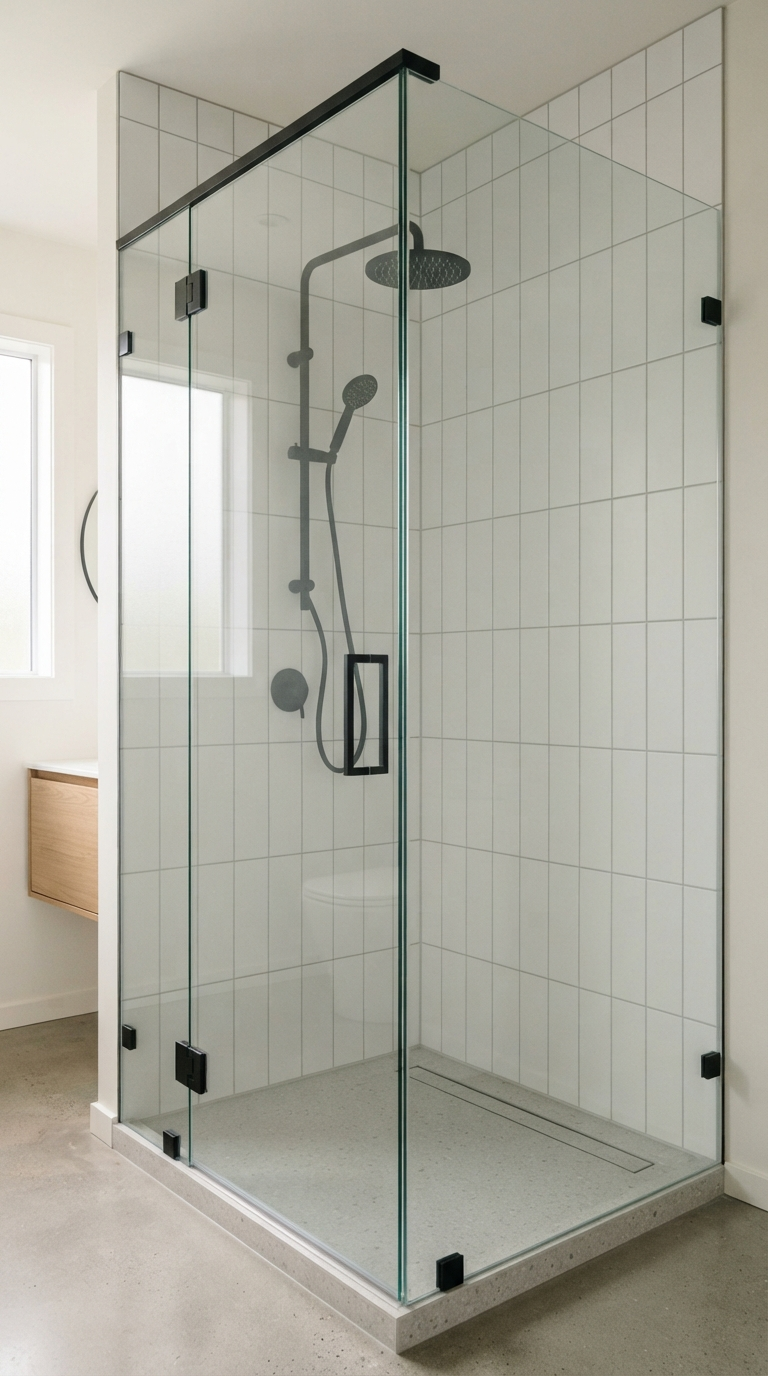
Opaque shower curtains and heavy frosted glass frames chop a small bathroom into tiny visual fragments. Replace outdated tub enclosures with seamless, frameless clear glass shower panels. Removing visual obstructions allows the eye to sweep across the entire room length, making the bathroom feel twice as expansive.
When tiling shower interiors and accent walls, orientation matters greatly. Running vertical stack-bond tiles directs the eye upward toward the ceiling, creating an illusion of impressive ceiling height. Alternatively, large-format porcelain slabs minimize grout lines, resulting in a continuous, smooth surface that reads as luxurious and uncluttered.
Step 5: Utilize Recessed Nooks and In-Wall Architectural Storage
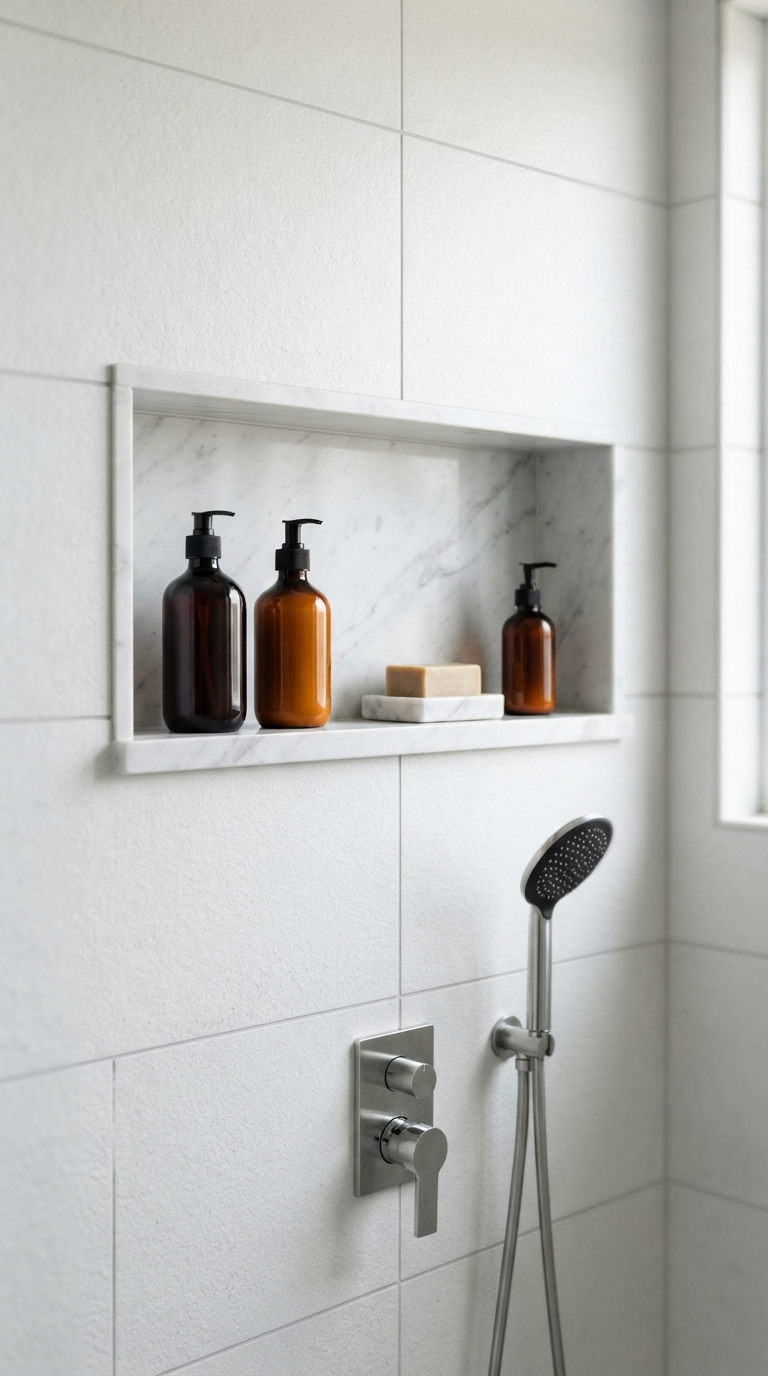
Protruding shelves, bulky medicine cabinets, and floor towel racks consume precious real estate in a tight room. Take full advantage of the hollow cavities between wall studs by constructing custom recessed storage niches. Recessed shower cobbies keep shampoo bottles elevated and out of sight, maintaining clean visual planes.
Beyond the shower zone, consider installing recessed medicine cabinets with mirrored faces flush against the drywall. You gain internal depth for toiletries without sacrificing an inch of external wall profile. Finish recessed niches with subtle stone ledges or matching accent tiles for a custom built-in architectural touch.
Step 6: Elevate Lighting Layers and Strategic Mirror Placement
Single central ceiling lights cast harsh shadows, emphasizing dark corners and making small bathrooms feel smaller. A comprehensive illumination plan incorporates multiple layered light sources: ambient overhead recessed lights, task lighting at eye level near vanity mirrors, and accent cove illumination under floating cabinetry.
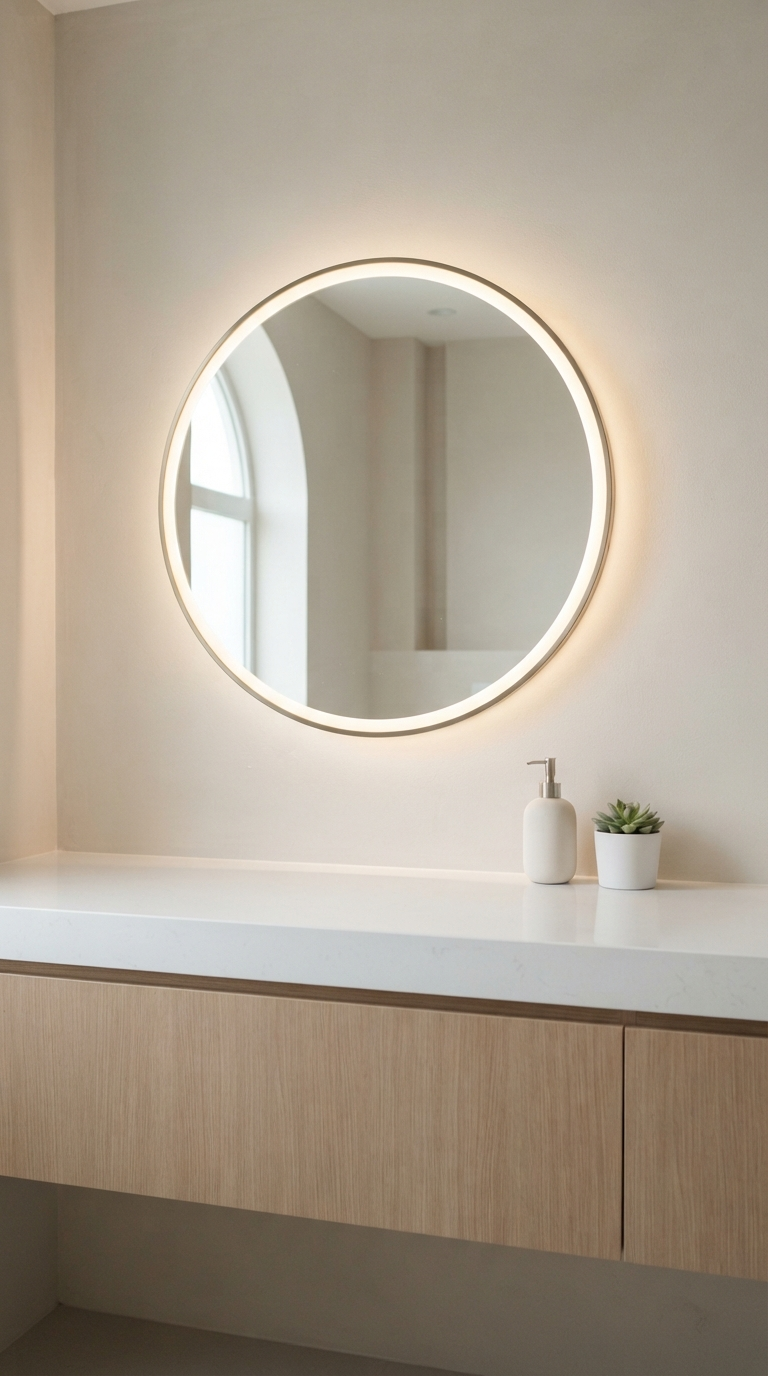
Pair layered lighting with large, oversized mirrors. A mirror spanning the full width of the vanity wall reflects light throughout the space while multiplying visual room depth. Consider backlit LED mirrors to cast soft, halo-like illumination that eliminates shadows without requiring bulky wall sconces.
Step 7: Final Styling and Organization Checklist
Once major installations are finished, complete your small bathroom transformation with intentional, uncluttered decor elements. Maintain a strict less-is-more approach to retain your clean, spa-like atmosphere.
Streamlined Towel Bars: Use sleek minimalist towel hooks or ladder racks along unused wall segments.
Uniform Containers: Decant soaps and lotion products into matching ceramic or clear glass pumps.
Natural Accents: Add a small potted fern or eucalyptus sprigs to bring subtle organic vitality into the room.
Concealed Essentials: Keep everyday items organized inside drawer dividers to maintain spotless, open countertops.
By following this methodical step-by-step approach, you transform spatial limitations into an asset, creating an exceptionally functional, beautifully refined small bathroom that feels remarkably light and airy.
Are you making these critical layout and styling errors? Learn how to fix common bathroom and laundry design mistakes for a flawless, highly functional space.
Transform mundane chores into a joyful experience with these imaginative, whimsical DIY ideas for your bathroom and laundry room. Magic is in the details!
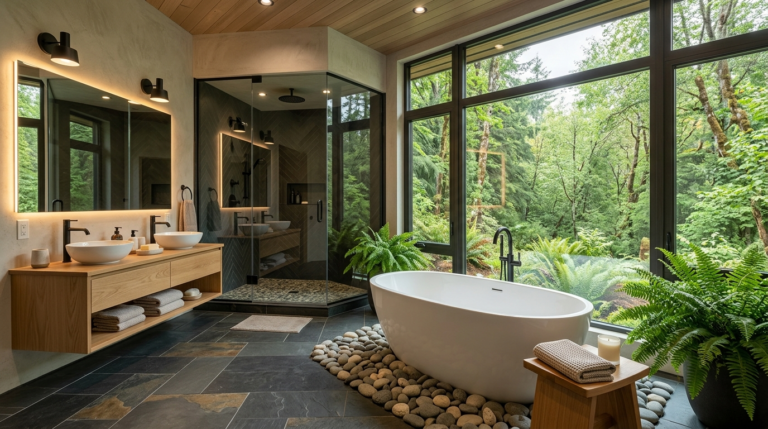
Transform your standard bathroom into a luxurious spa-like retreat. Explore these stunning design ideas, soothing color palettes, and tranquil upgrades.
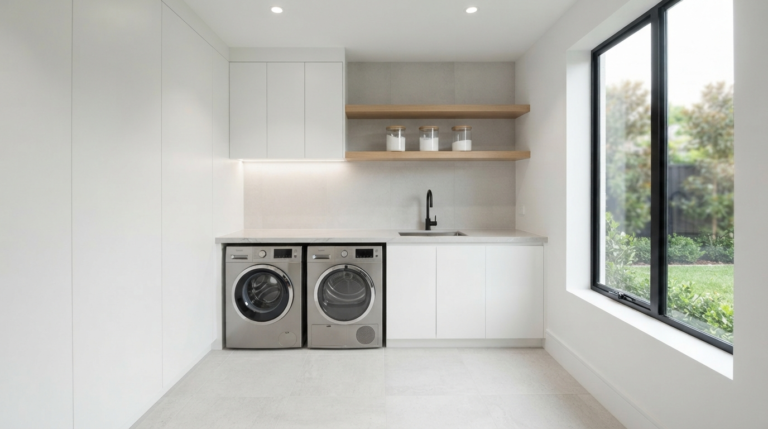
Transform your cramped laundry room into a functional oasis. Discover common design mistakes to avoid, maximizing storage, efficiency, and minimalist style.
Discover the most frequent bathroom and laundry design flaws that disrupt functionality and style. Learn expert solutions to maximize space and aesthetics!
Upgrade your daily routine with these fourteen minimalist bathroom ideas designed to create a spotless, peaceful, and visually expansive spa-like retreat.